This guide is part of the Content Types. We show you how to create content in general under Creating and Editing Content.
Please note that we only explain here how the individual siteparts work. This assumes that you have already created a page on which they can be displayed as content. It is also assumed that you have already reached the window for creating content.
Sitepart 1: Webshop
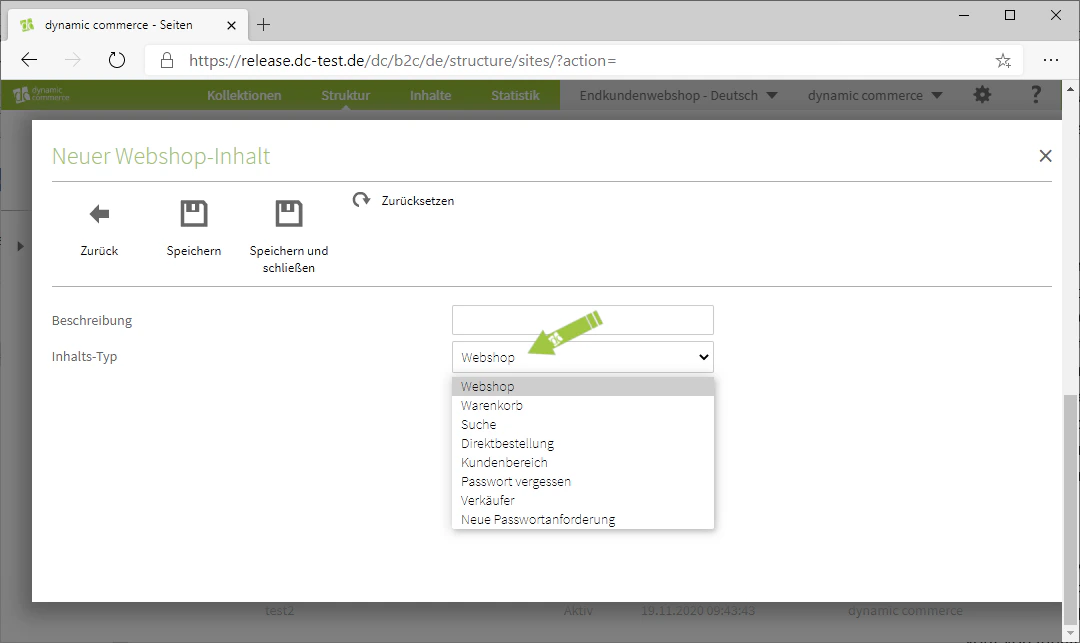
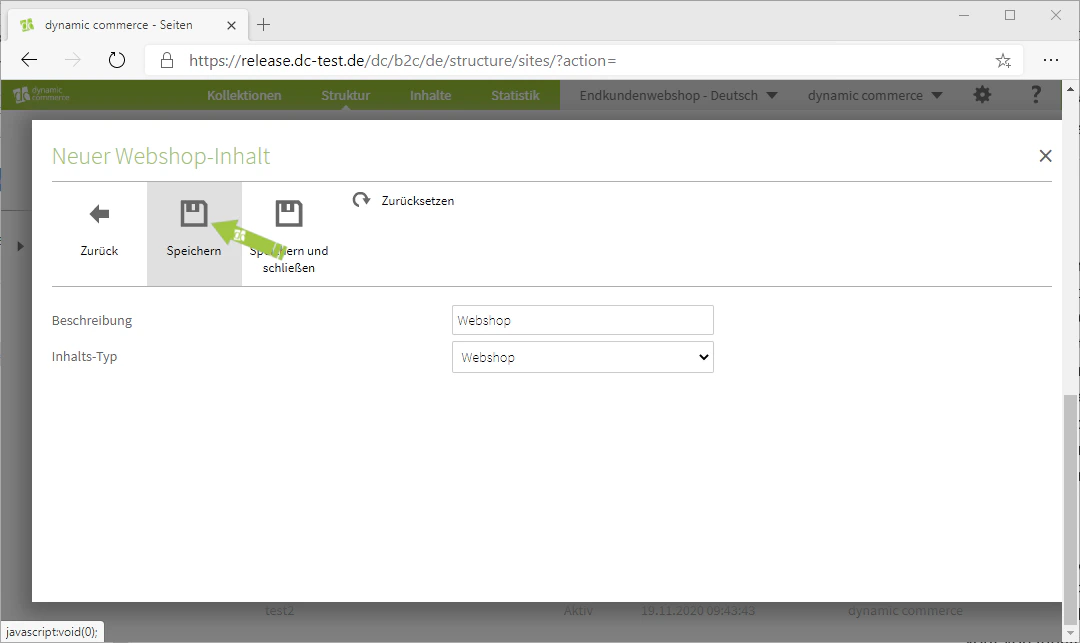
First, when creating content, select the “Webshop” module. This should open a window with the heading “New Webshop Content”. There, you initially define the content type using the drop-down of the same name. Depending on which content type you choose, this part of the webshop will be connected to the page. After you have decided which content type you want to generate, you also select a description. You can choose this freely, as it only serves for clarity and is not displayed on the page.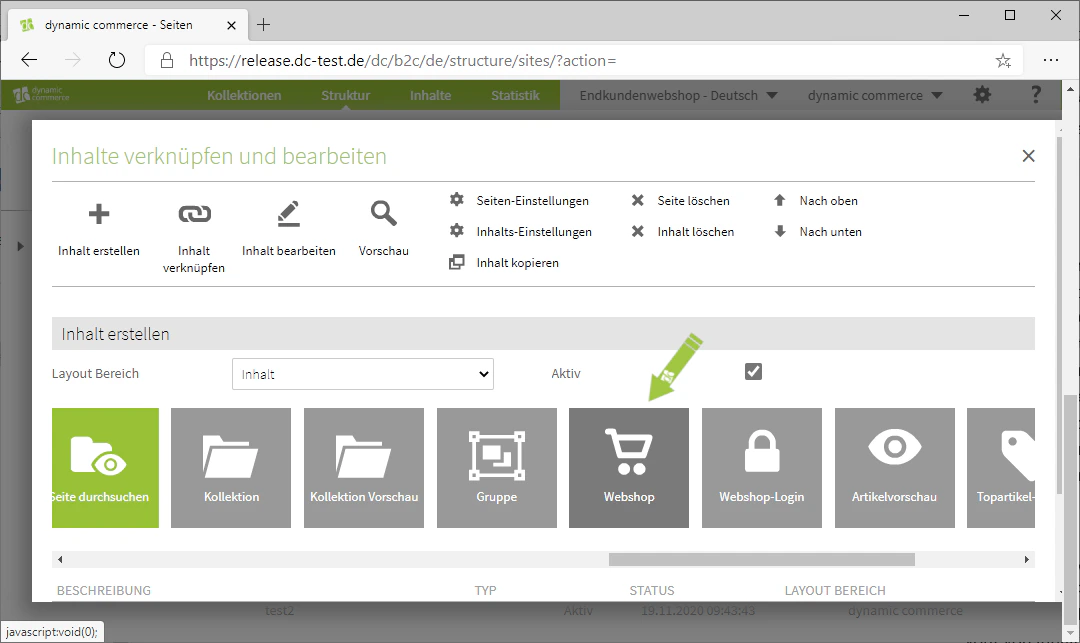

Sitepart 2: Webshop Login
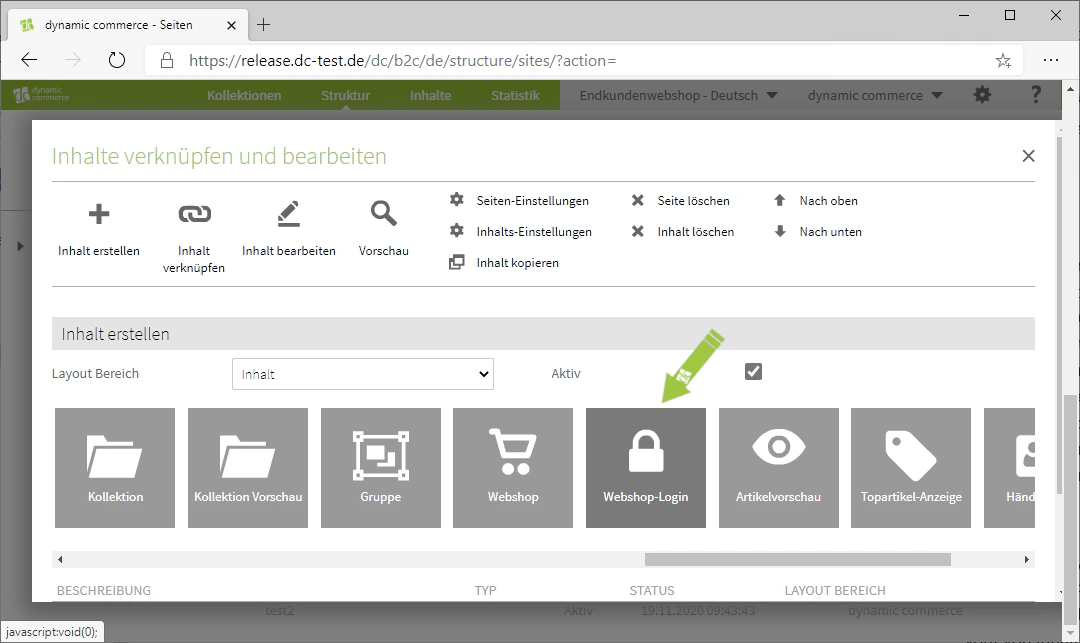
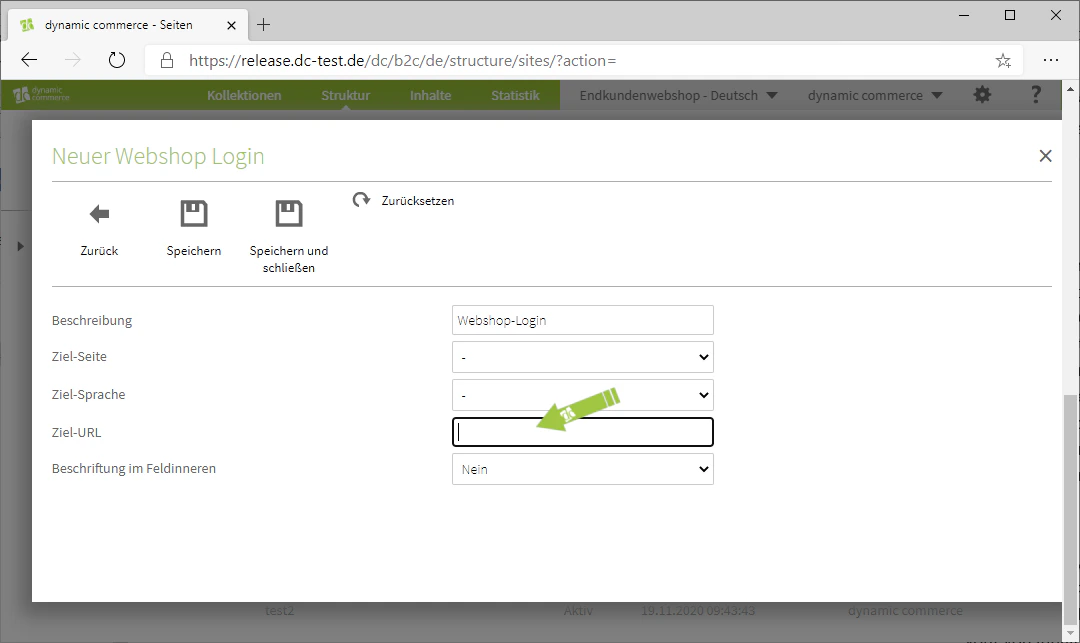
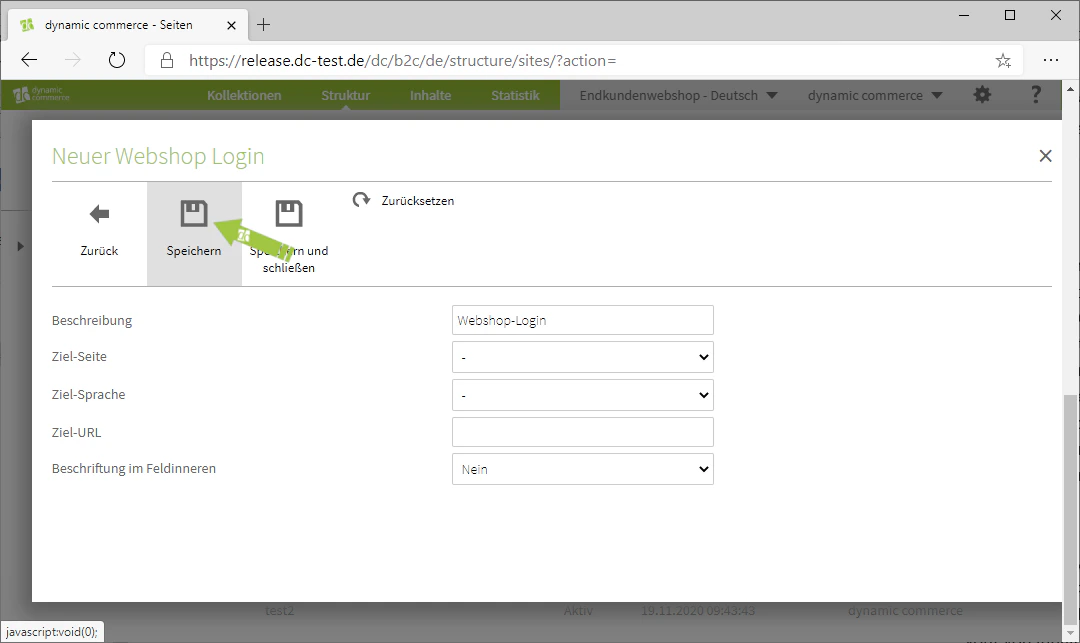
To create a webshop login, select the “Webshop Login” module when creating content. This should open a window with the heading “New Webshop Login”. There you can set which target page the person who successfully logs in should be redirected to. You can specify this page directly via URL in the corresponding field. Alternatively, you can also make a selection using the two drop-downs “Target Page” and “Target Language”. Under “Target Page”, you define which of your created web pages the user should be redirected to. Using “Target Language”, you can then set the language of that web page. After that, you select a description, which only serves for clarity, and save the webshop login.You have now created a webshop login. Please note, however, that we have normally already set one up for you.

Sitepart 3: Article Preview
The article preview is also technically a Webshop Sitepart. However, since this module is used more frequently and has several configuration options, we explain the creation of an article preview in detail under Creating an Article Preview. For the article preview, it is only important to note that the articles and all further information about them (article number, images, prices, etc.) are maintained in your Microsoft Business Central or Dynamics NAV.Sitepart 4: Top Items Display
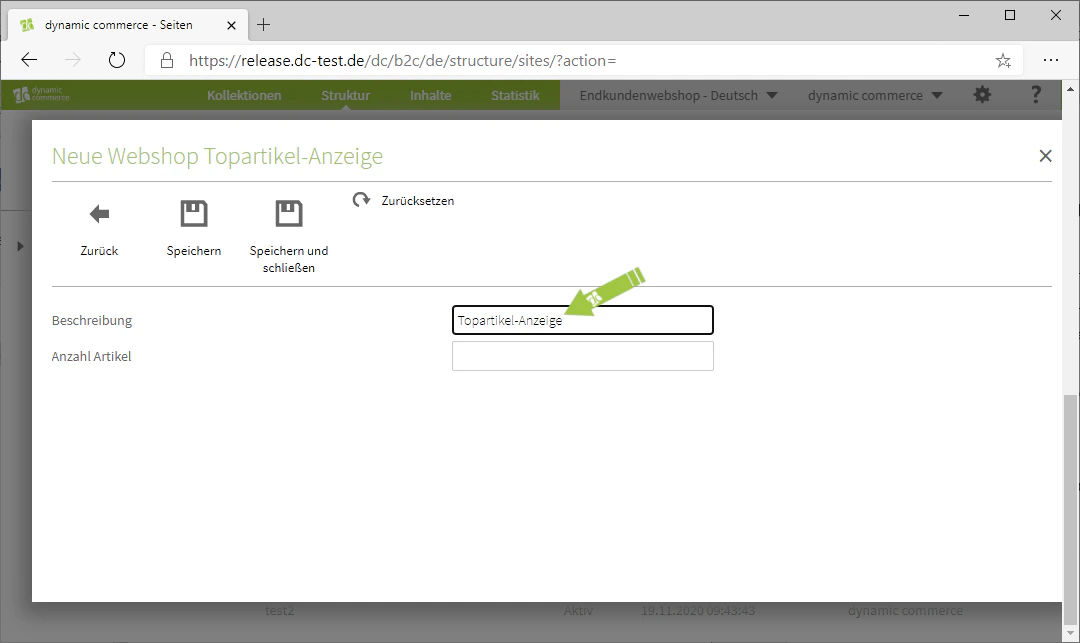
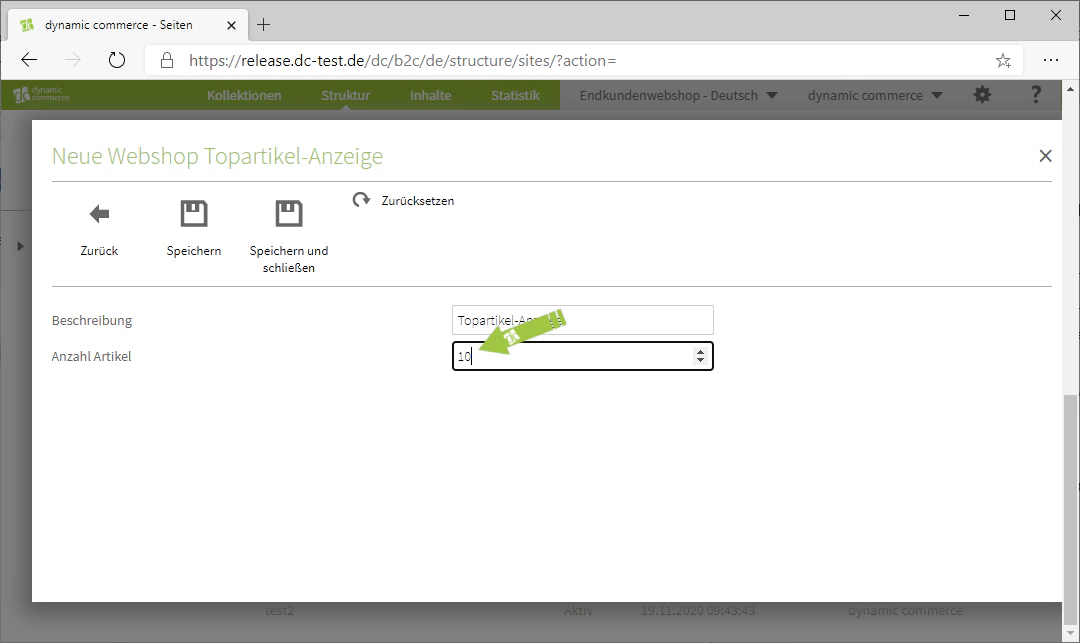
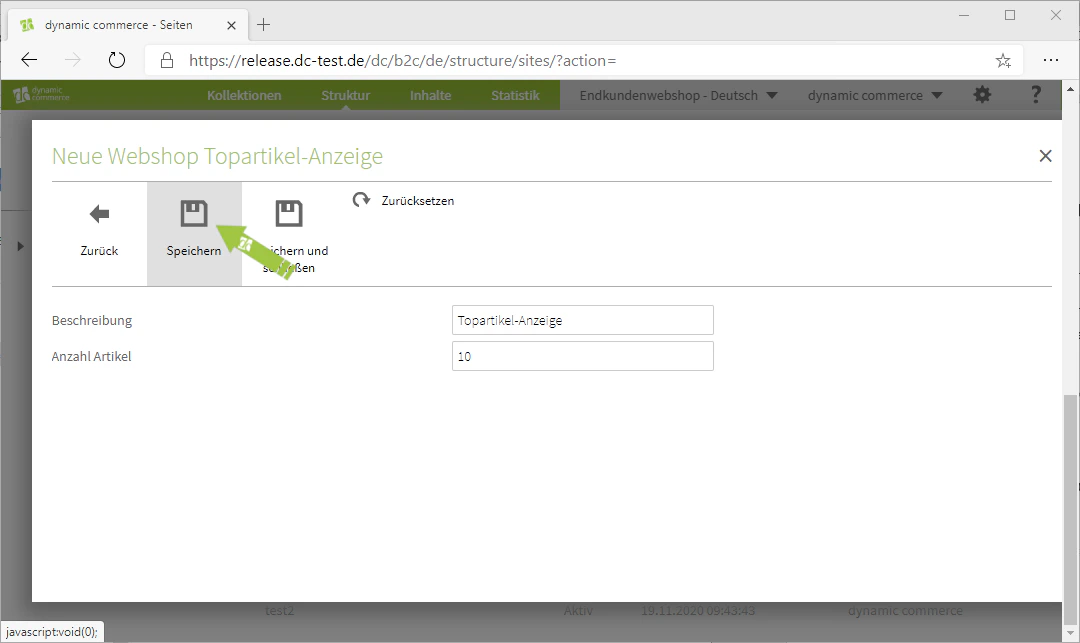
A top items display is nothing more than an article preview. However, with this one you do not have the option to select which articles are displayed; instead, the most frequently purchased articles of the currently logged-in customer are shown. To create such a display, select the “Top Items Display” module when creating content. This should open a window with the heading “New Webshop Top Items Display”. There, you first select a description. As always, this only serves for clarity and is not displayed on the page. In addition, “Top Items Display” is pre-filled here as the default description. Next, you define how many articles in total should be visible in the scrollbar created by the display. In our example, we set ten articles here. Do not forget to save. You have now created a top items display.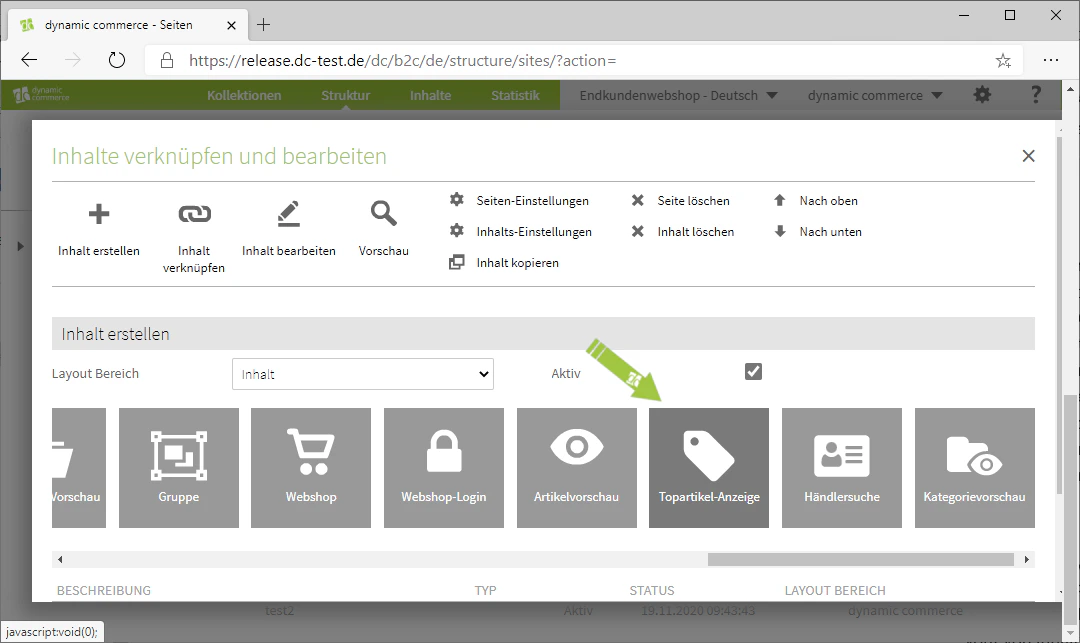
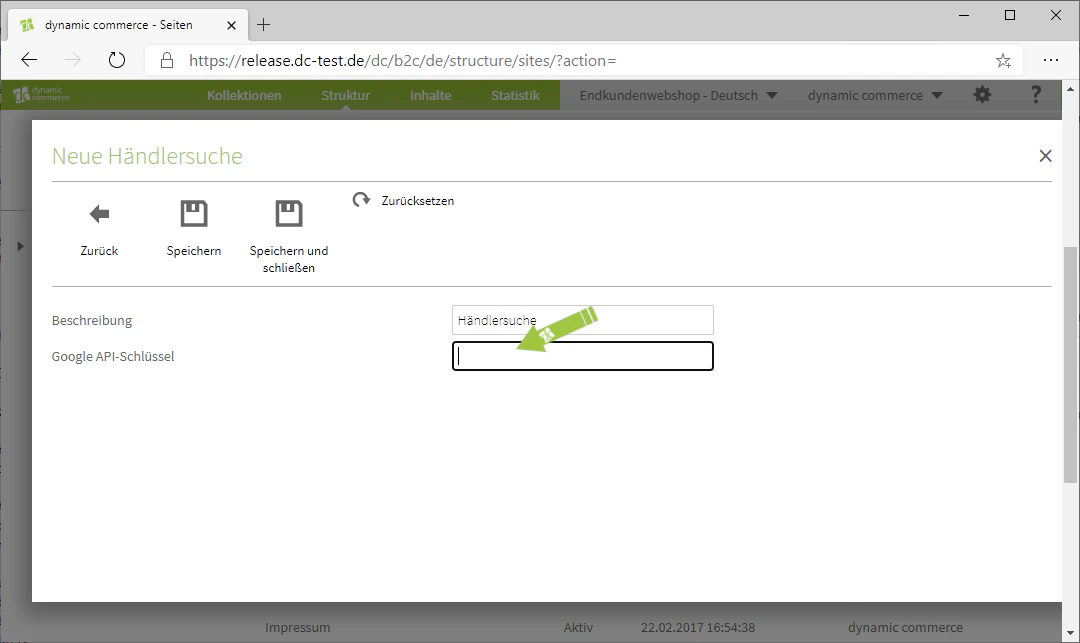
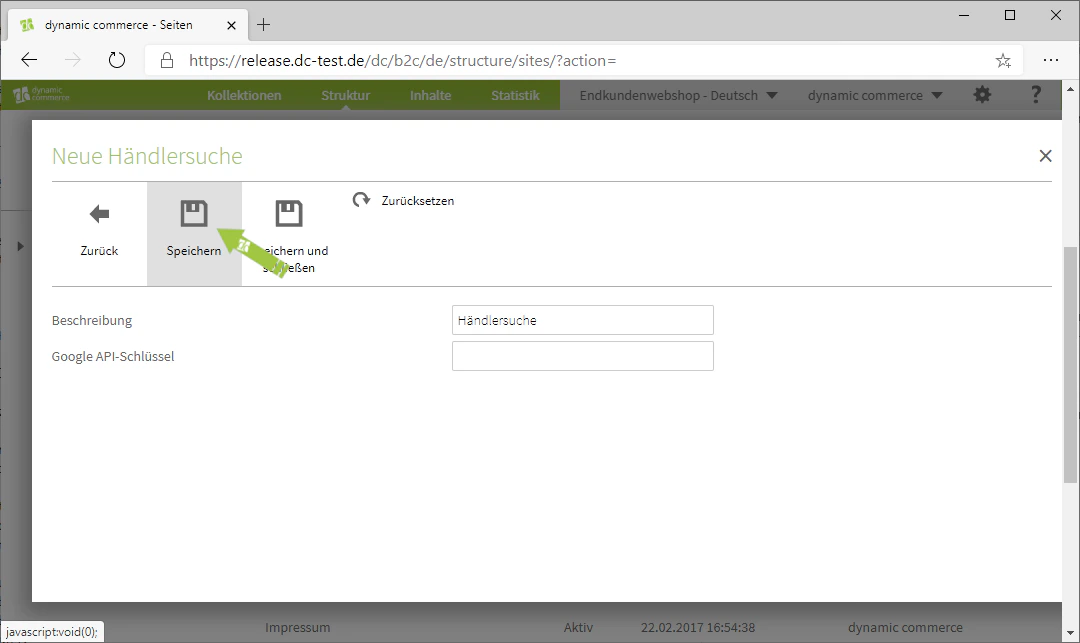
Sitepart 5: Dealer Search
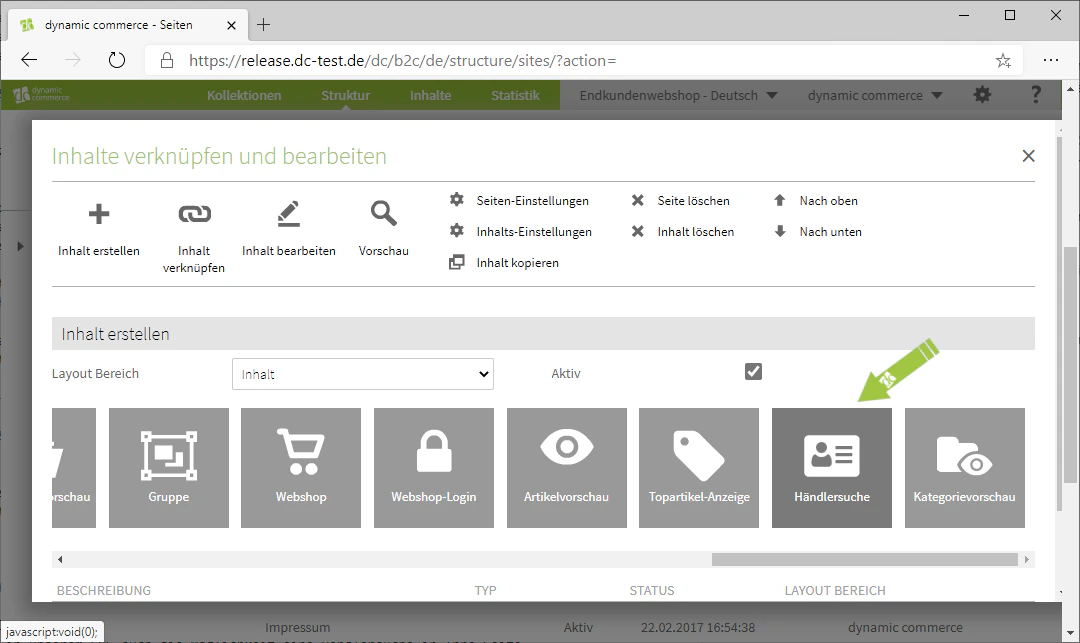
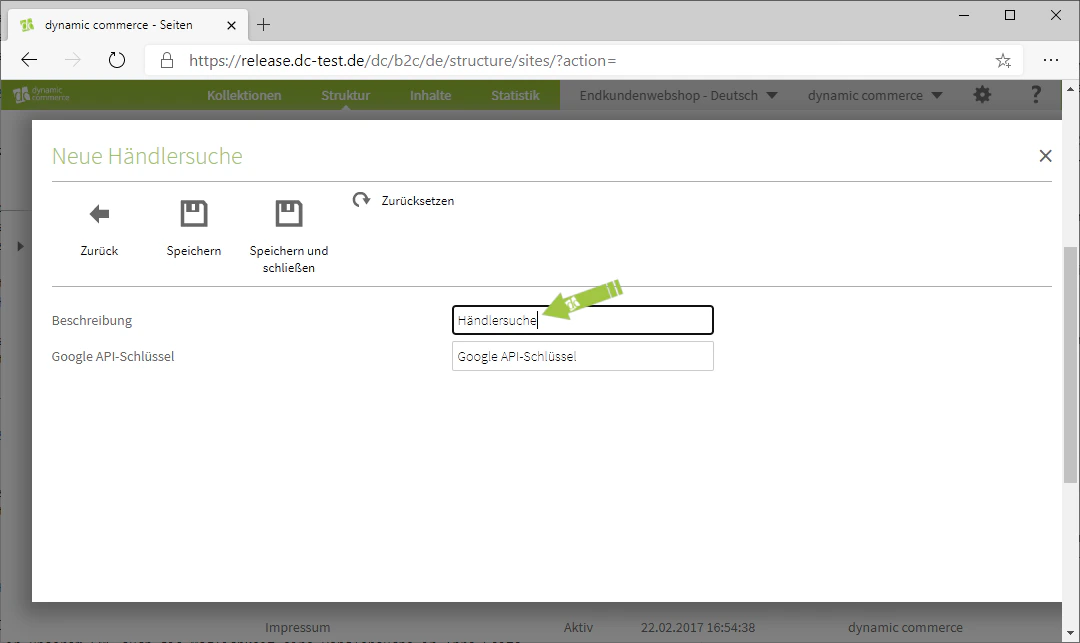
If you work with dealers who distribute your products, our CMS also gives you the option to embed a dealer search into your page. To do this, select the content type “Dealer Search” when creating content. This should open a window with the heading “New Dealer Search”. There, you define a description. This only serves for clarity and is not displayed on the selected page. In addition, “Dealer Search” is pre-filled here as the default description. Below that, you enter your Google API key. You would need to create or request this API key yourself via Google Maps. We are of course happy to assist you with this. Simply contact us.The dealers displayed by the search are not maintained in your CMS, but in Microsoft Business Central or Dynamics NAV. There, you can flag debtors as dealers.
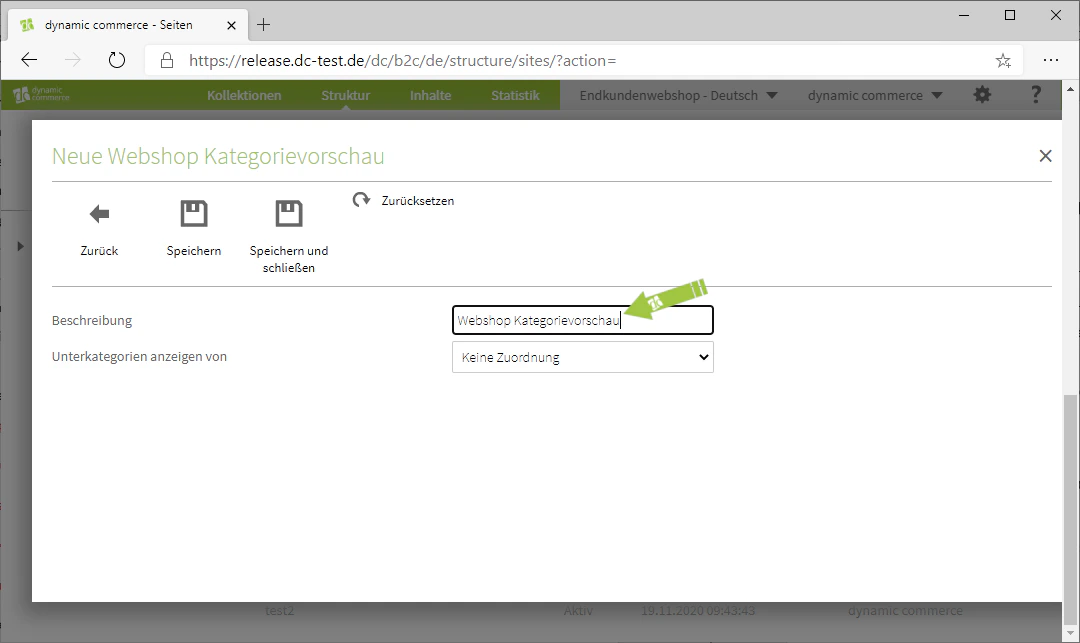
Sitepart 6: Category Preview
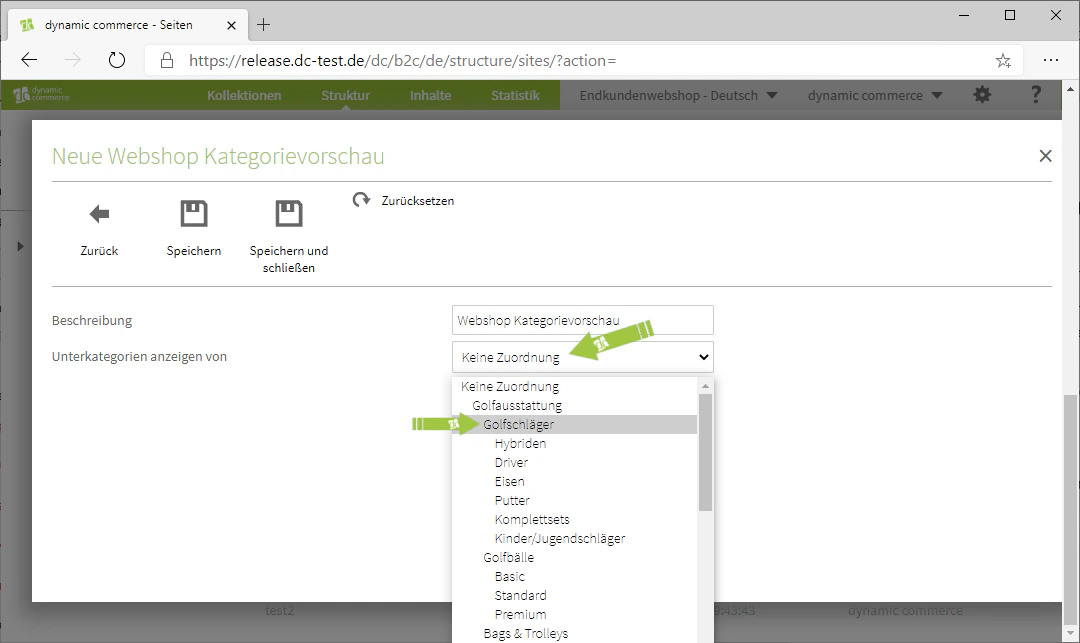
You also have the option to create a category preview. This then displays the selected subcategories in a list. These subcategories and the related information (images, associated articles) are also maintained in your Microsoft Business Central or Dynamics NAV. To create a category preview, select the content module “Category Preview”. This should open a window with the heading “New Webshop Category Preview”. There, you first define a description. This again only serves for clarity. Furthermore, “Webshop Category Preview” is pre-filled there. In the “Show subcategories of” drop-down, you can select which subcategories should be displayed in your category preview. In our example, we select the category “Golf Clubs”. This will display the subcategories, such as “Hybrids” or “Drivers”, which visitors can then click on to directly view the articles contained in that subcategory. Finally, save your settings. You have now successfully created a category preview.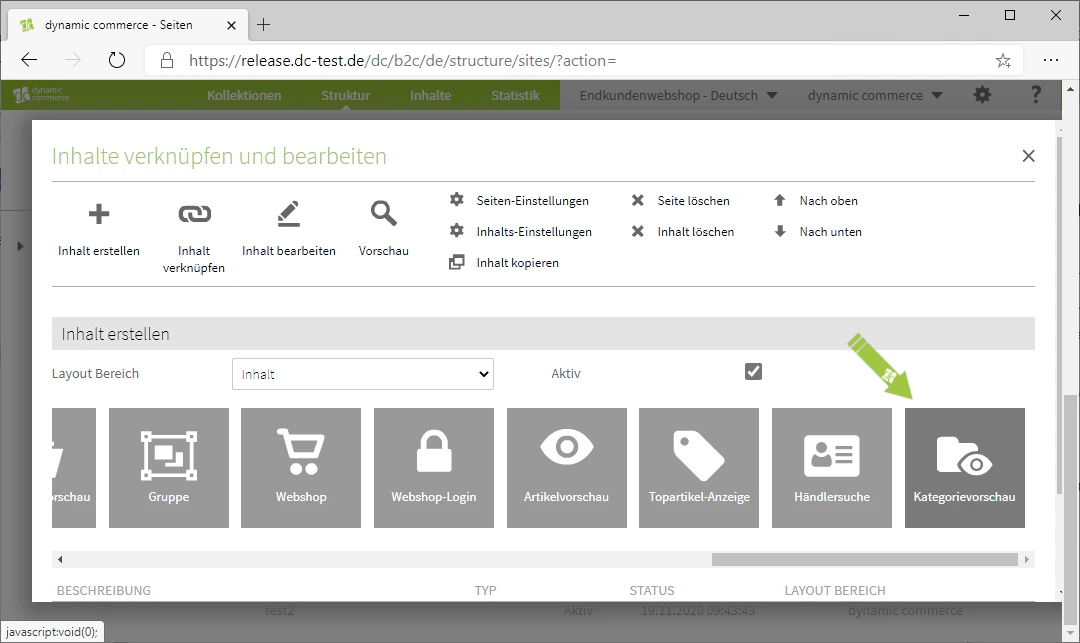

Related Topics
Content Types
Overview of all available modules.
Creating and Editing Content
Adding content to pages.
Article Preview
Display webshop articles in detail in a scrollbar.
Other Modules
Additional content modules such as language switcher or search.