The Collections Tab
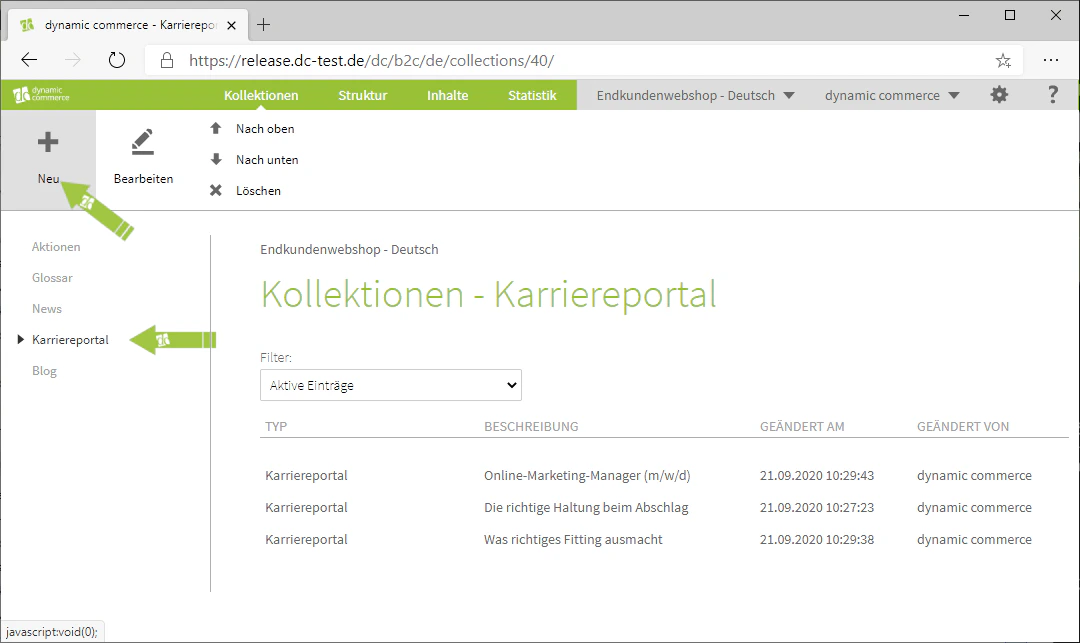
You navigate to the Collections tab by clicking on “Collections” at the top of the screen. In this tab, the collections you have created are both listed on the left side and displayed as tiles. In the center, you will initially see a list of all collection entries, sorted by the last modification date. If you click on one of the collections in the list or in the tiles, the collection will be opened. Here you also have the option to edit the collection entries of that collection or to create new entries for it by clicking the “plus” icon with the label “New” below it.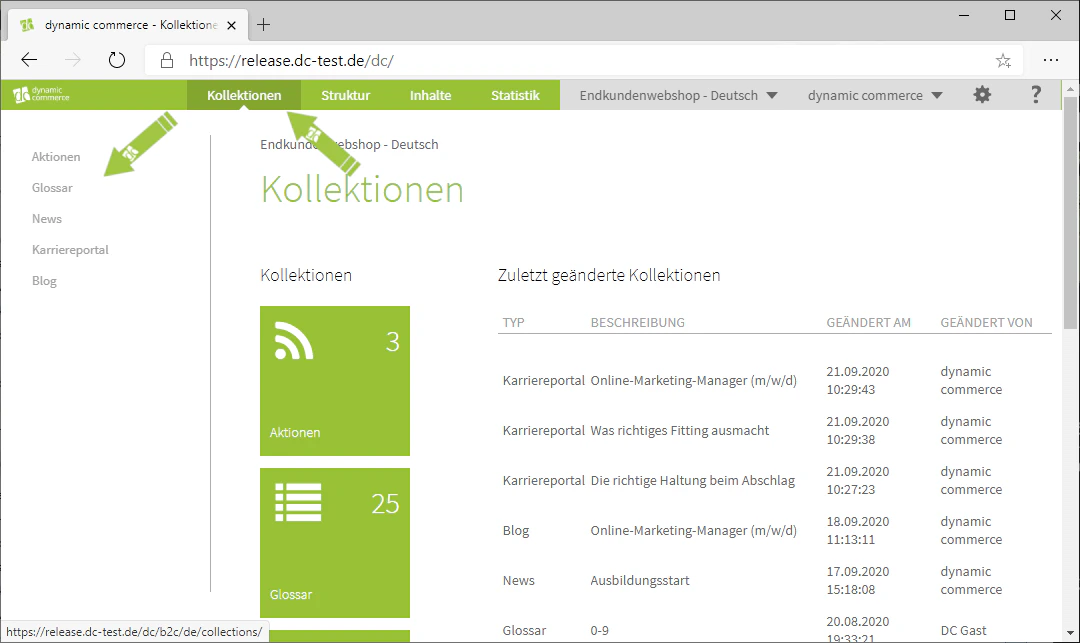
The Structure Tab
The Structure tab contains the menus that allow you to influence the structure of your website. You navigate there by clicking on “Structure” at the top of the screen. You will find the following menus here:- The Pages menu, where you can manage subpages for your website.
- The Shopping Worlds menu, where you can create and edit shopping worlds.
- The Navigation menu, where you can customize the navigation within the website.
- The Files menu, where you can manage uploaded files.
- The Blocks menu, where you can create or edit blocks.
- The Page Templates menu, where you can create templates for pages.

The Pages Menu
As shown above, you can access the Pages menu via the Structure tab. Here you will see a list of the created pages in the center. By clicking the “plus” icon with the label “New” below it, you can create a new page here. By double-clicking on the respective page, you can edit the pages and their content. In this window, you will also find the page settings at the top. In addition, there is the option of In-Page Editing, which allows you to edit the page exactly as it appears in the browser.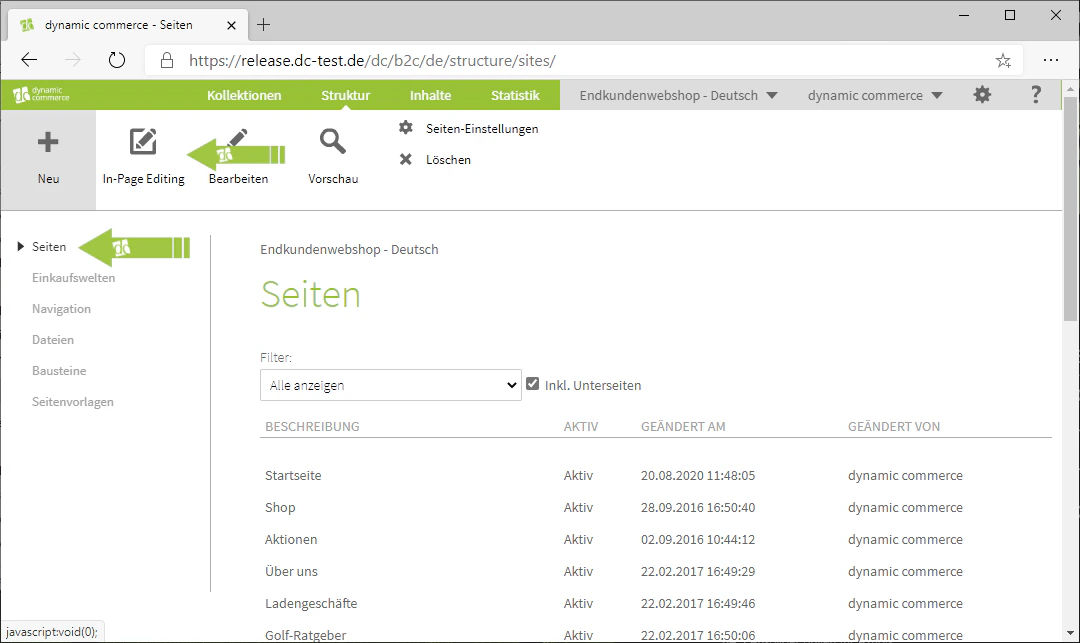
The Navigation Menu
As shown above, you can access the Navigation menu via the Structure tab. This contains the navigation within the pages that you have just seen in the Pages menu. By clicking the “plus” icon with the label “New” below it, you can create a new navigation item here. You can rearrange these navigation items in any order by moving your mouse cursor over the cross with arrows at all four ends and using drag & drop.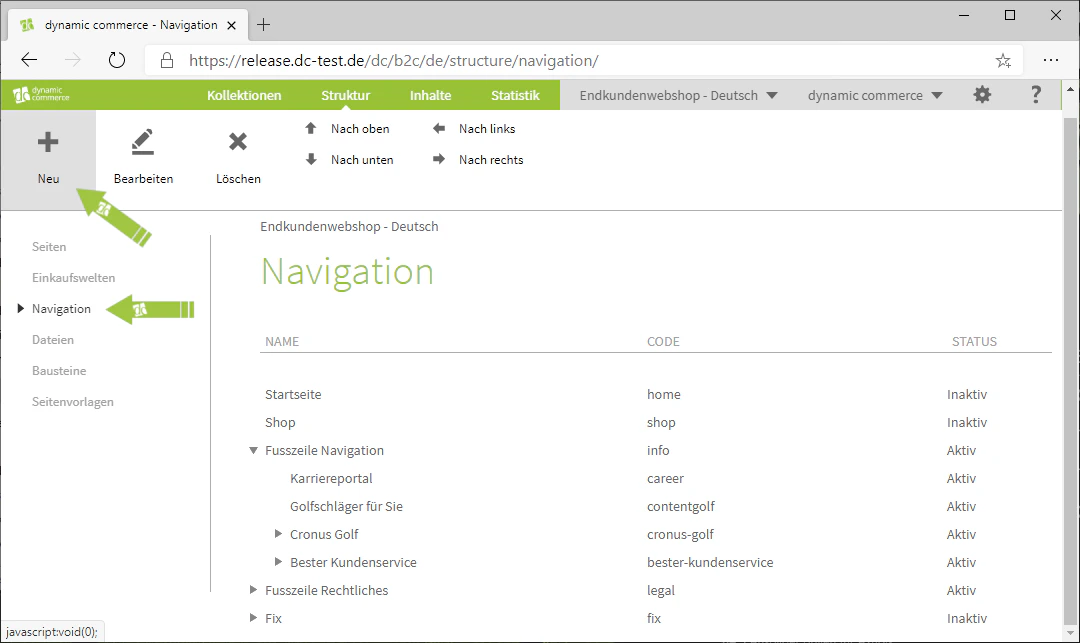
The Content Tab
You navigate to the Content tab by clicking on “Content” at the top of the screen. Here you will find an overview of all created content located on your pages. On the left side, you will see a list organized by content types. This is also reflected in the tiles. In the center, you will see all content sorted by the last modification date. You can edit these again by double-clicking.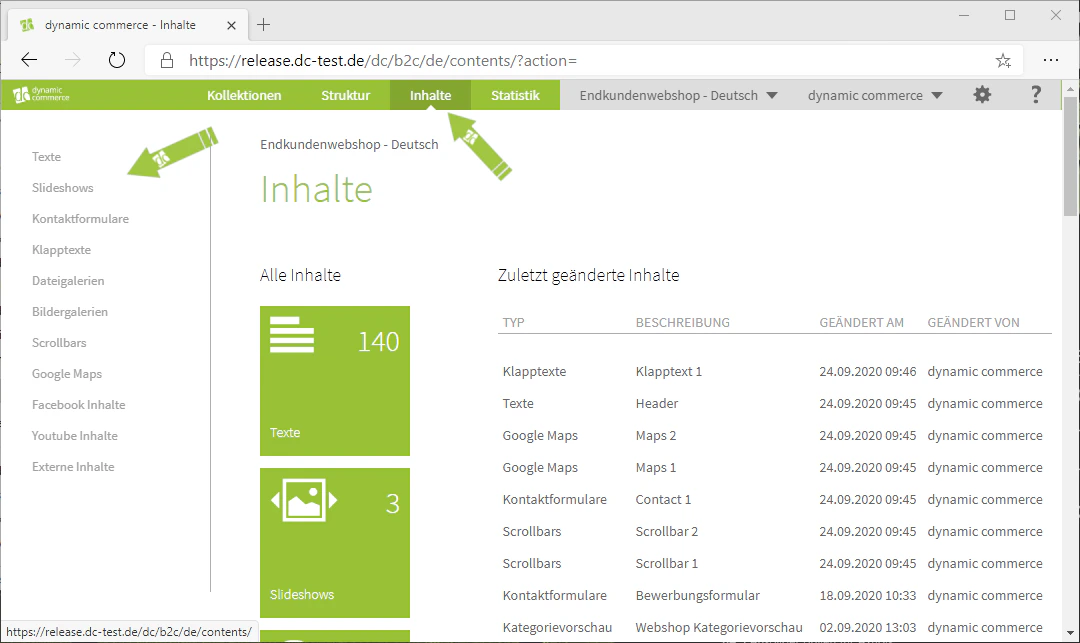
The Statistics Tab
The Statistics tab contains statistics on the performance of your shop. You open this tab by clicking on “Statistics” at the top of the screen. Here you will see the individual statistics on the left side. By default, the mail log, access statistics, order statistics, and search statistics should be displayed there.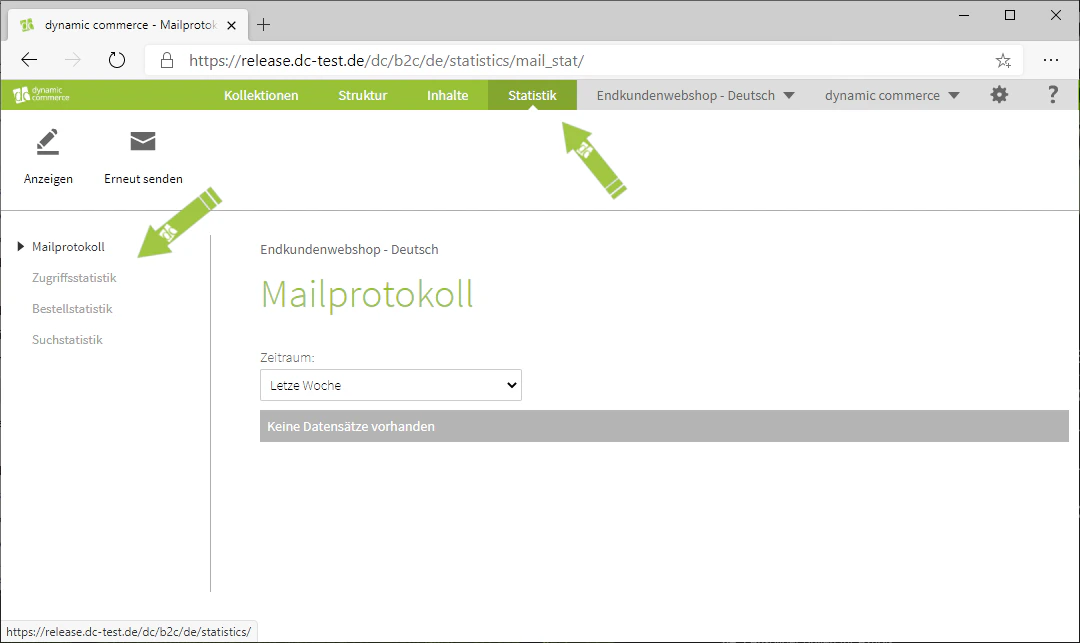
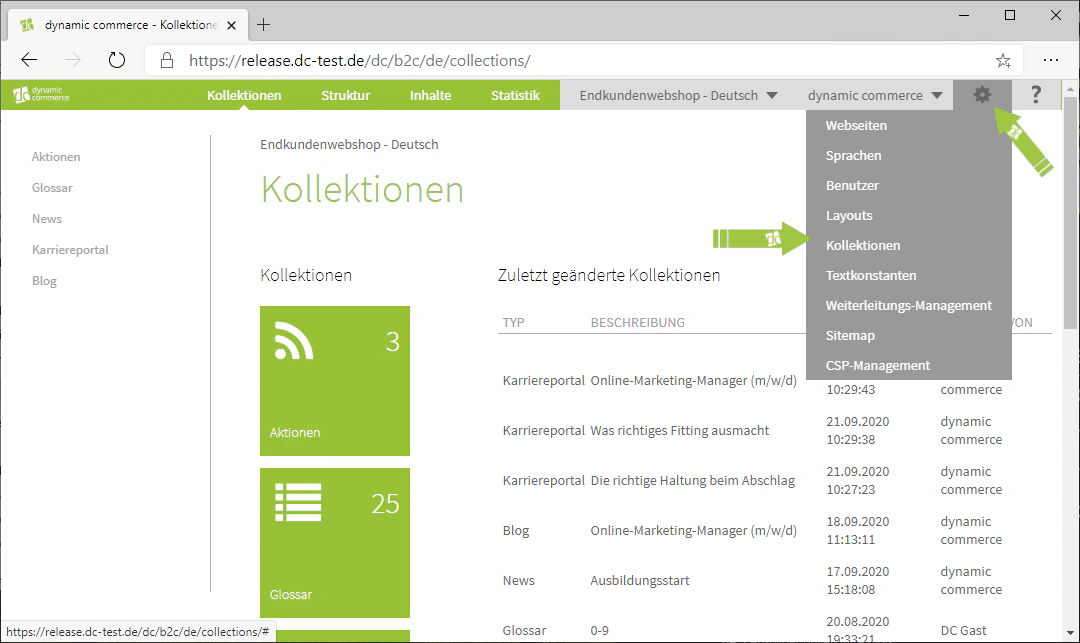
The Settings
You can display the individual settings menus by hovering your mouse over the gear icon in the upper right corner. You will find the following menus here:- The Websites menu, where you can edit or create your websites.
- The Languages menu, where you can manage the languages associated with the website.
- The Users menu or user management, where you can manage the users of the CMS.
- The Layout menu, where you can customize the layout by uploading new layout files.
- The Collections menu, where you can create new collections and manage them.
- The Text Constants menu, where you can change the text constants of your website.
- The Redirect Management, where you can create redirects within your websites or to external pages.
- The Sitemap menu, where you can display the sitemap of your websites.
- The CSP Management, where you can manage permissions for displaying external content on your website.
Information and Help
You can find further information and help by hovering your mouse over the question mark in the upper right corner. Under the “License” item, your license for our software is displayed. Under the “System Info” item, various information about your system is displayed. Under the “Help” item, we show you how to reach us if you need assistance.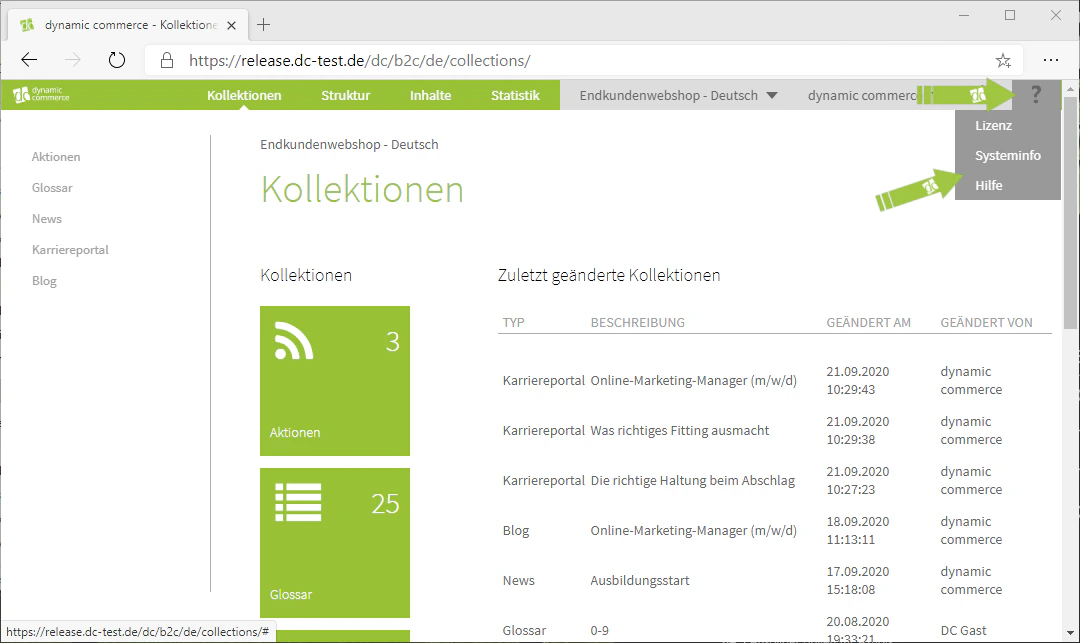
Related Topics
User Management
Manage users and roles in the CMS.
Help
Contact support and get help.
Switch Website
Switch between your websites.
CSP Management
Securely enable external content.