Step 1: Navigate to Redirect Management
First, navigate to the Redirect Management. You can access it by hovering over the settings icon — the gear wheel in the top right corner — and clicking on “Redirect Management”. The corresponding menu should then open.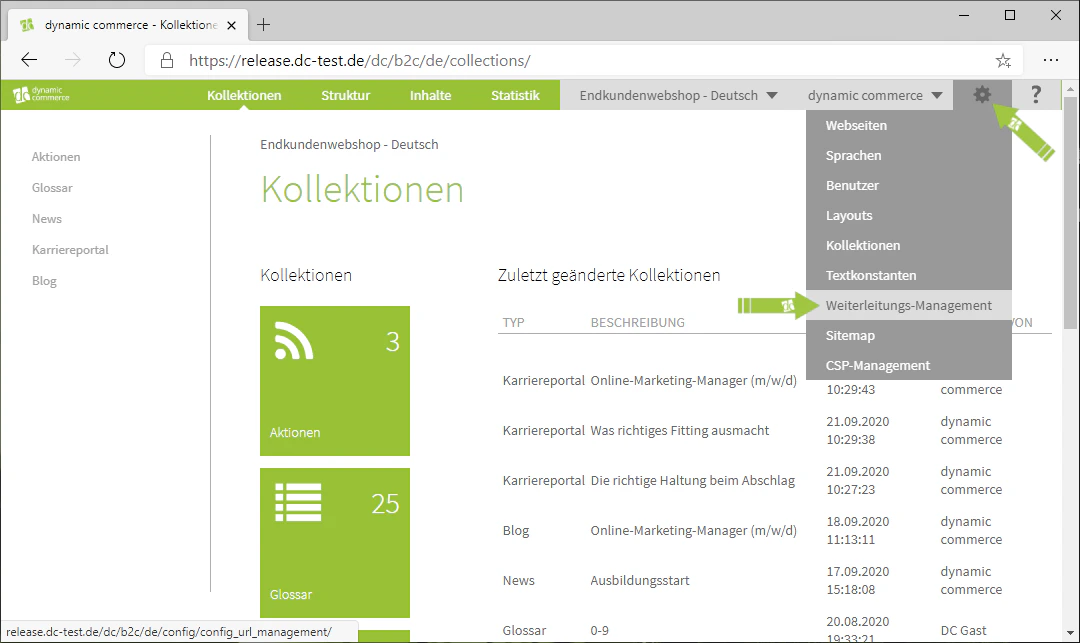
Step 2: Create a New Redirect
There you have the option to create a new redirect or to edit an existing one by double-clicking on it. To create a new redirect, click the “Plus” icon with the label “New” below it. A window with the heading “New URL” should then open.
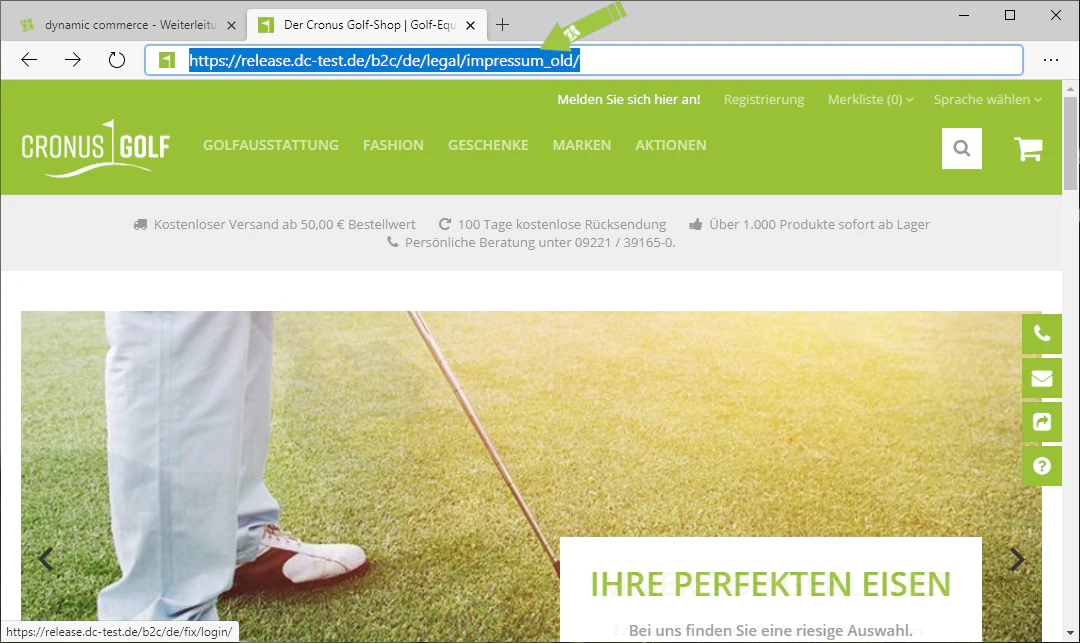
Step 3: Enter the Old URL and Set It to Active
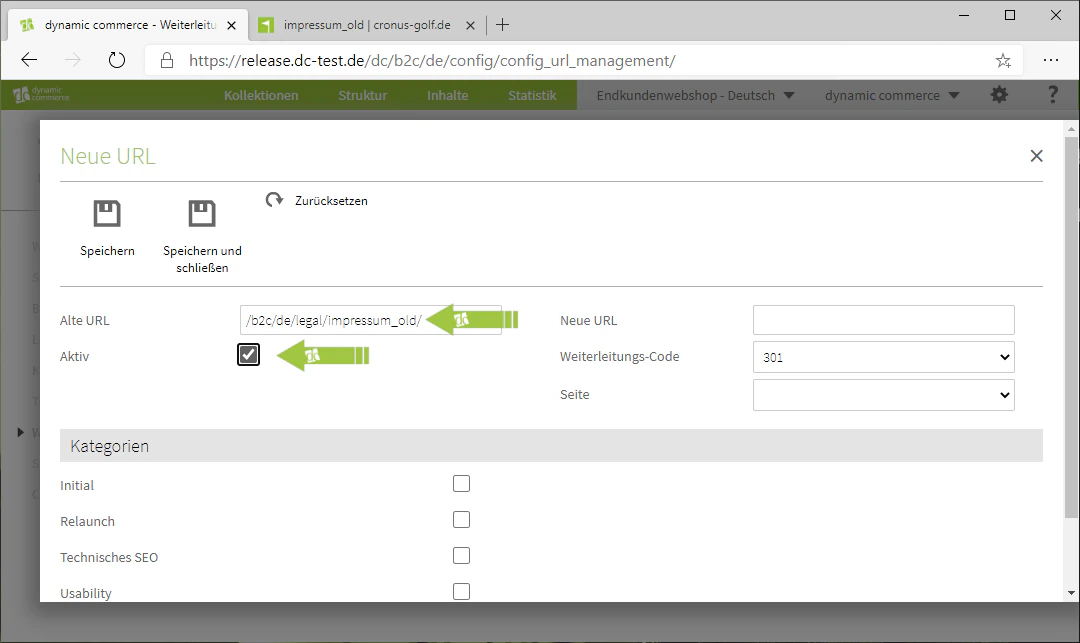
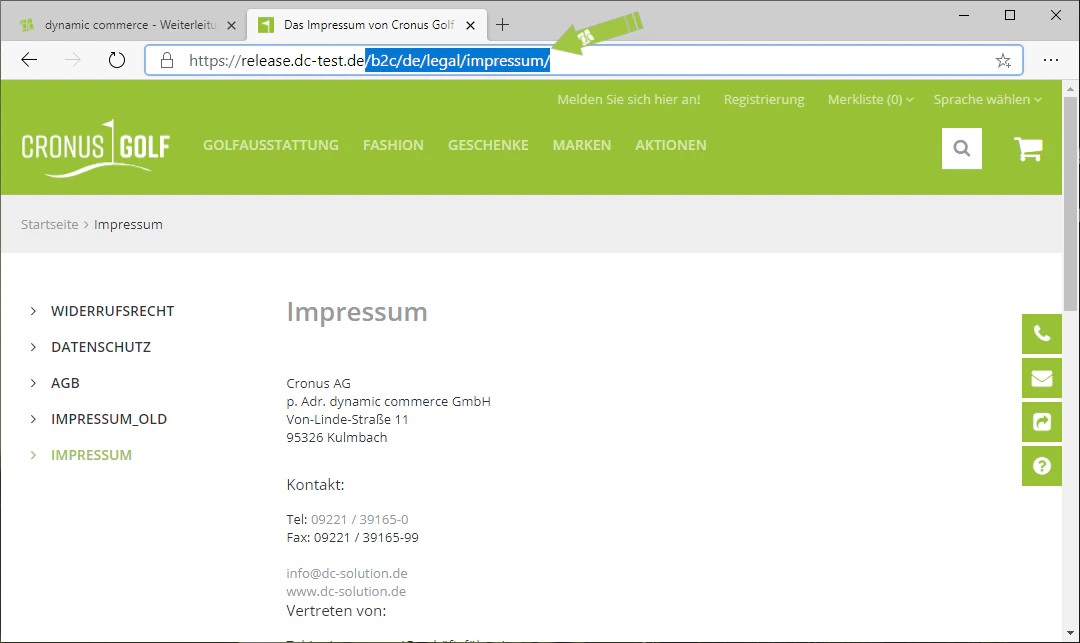
Under “Old URL”, enter the URL from which you want to redirect to the new one.In our example, we want to redirect from an old imprint page to the new one. Therefore, we navigate to the old page and copy the link starting from the “.de”. We then paste this into the “Old URL” field. We now set the redirect to active so that it works immediately after saving.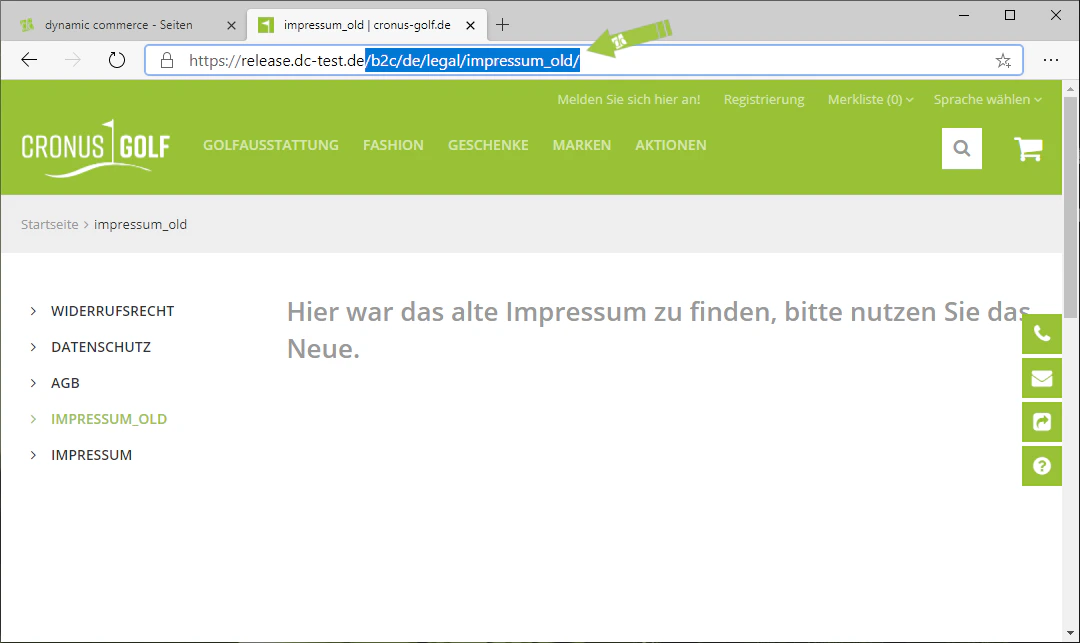
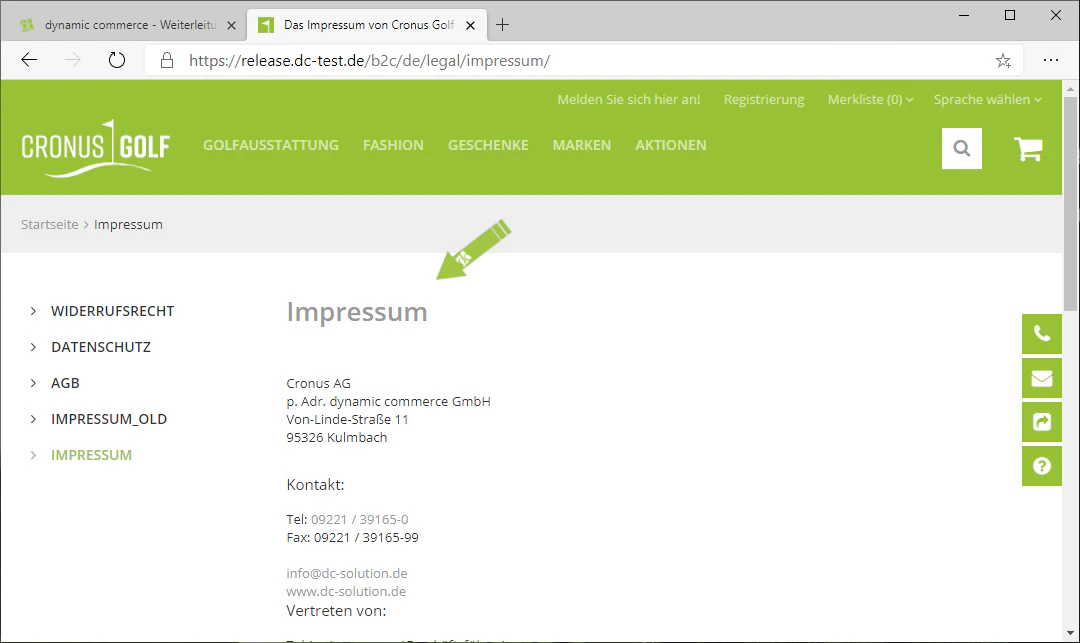
Step 4: Select the New URL
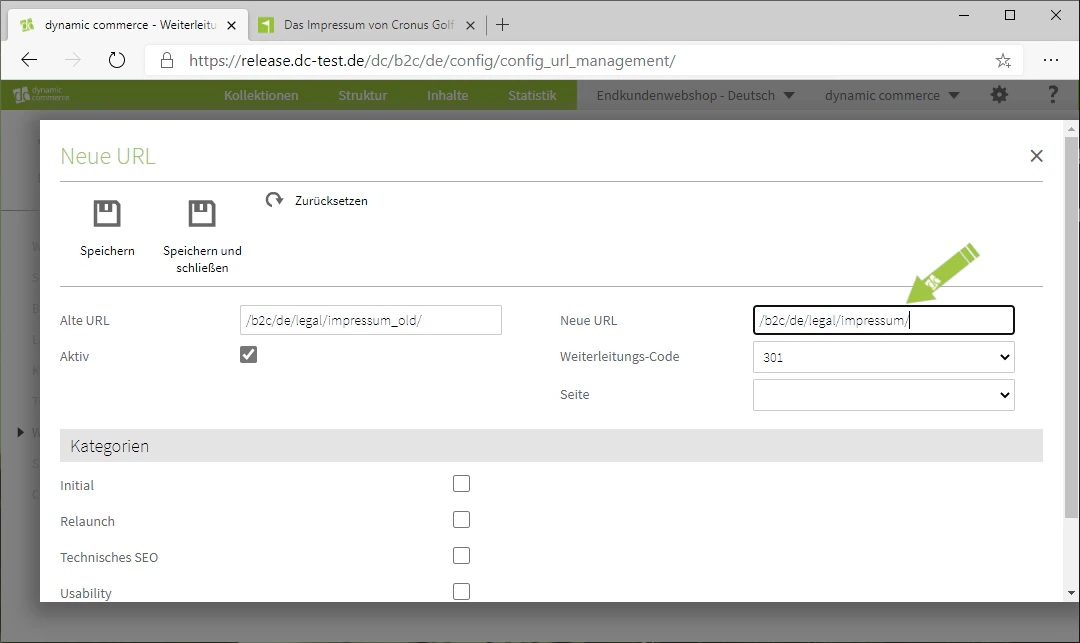
When selecting the new URL — i.e. the page to which visitors should be redirected — you have two options. You can simply select one of the pages from the drop-down in the “Page” field. Alternatively, as in the previous step, you can paste the URL directly into the field next to “New URL”.In our example, we paste the URL of the new imprint page.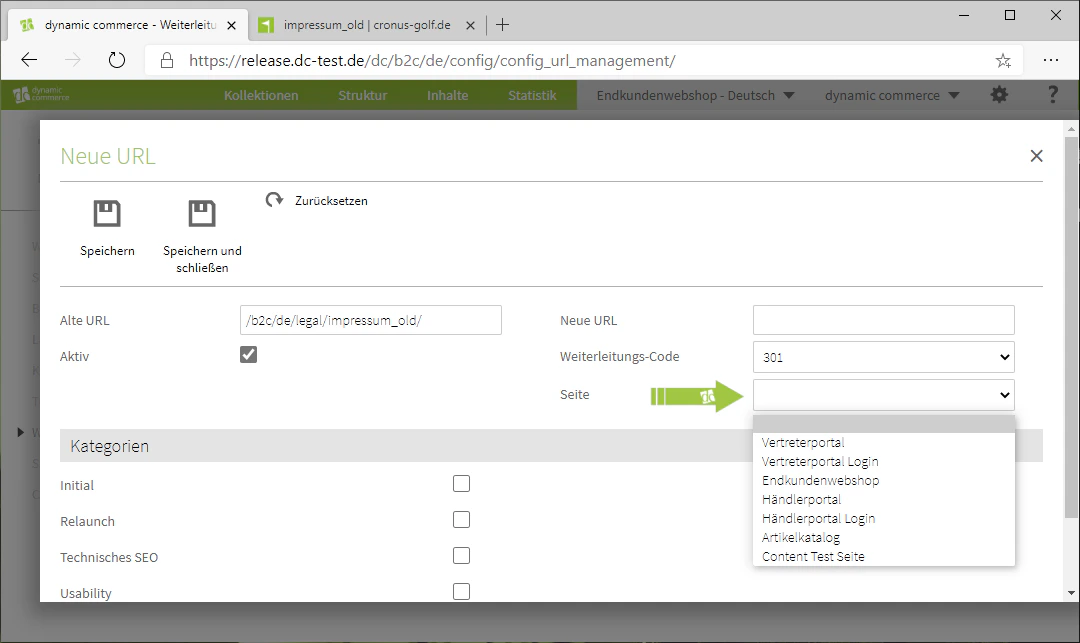
Step 5: Select the Redirect Code and Save
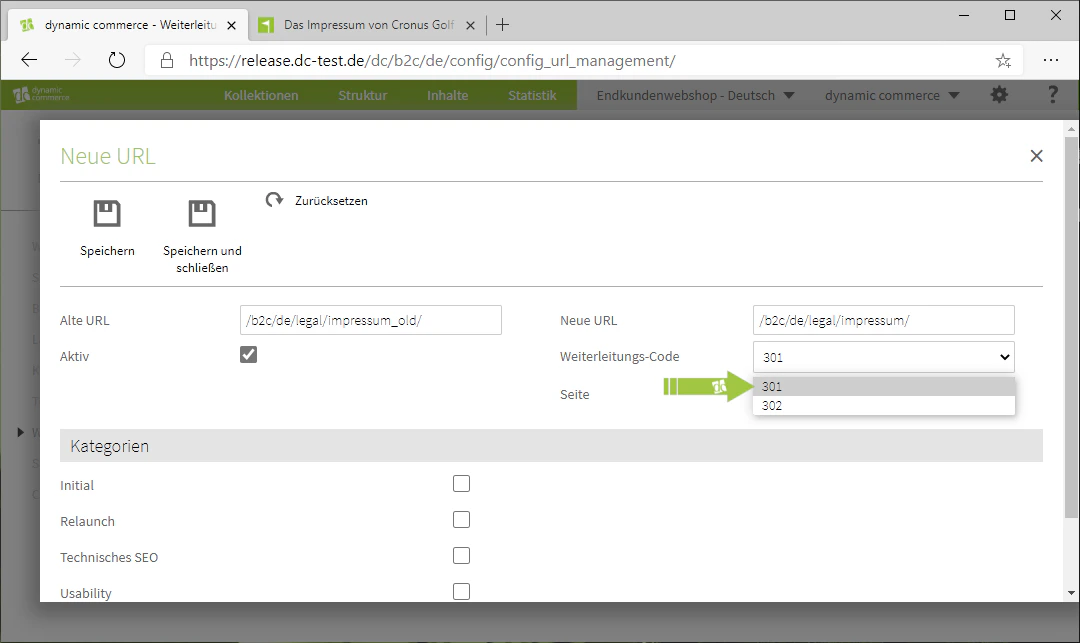
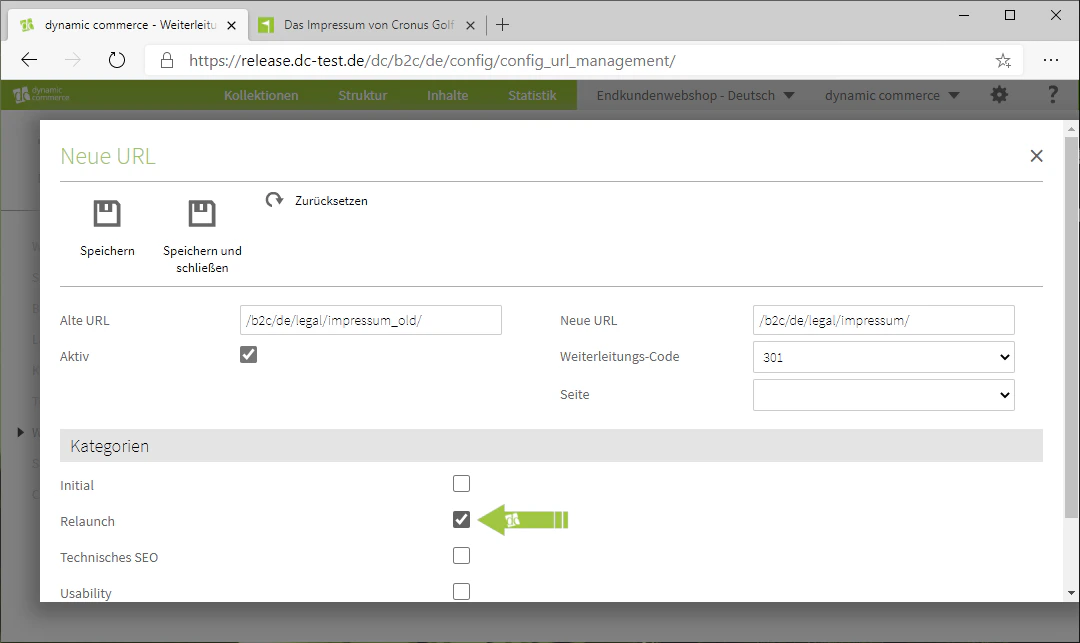
You can now select either code “301” or “302” from the “Redirect Code” drop-down. These codes serve SEO purposes. As a general rule, code “301” is used for permanent redirects, while code “302” is used for temporary redirects. In our example, this is a permanent redirect, which is why we use code “301”.Below this, you can assign the redirect to one of five categories. These are purely for organisational purposes and do not need to be selected. In our example, however, this most closely resembles a relaunch, which is why we choose that category.Finally, save the redirect and it will be fully functional. In our example, if the link to the old imprint is now entered, the visitor will be redirected directly to the new one.
Related Topics
Create Websites
Create new websites and assign a domain.
Page Navigation
Manage navigation items and remove old entries.
Create Pages
Create new pages as the target of a redirect.