Step 1: Navigate to User Management
First, navigate to user management. You can access it by hovering your mouse over the username with which you are logged in to the CMS. This is located in the bar at the top, to the left of the settings. A drop-down will then open, in which you will find user management. You should now have arrived in the user management area, i.e. the user menu.
Step 2: Create a New User
By clicking on the “Plus” with the label “New” below it, you can create a new user there. A window with the heading “Create New User” should then open, in which you can maintain the settings for this user and adjust the permissions directly. Of course, you can also double-click an existing user to edit them, adjust permissions, and change the password.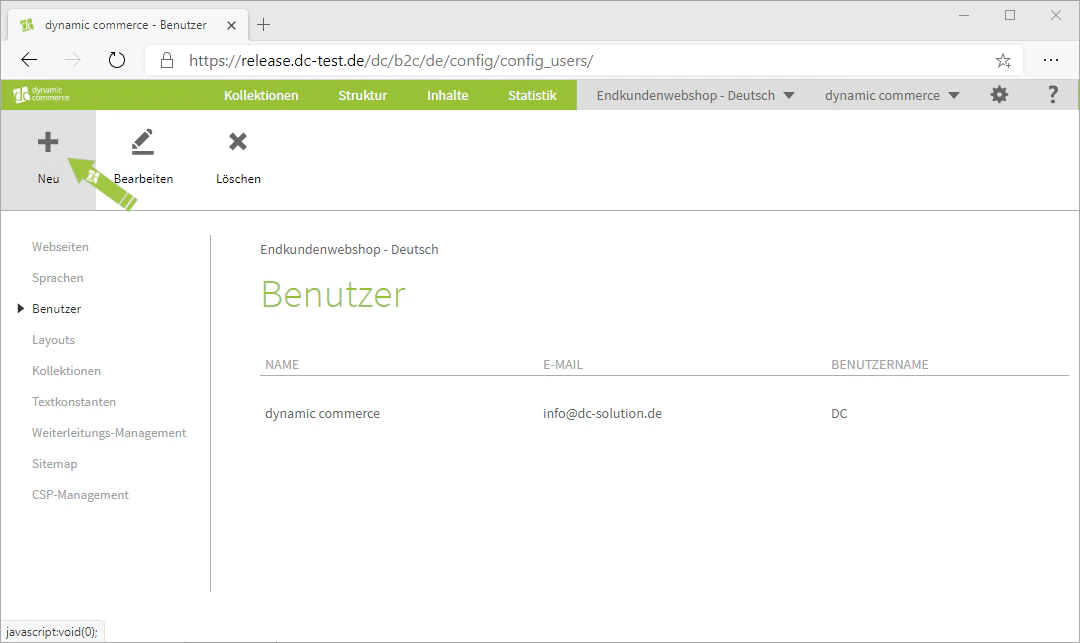
Step 3: Define Name and Email
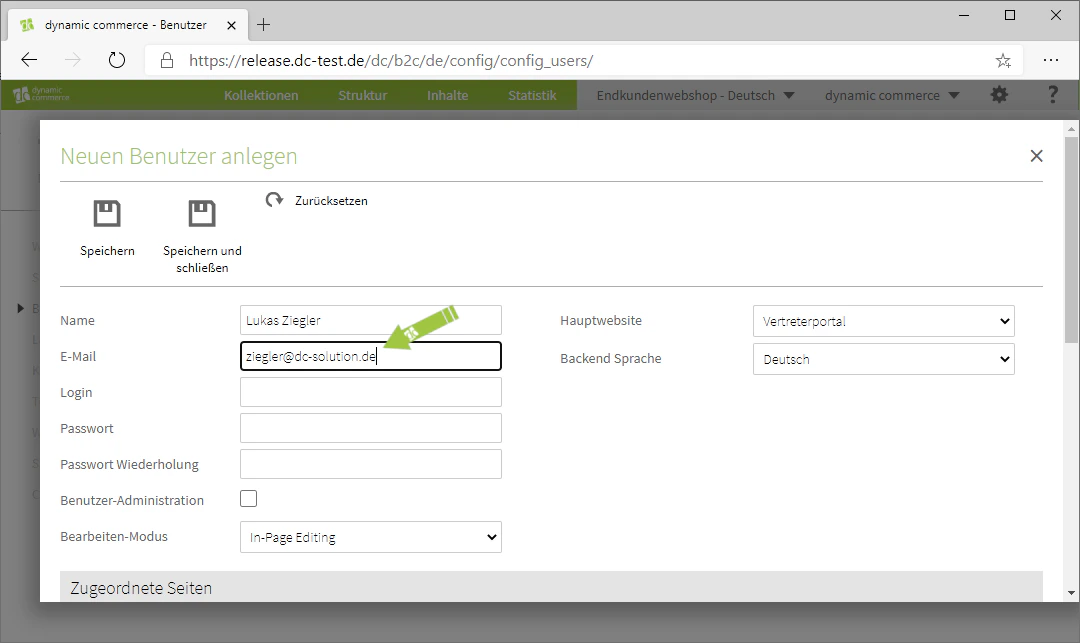
In the window that has just opened, first define the name of the user. This will then be displayed at the top in the bar through which you accessed user management in Step 1. Then enter the user’s email address. In our example, we are creating a user for the employee “Lukas Ziegler”. As the email address, we enter “ziegler@dc-soltion.de”.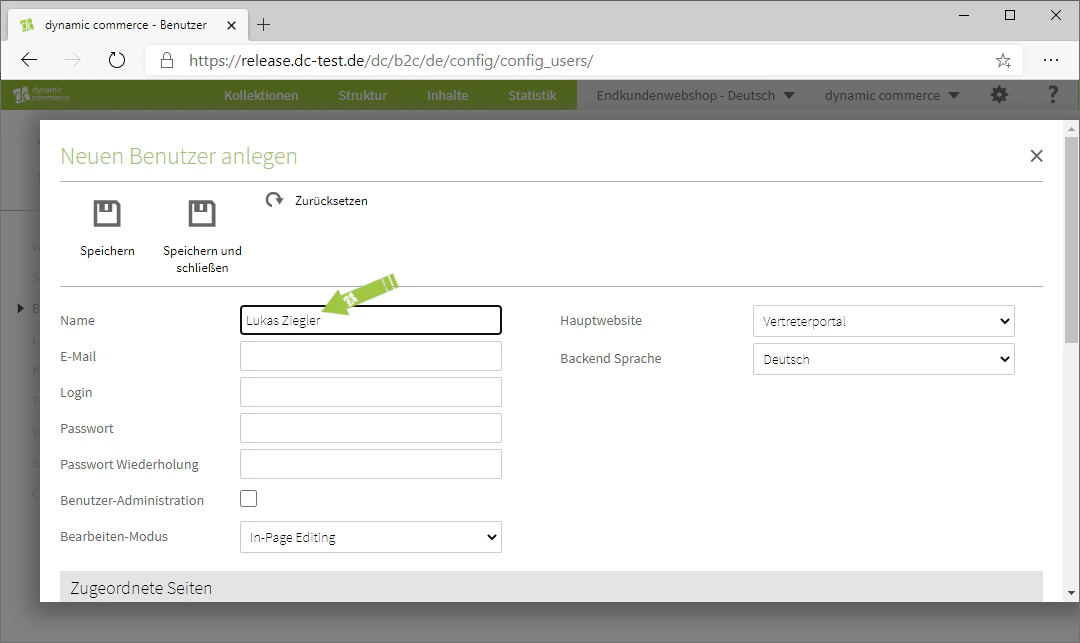
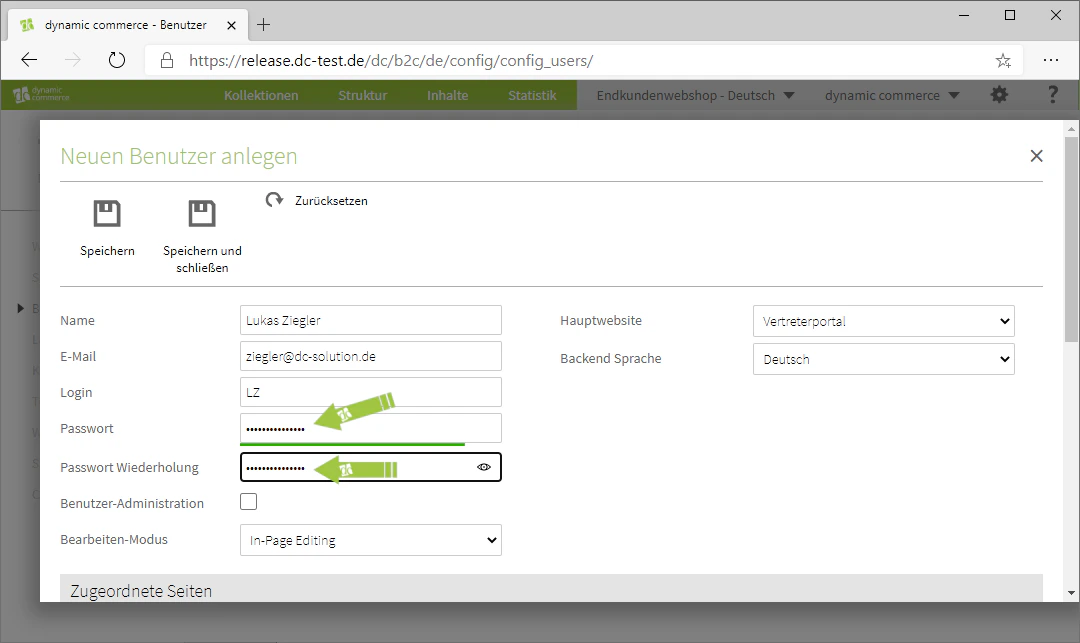
Step 4: Choose Login and Password
Next, choose a login name. The user can then use this to log in to your CMS. Then enter the corresponding password and repeat it. The bar below indicates whether it is a secure password. Ideally, this should be green. You can make the password visible using the “eye” icon. In our example, we choose “LZ” as the login name, as this is the employee’s abbreviation. We also choose a secure password, which is indicated by the green bar, and repeat it below.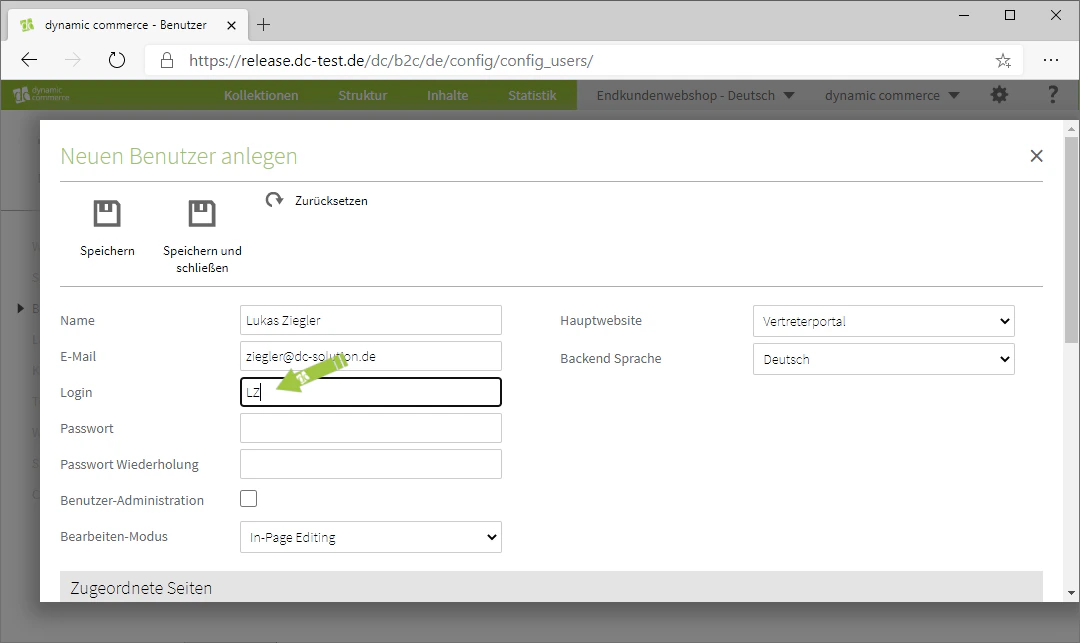
Step 5: Allow User Administration
By checking the “User Administration” checkbox, you grant this user the permission to manage users. This means the user can both create new users and edit existing ones. You should therefore carefully consider which users you grant these rights to. In our example, we check the box, as this user should also be able to manage others.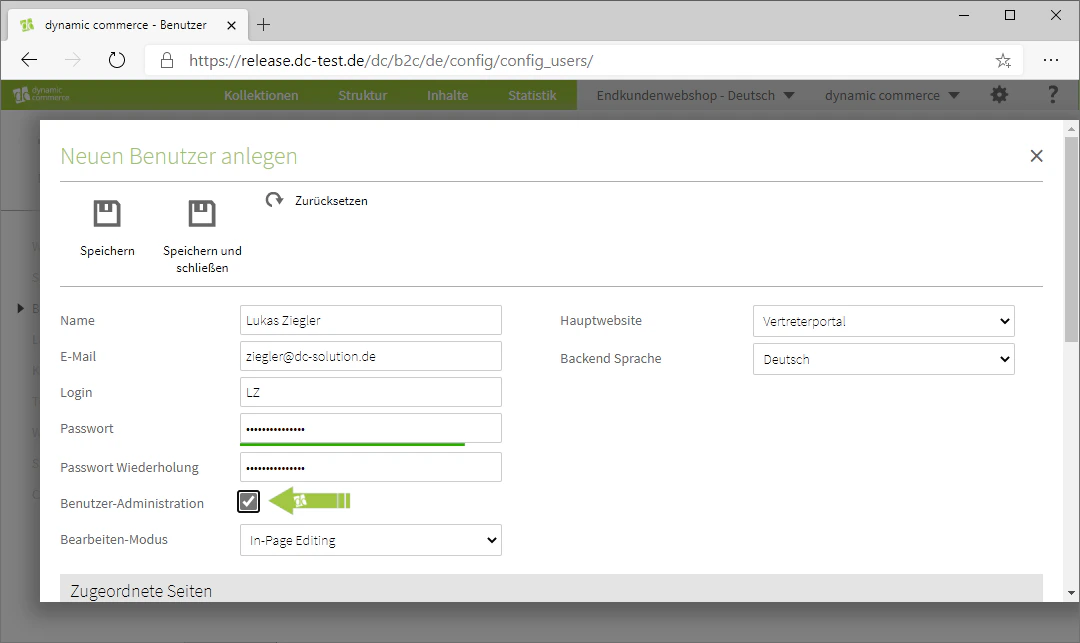
Step 6: Choose Editing Mode
Next, define the editing mode that should be set as the default for the user. This is done via the corresponding drop-down. Your options here are the standard backend editing, which is used almost exclusively in this documentation, as well as in-page editing, which allows you to edit content directly within the pages. Furthermore, you are only defining the default mode here. This means that content which the user edits by double-clicking will be opened in this mode. Of course, the user still has the option to use both modes. In our example, we set backend editing as the editing mode.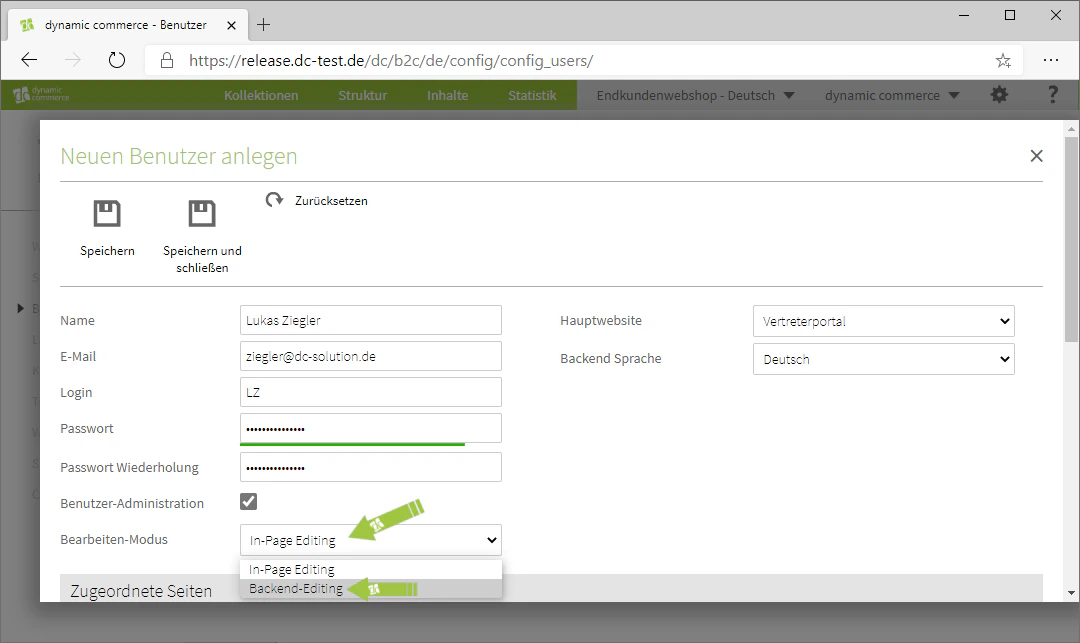
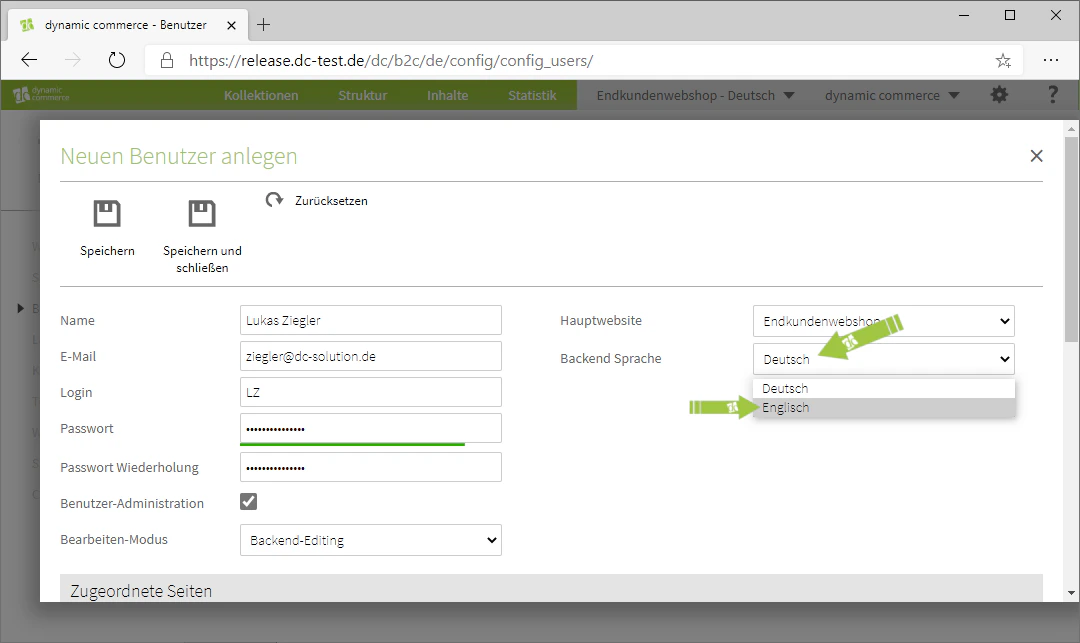
Step 7: Define Main Website and Backend Language
You can now set the main website via the corresponding drop-down menu. This website will then be edited by default when the user logs in. If the user wants to edit a different website, they can do so by simply switching to it. In addition, the backend language can be defined via the drop-down below. Here you can choose in which language the CMS should be displayed. You can choose between German and English. In our example, we set the end-customer webshop as the main website. The backend language for the user should be set to “English”.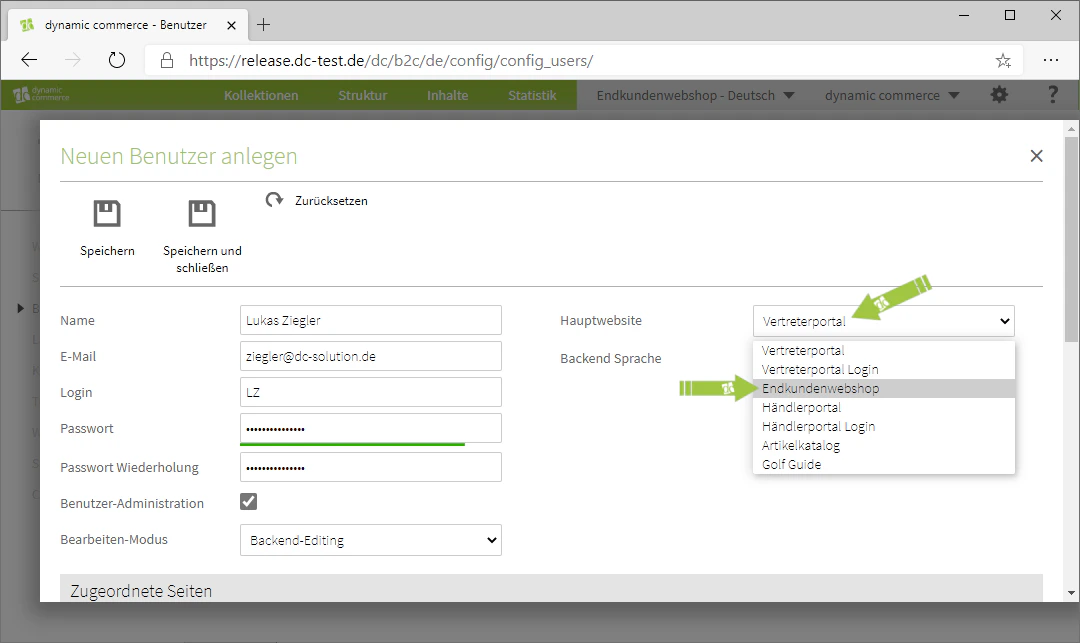
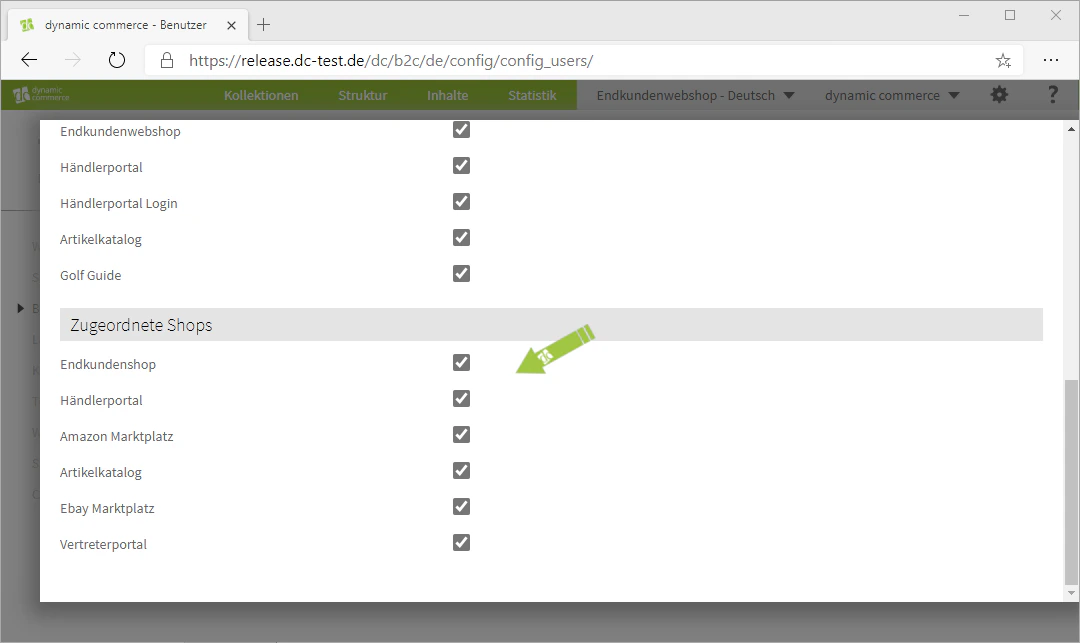
Step 8: Assign Websites and Shops
Below the general settings, you have the option to assign permissions for individual websites and shops to the user. By default, all checkboxes should be checked. If you want this user to be unable to access one of the websites or shops, remove the corresponding checkmark. In our example, the user should have access to all pages and shops, as they are an administrator. You have now also created a new user. Do not forget to save them.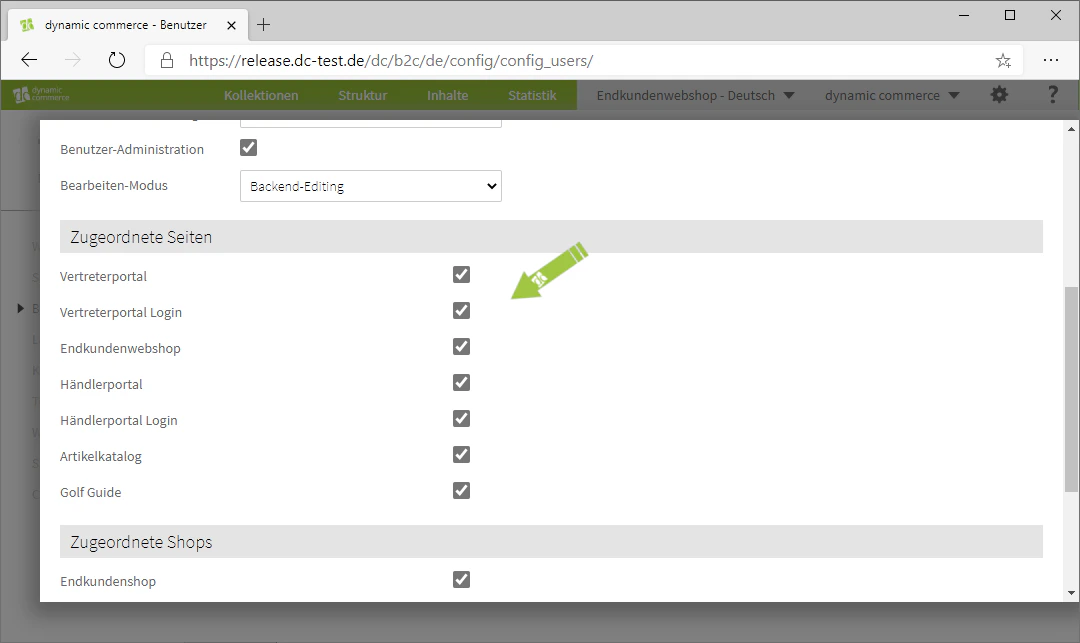
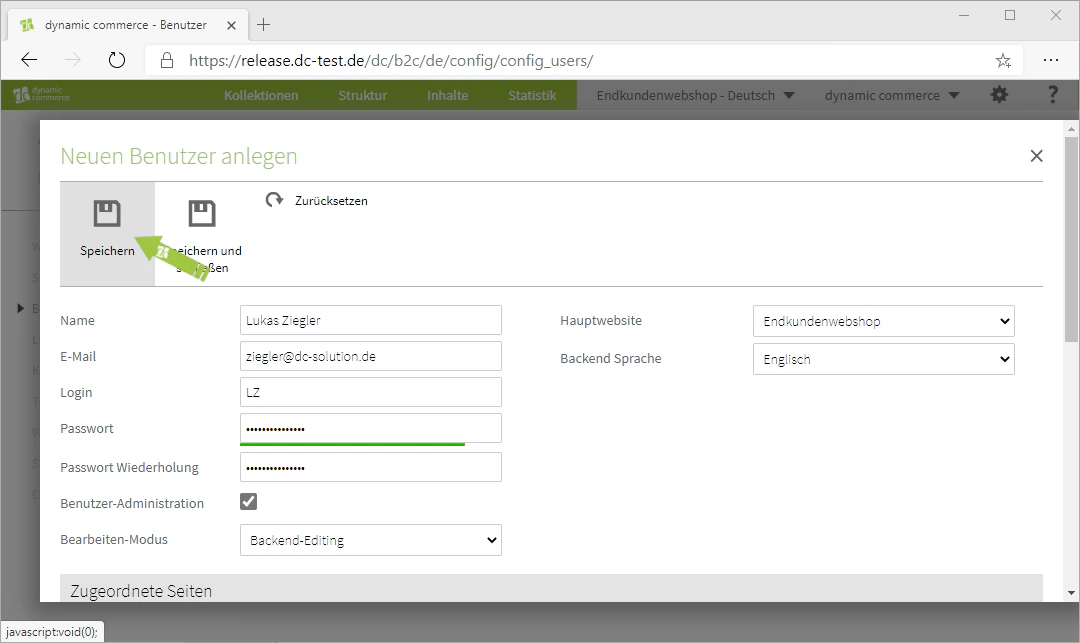
The new user has been created and saved.
Related Topics
General Navigation
Initial orientation in the CMS.
Switch Website
Switch between websites and languages.
Help
Contact support and get help.