Step 1: Navigate to Page Navigation
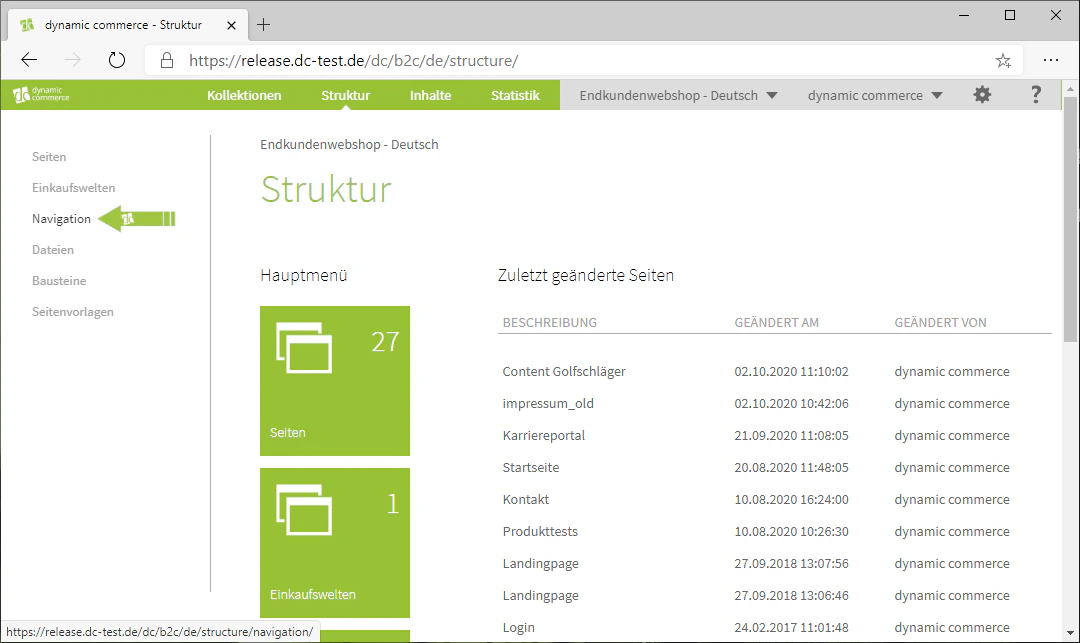
First, navigate to the navigation menu. You can access it by going to the Structure tab by clicking on “Structure” in the top bar. There, select the “Navigation” menu from the list on the left. This brings us right to where we want to be.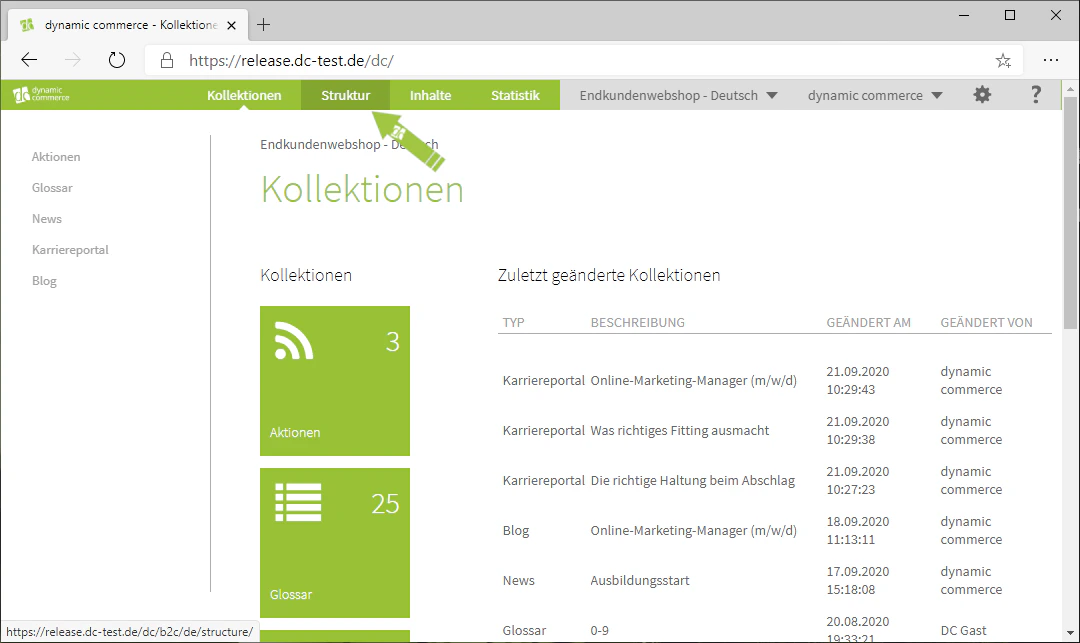
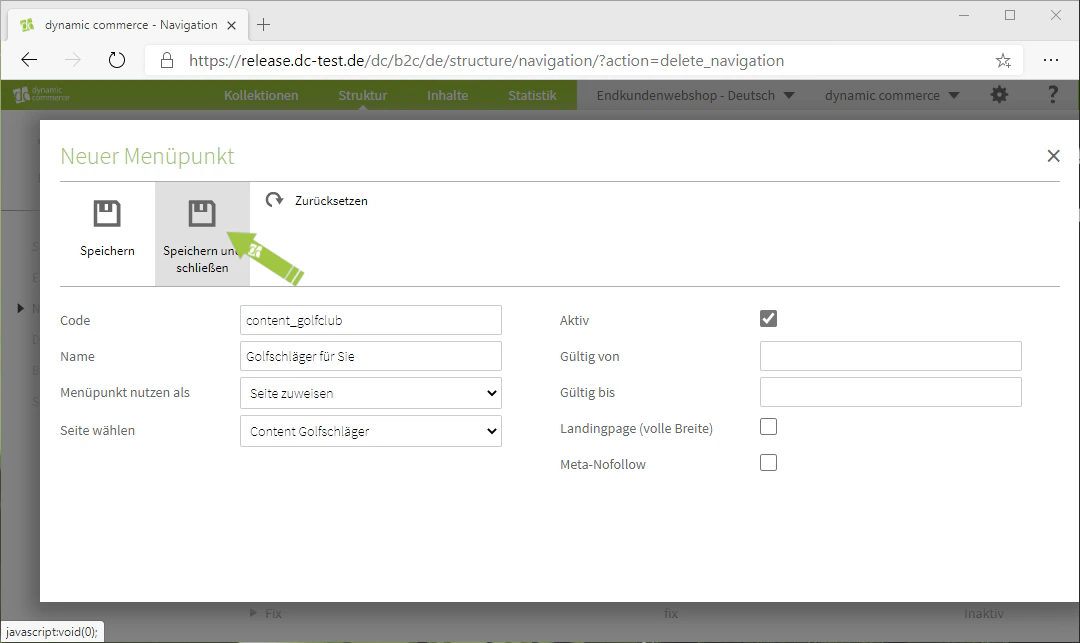
Step 2: Create New Navigation
Here you can create a new navigation item. This is done by clicking the “Plus” icon with the label “New” below it. A window with the heading “New Menu Item” should now open.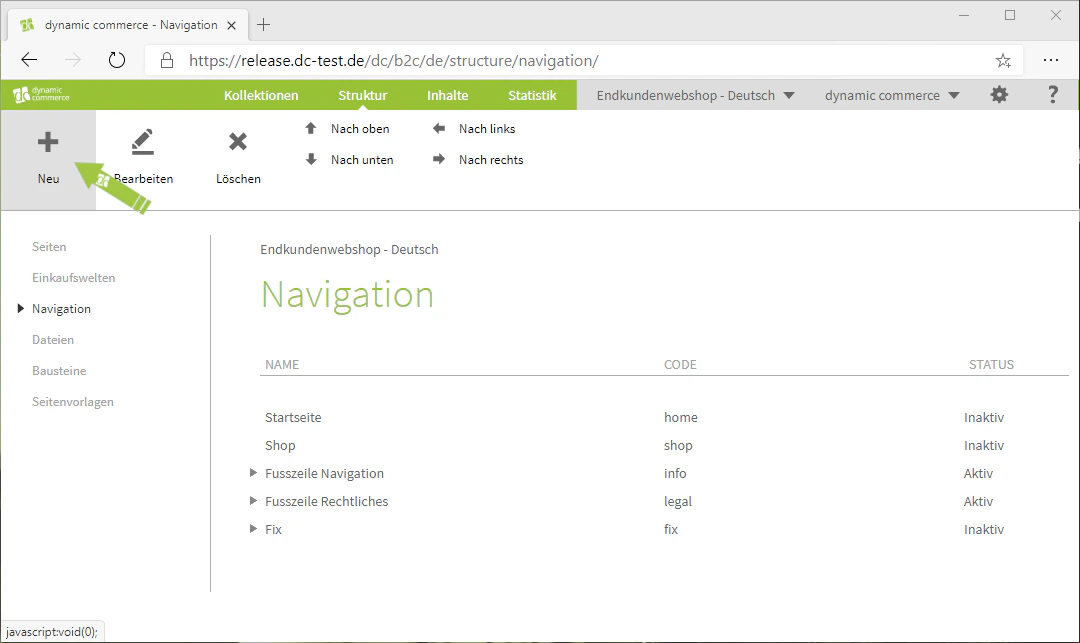
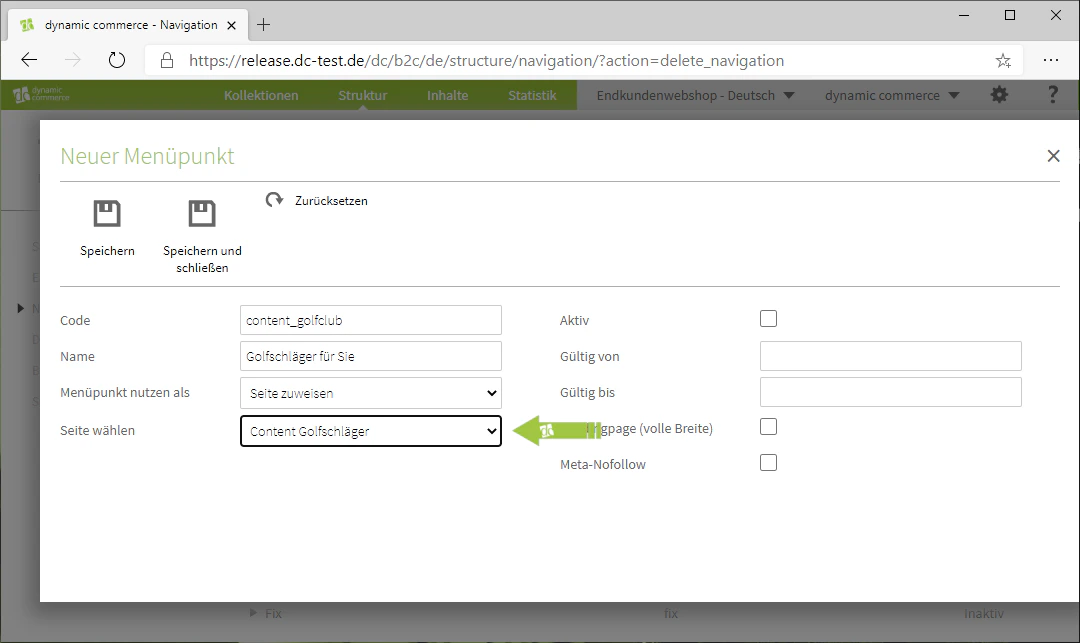
Step 3: Select Navigation Code and Name
First, select a navigation code. This is used solely for clarity and is not displayed on your website. In addition, the code must not contain any special characters, spaces, or umlauts. We also recommend always writing codes in lowercase to avoid confusion and to improve clarity.Next, select a navigation name. You should be a little more careful with this choice, as the name is also displayed as the name of the navigation item on your website.In our example, we want to create a navigation item for the content page created earlier. Our page is called “Content Golf Clubs”, which is why we choose “content_golfclub” as the code. Since this page is about golf clubs, we have chosen “Golf Clubs for You” as the name.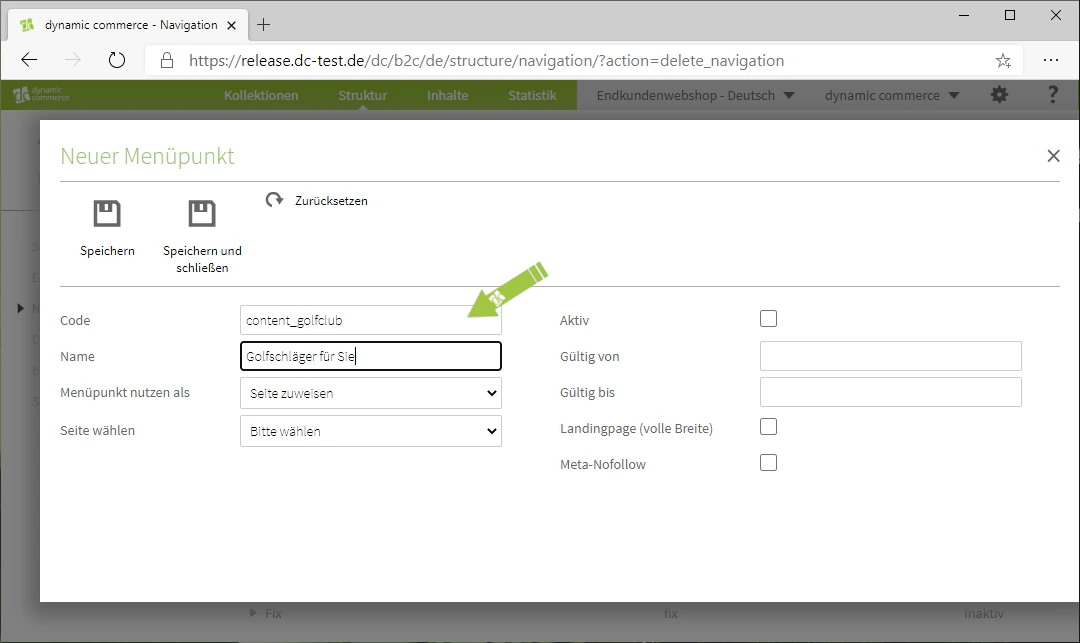
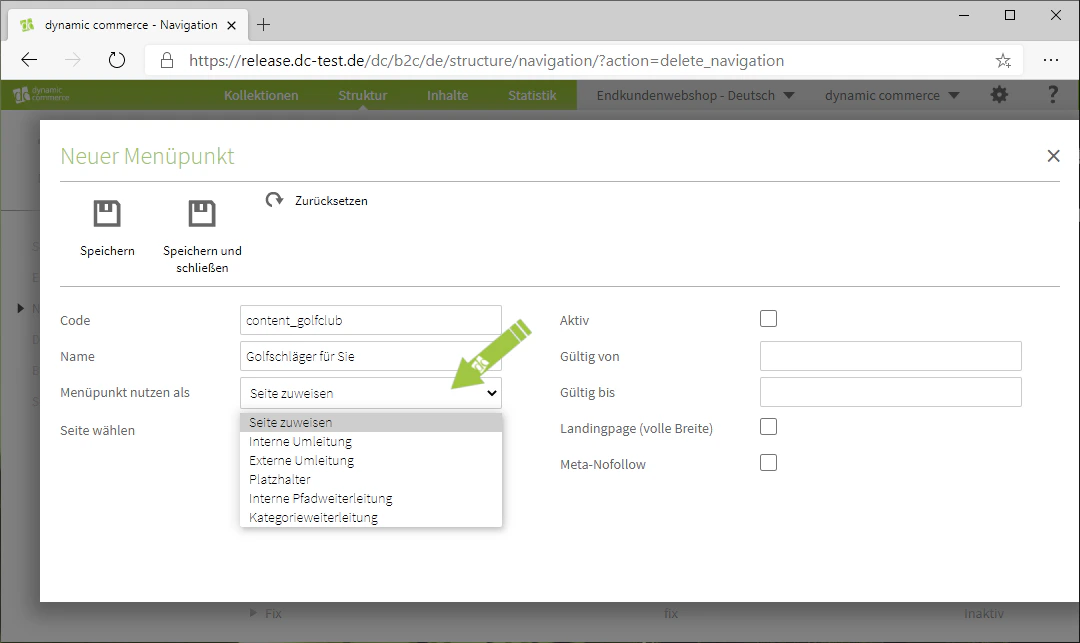
Step 4: Choose the Type of Menu Item
Now select the type of menu item using the drop-down next to “Use menu item as”. You have six options there, and the setting directly below the drop-down changes accordingly. The following list explains the individual options.- Assign page: This assigns a simple page from your created pages to the navigation item, which you can select from the menu that opens afterwards.
- Internal redirect: This simply redirects to a page on your website, which you can select below.
- External redirect: This option redirects to the external URL that you enter below.
- Placeholder: These serve to provide clarity and structure to your navigation, which is why no page is assigned to them.
- Internal path redirect: Is essentially an internal redirect, except that you can enter the URL instead of selecting the page from the menu.
- Category redirect: This allows you to redirect to a category in your web shop, which you then need to select from the menu below.
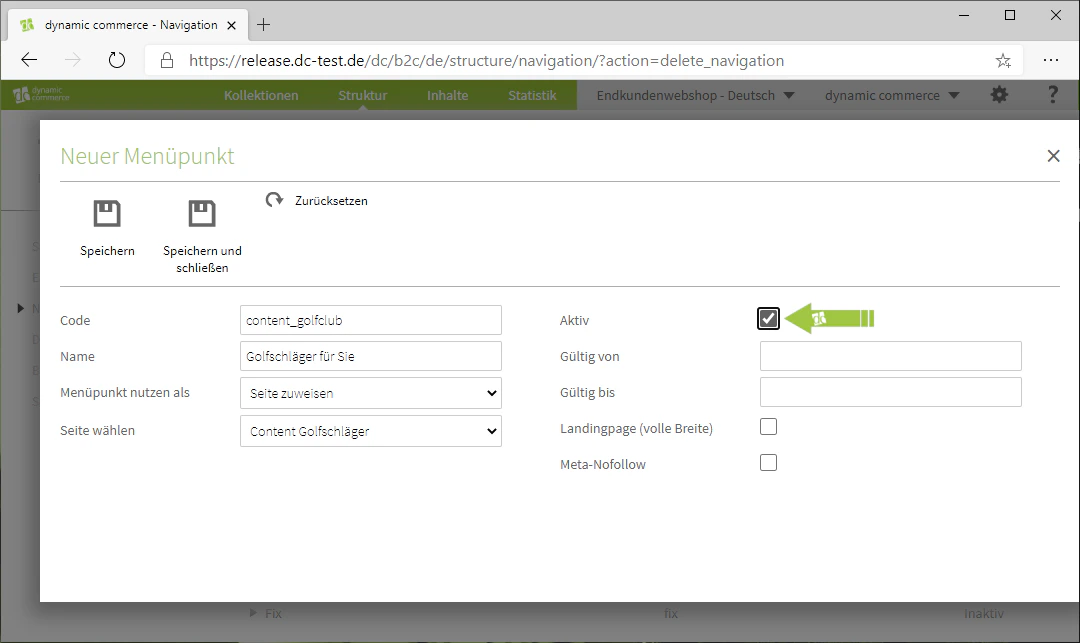
Step 5: Set Active and Further Options
Now set your navigation item to active by checking the checkbox.You also have the options to declare the page selected in the navigation item as a landing page and to enable Meta Nofollow. If you declare the page as a landing page by checking the corresponding checkbox, the navigation on the left-hand side of the page will be hidden.If you set Meta Nofollow, search engines will not follow the links on the page.
Step 6: Assign Navigation Item
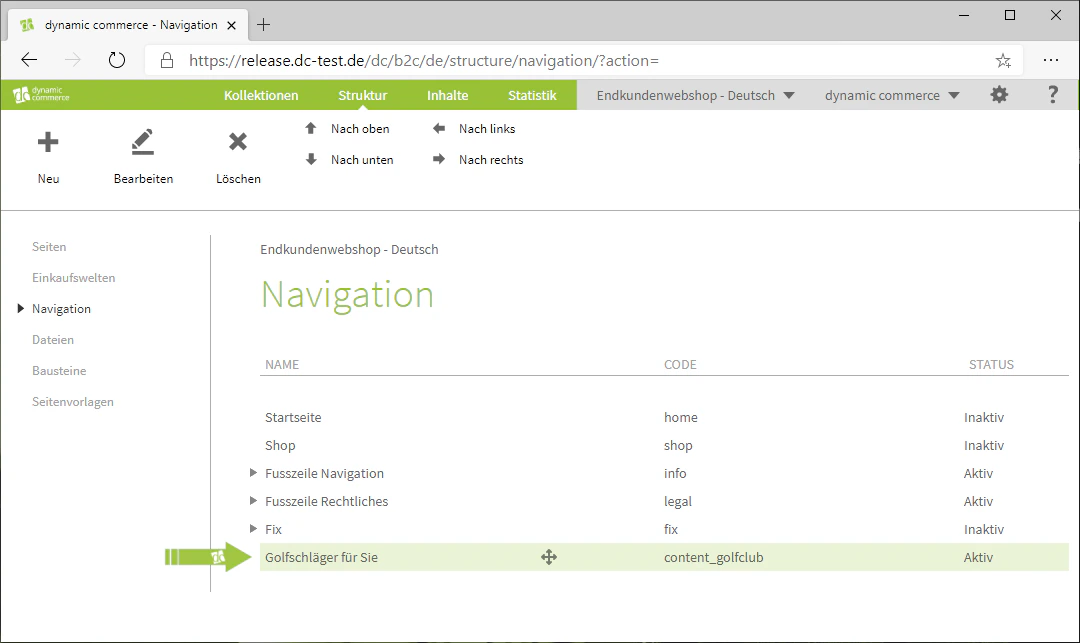
Now assign the navigation item to a parent item. This is done by hovering over the navigation item with your mouse and then over the cross with arrows at all four ends. Click and hold to drag the item to the correct position using drag & drop.In our example, we want to reach the content page via the navigation in the footer of our website, which is why we drag the newly created navigation item there.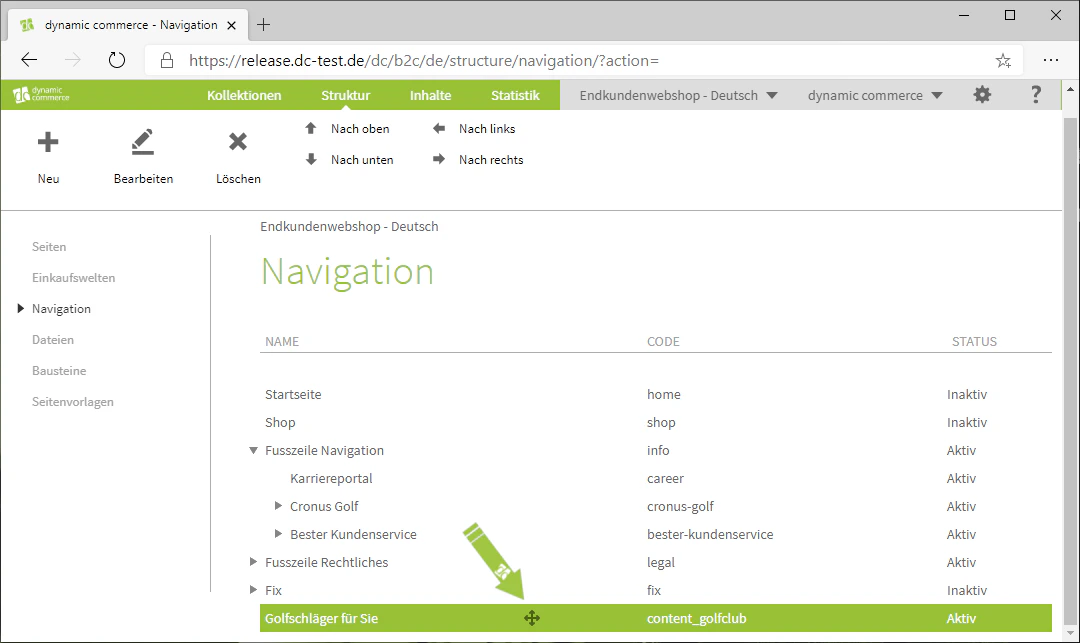

Related Topics
Create Pages
Create new pages before assigning them to the navigation.
Create Shopping Worlds
Replace category pages with custom shopping worlds.
Redirects
Set up URL redirects to complement the navigation.