General changes to the layout are not possible via the CMS. If you require such changes, please contact us directly.
Step 1: Navigate to the Layout Menu
To upload layout files, first navigate to the layout menu. You can access it by hovering over the settings icon — the gear wheel in the top right corner — and clicking on “Layouts”. You should then have reached the layout menu, which you can identify by the heading “Layouts” displayed in green.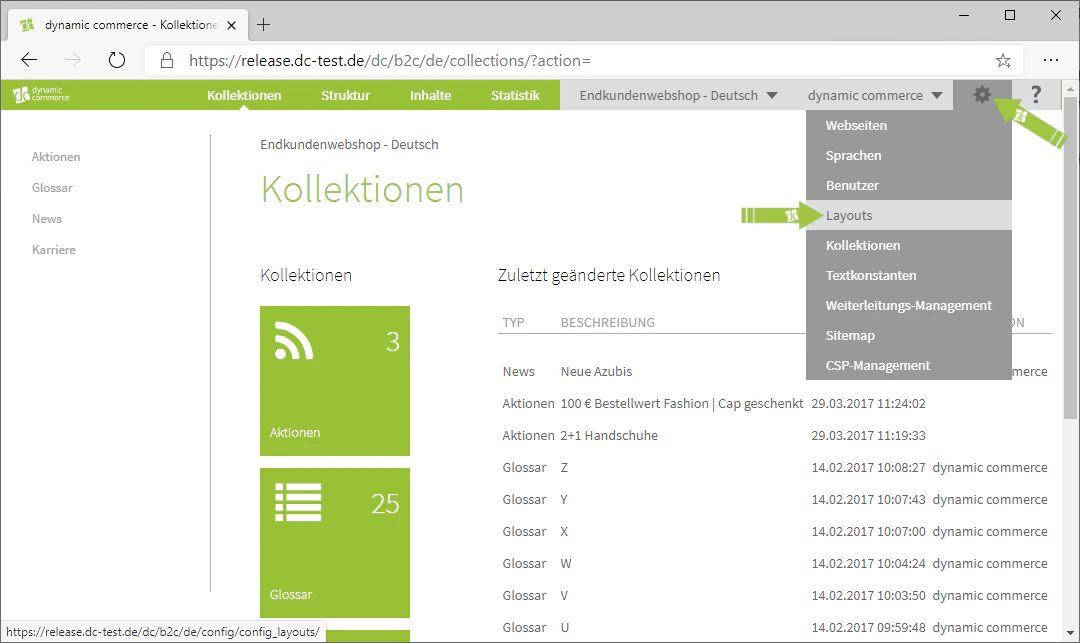
Step 2: Edit Layout
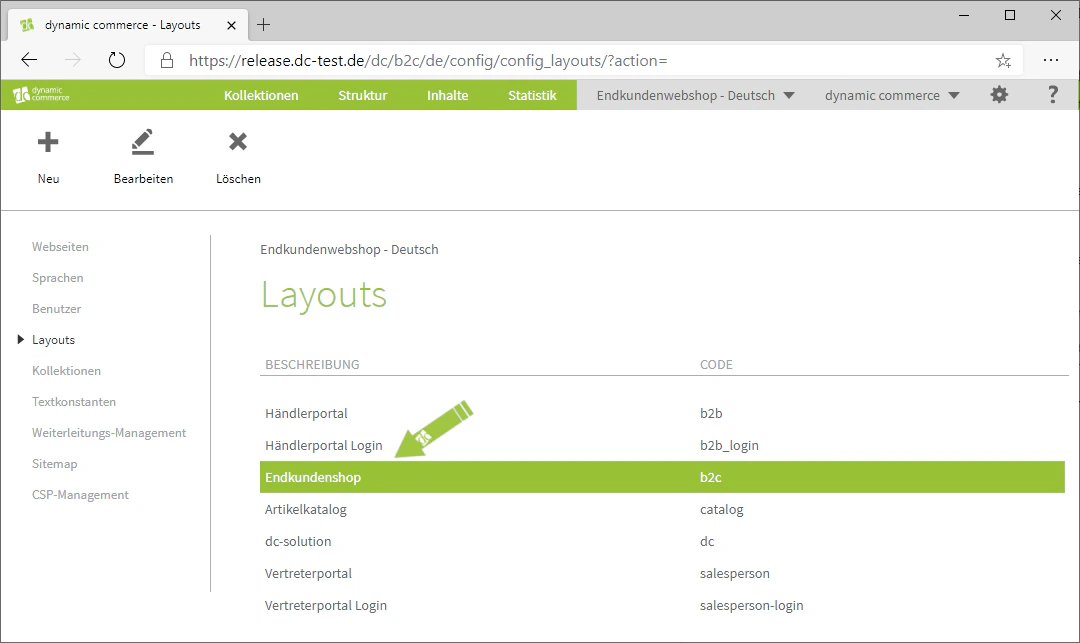
In the layout menu, you will now see a list of already created layouts in the centre. A layout can be edited by double-clicking on it. In our example, we select the layout “Endkundenwebshop” and open the editing view by double-clicking. This should open a window with the heading “Edit Layout “Endkundenshop"". The title “Endkundenshop” refers to the name of the selected layout. There you can view and modify the previously defined layout settings.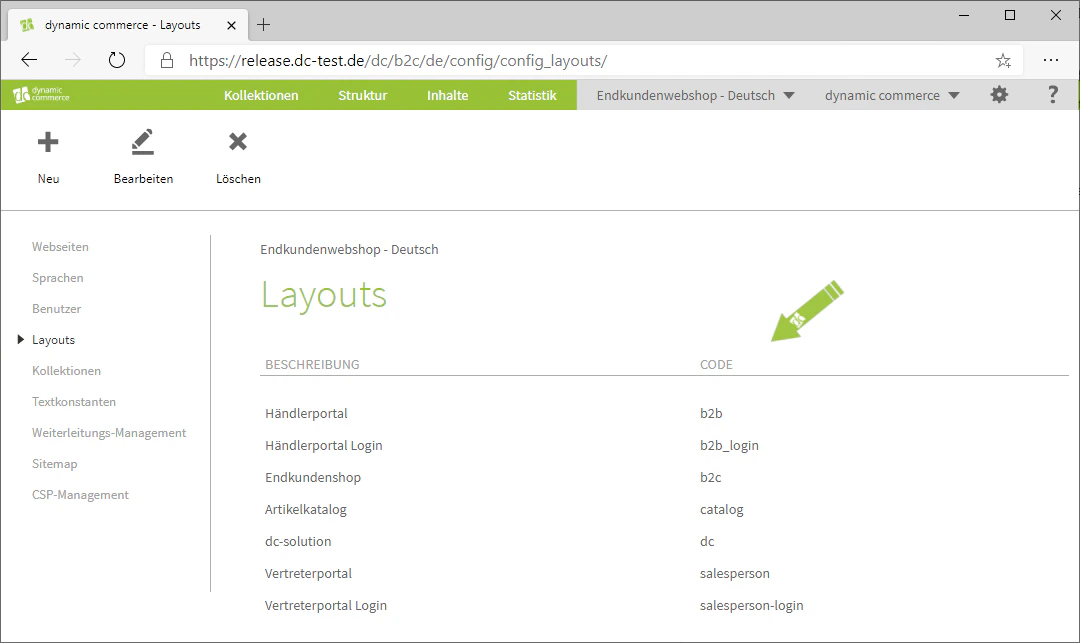
Step 3: Upload Layout Files
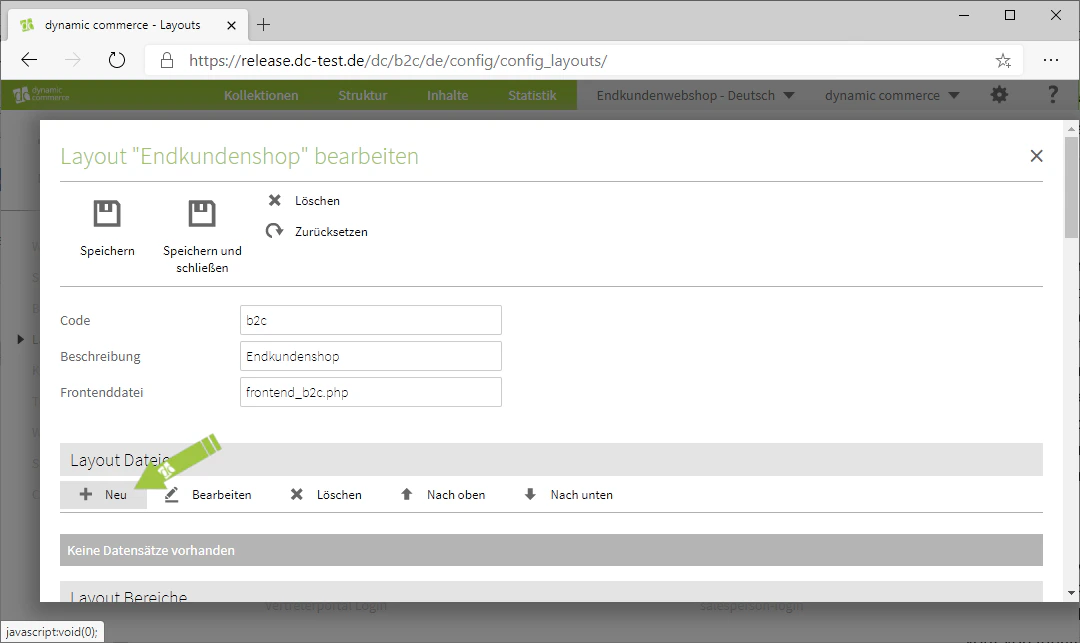
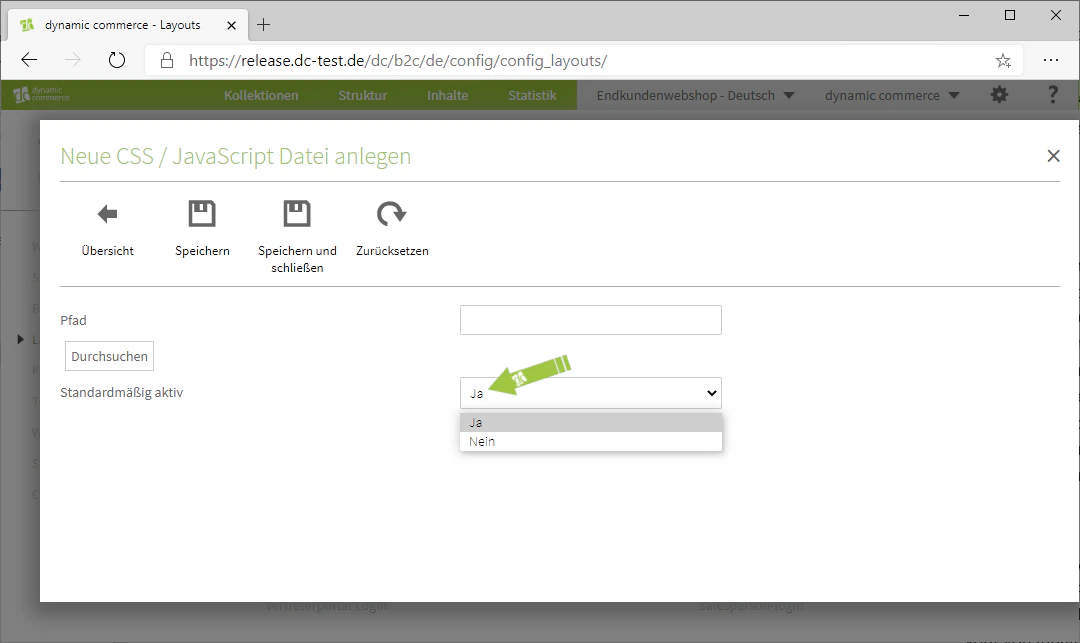
There you can now upload layout files by clicking the “Plus” icon with the adjacent label “New” under the heading of the same name. This opens a new window with the heading “Create New CSS / JavaScript File”. In this window, you can open the file browser by clicking “Browse”. From there, you can upload your own JavaScripts and StyleSheets. This allows you to manipulate the basic layout of the .php file located in the background.However, as mentioned above, the .php file cannot be edited or customised via the CMS.

Step 4: Layout Areas
Under the heading “Layout Areas” you will find the layout areas created by us. However, new areas can only be added here if they are also defined in the .php file that contains the entire layout of your web shop. Therefore, you cannot modify these yourself or create new ones. If you require changes to these, please contact us at any time. Nevertheless, you can see which layout areas are available here and infer from their names where that area is located on the page.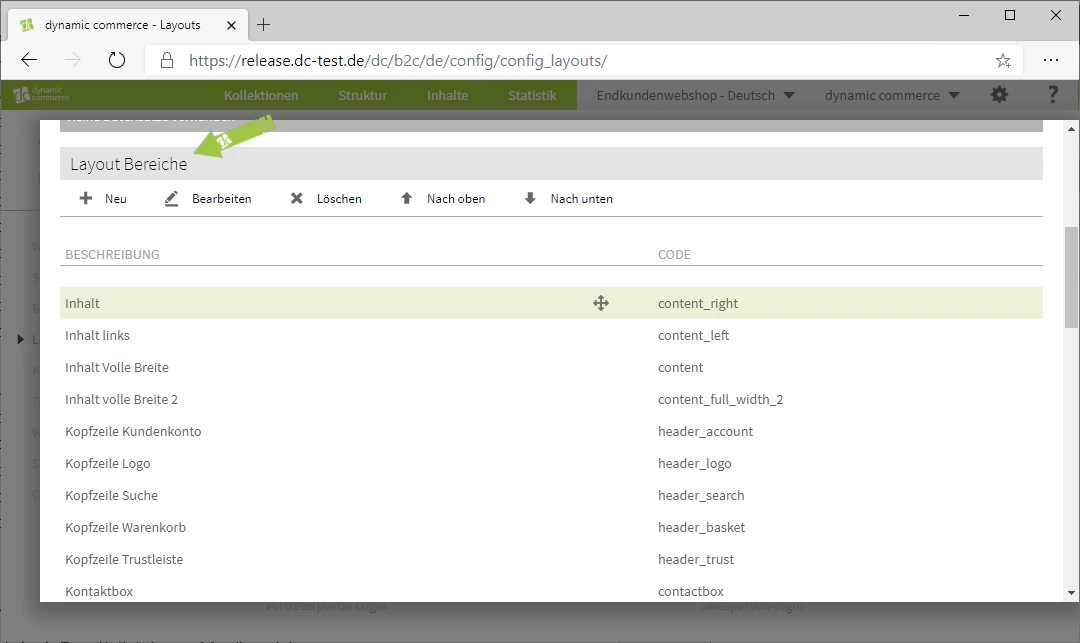
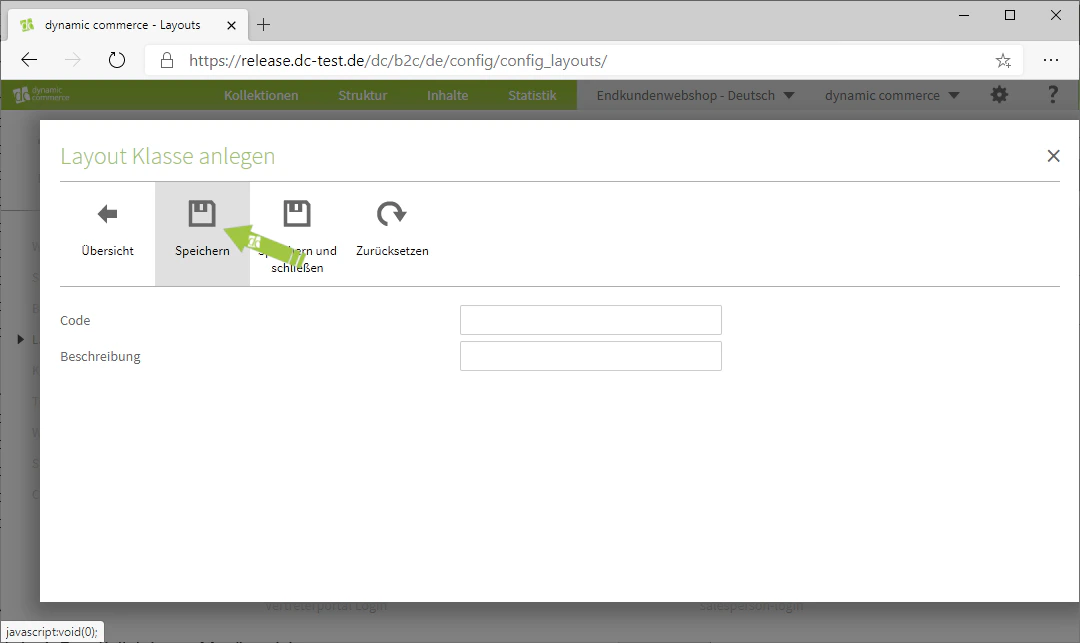
Step 5: Create Layout Classes
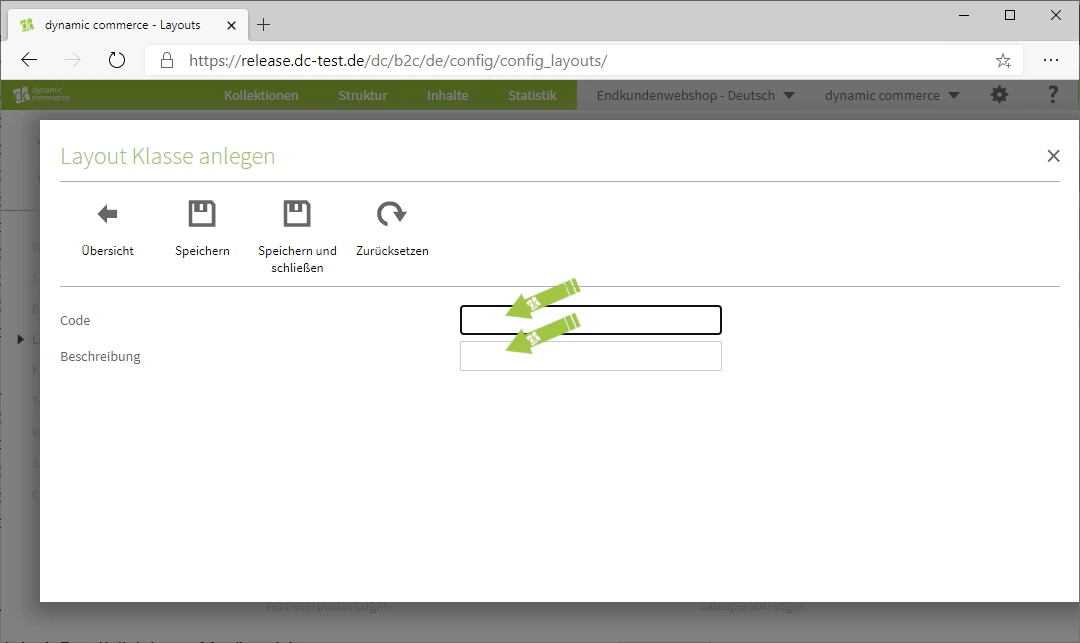
Layout classes are classes that you can assign to content. They determine, for example, the size of the content or the colour of a text as well as the background. Common layout classes are, for example, “Content 1/1”, which extends the content to the full width of the area designated for content. In contrast, “Content 1/2” extends the content to half the width, “Content 1/3” to one third of the width, and so on. This gives you the option, for example, to display content in two columns by assigning both the layout class “Content 1/2”.You can also create a new layout class by clicking the “Plus” icon with the adjacent label “New”. This opens a new window with the heading “Create Layout Class”, in which you specify the code of the layout class and a description. You then save this to create the layout class.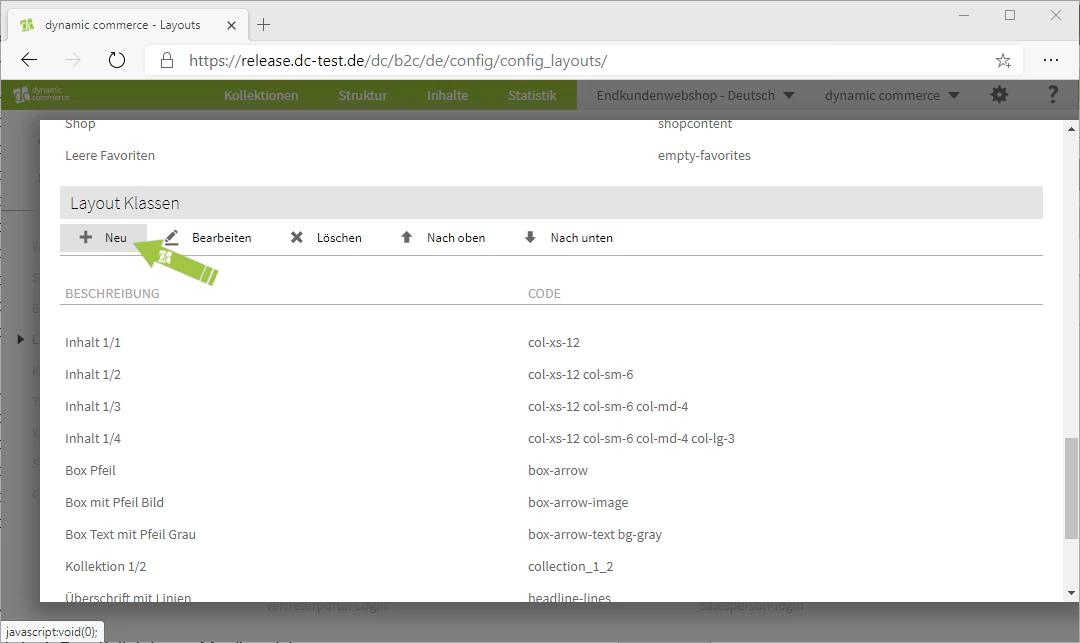
Related Topics
Create Web Pages
Create and configure new web pages.
Languages
Create a language and assign it to a web page.
Building Blocks
Modify and design building blocks.
Page Templates
Create page templates for layouts.