Step 1: Navigate to the Collections Tab
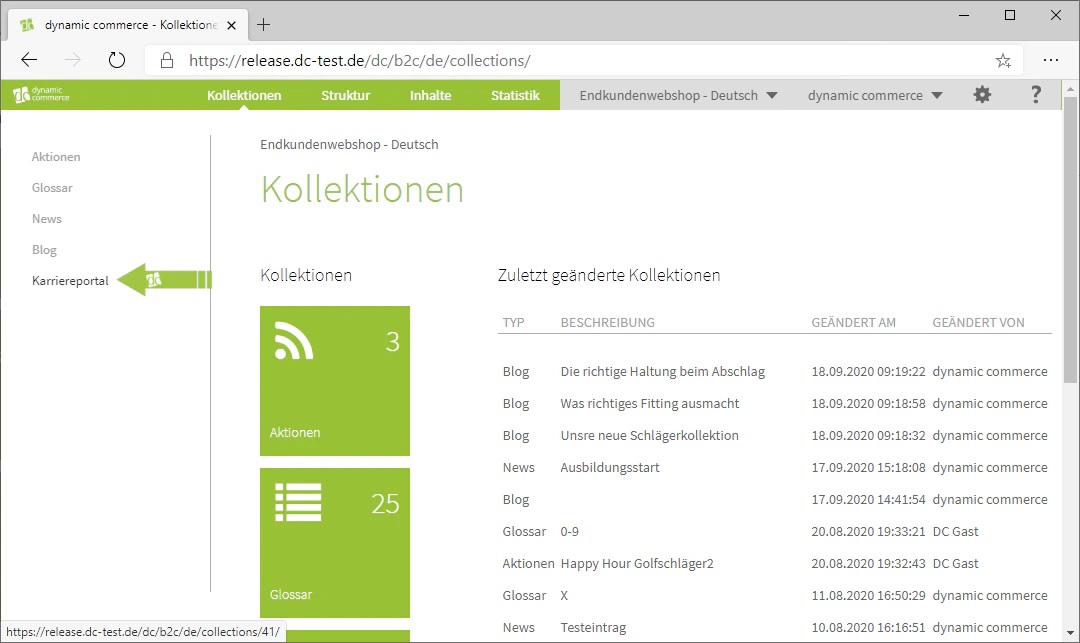
First, we navigate to the Collections tab. To do so, click on the “Collections” tab at the top of the screen.A menu should open in which all your collection entries are displayed.Now select the collection from the list on the left side of the screen or from the tiles for which you want to create new entries.In our example, we select the “Career Portal” collection, which we created in advance.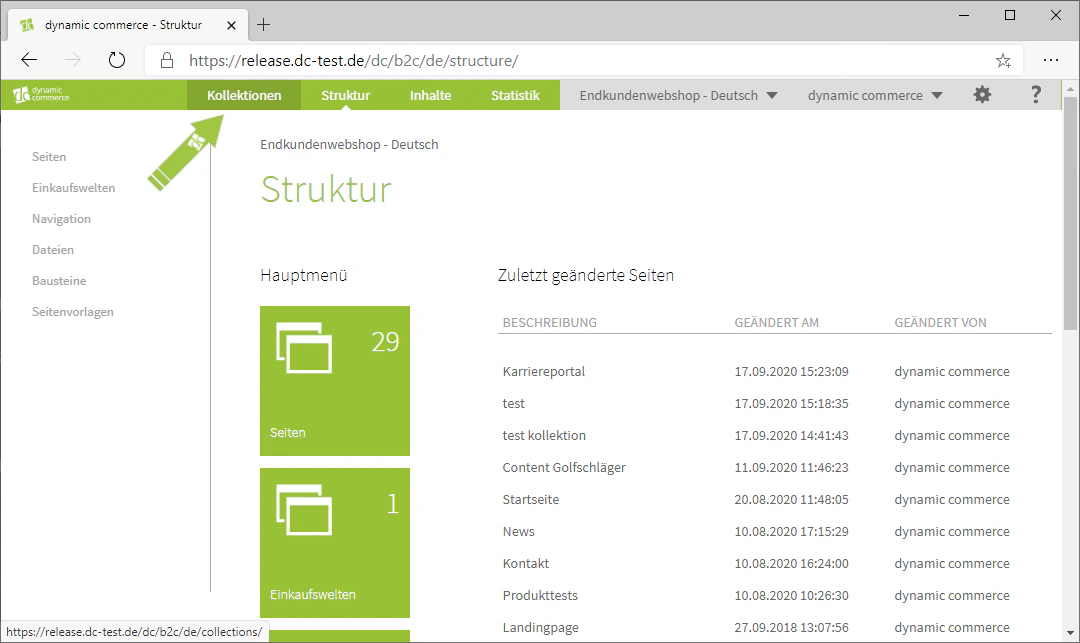
Step 2: Create a New Entry
Next, open the menu that allows you to create a new collection entry. To do so, click on the “Plus” icon with the label “New” below it in the upper left corner.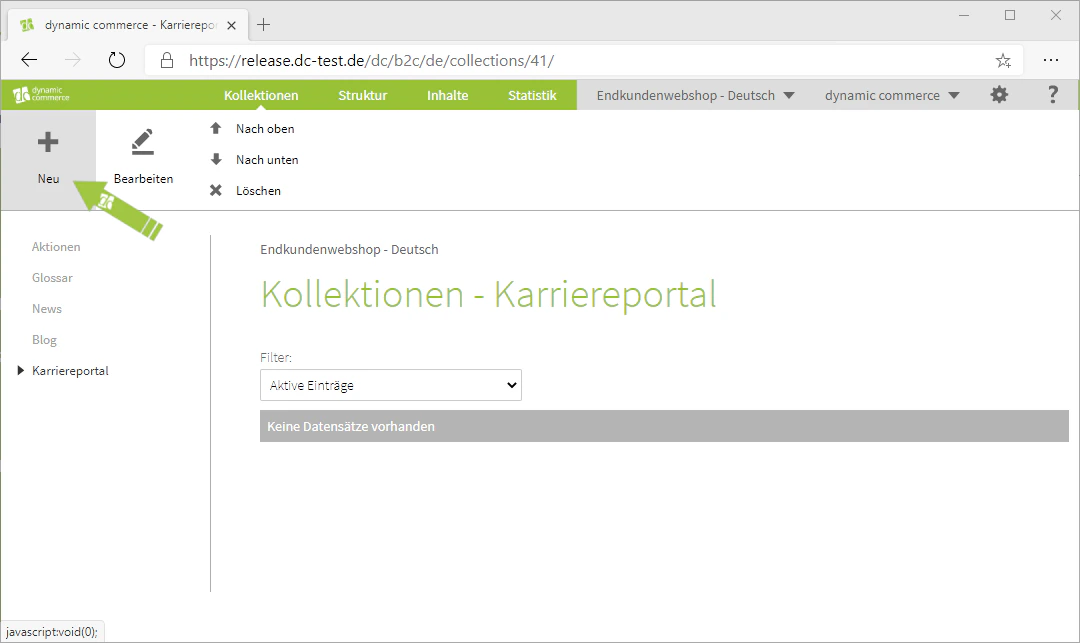
Step 3: Choose a Description
First, a description must be selected.As always, this is only for organisational purposes and does not appear on your website.In our example, we are maintaining a job listing for an Online Marketing Manager (m/f/d), which is why we choose the description accordingly.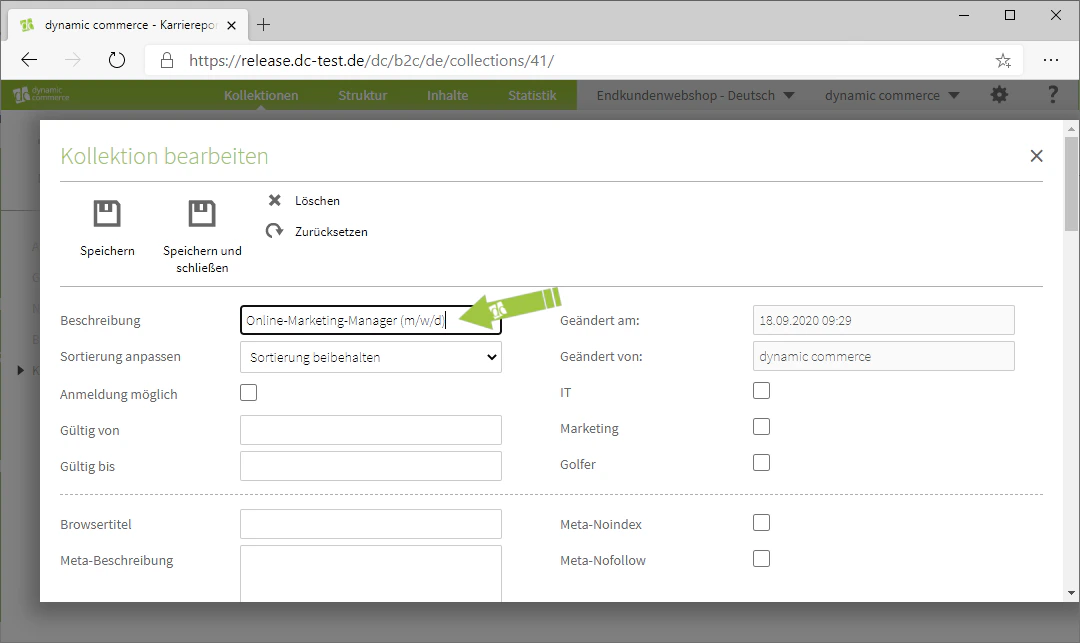
Step 4: Adjust the Sort Order of the Entry
In the drop-down below the description, you have the option to adjust the sort order of this entry.By default, the sort order is retained. If you want to move the entry to the beginning or end, select the respective option from the list.The sort order determines the sequence in which entries are displayed on the associated page. For example, for news or blog collections, it makes sense to always select “move to beginning” so that the newest entry appears at the top.Since we are just starting to maintain the collection entries for this collection, we will leave the sort order set to “retain” in our example.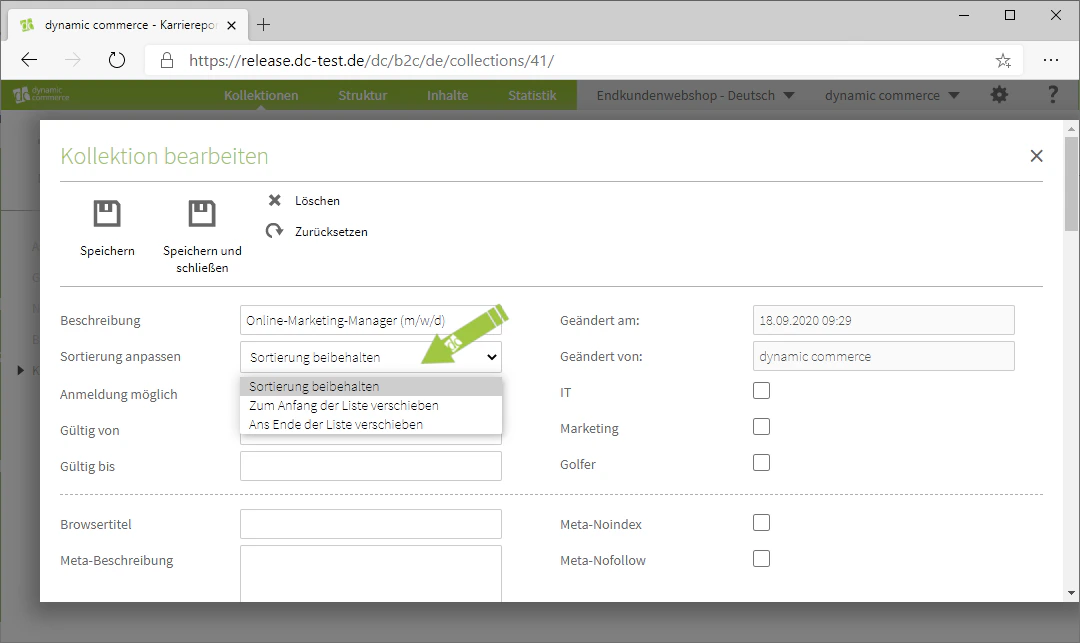
Step 5: Enable Registration
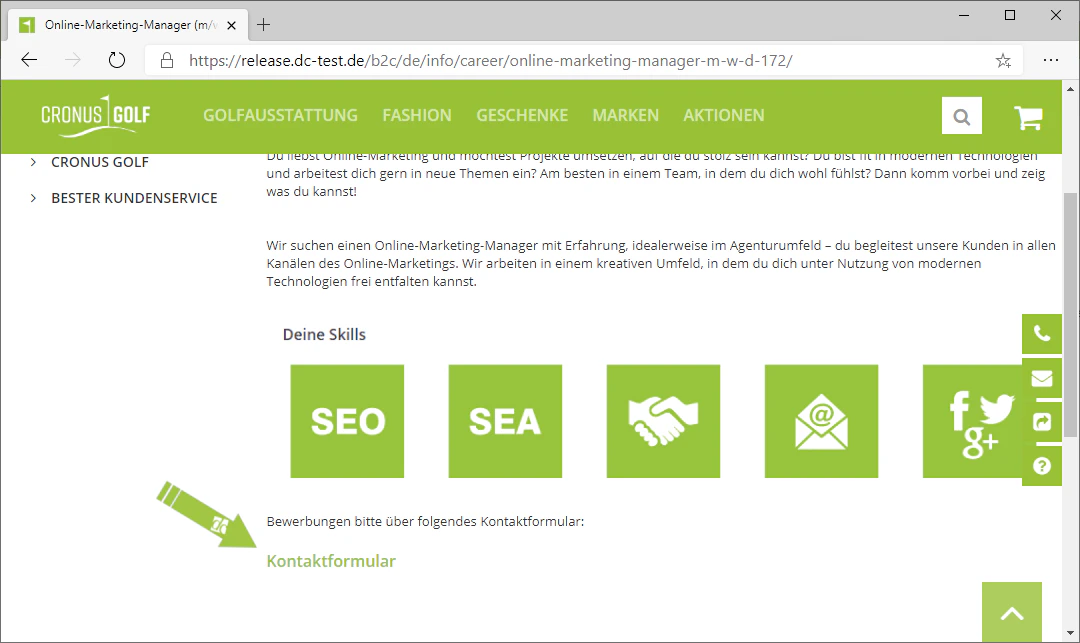
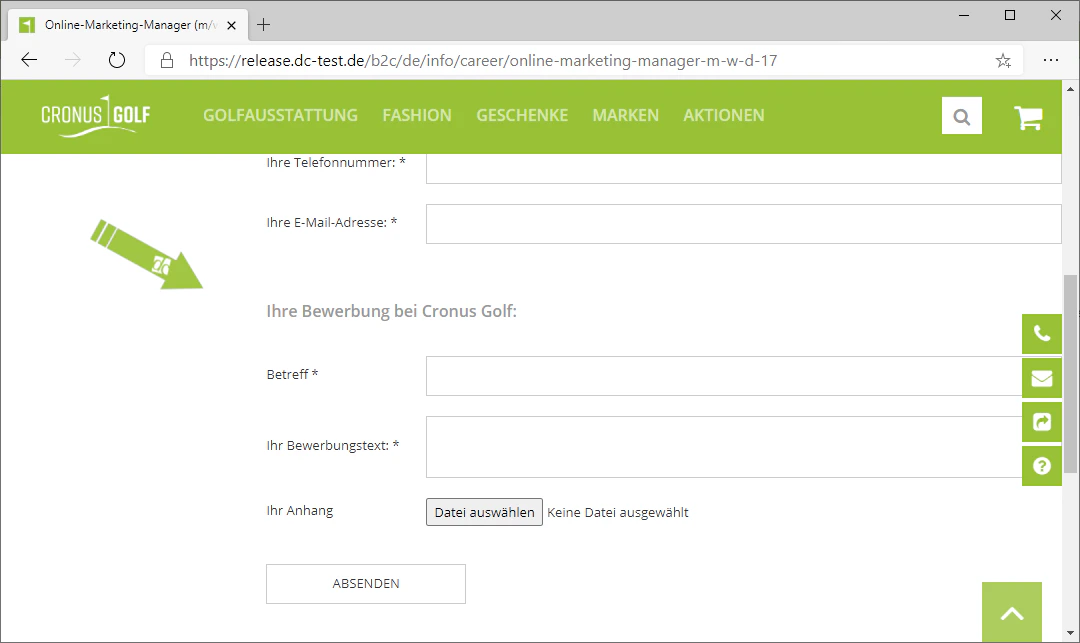
By checking the “Registration possible” checkbox, you can enable registration. Once you check this box, a drop-down will appear below it where you can select the corresponding registration form.In our example, we select the application form created for this purpose.The images show how this can be displayed as an example.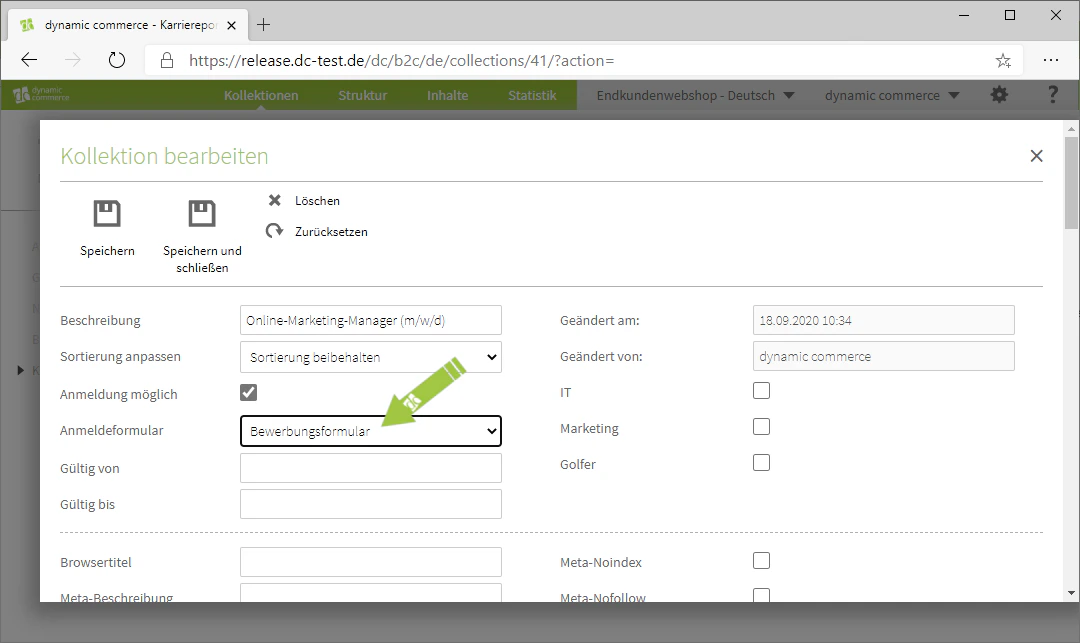
Step 6: Assign the Entry to a Collection Group
You also have the option to assign the collection entry to a collection group by checking the box next to the respective group on the right.In our example, we assign the entry to the “Marketing” group.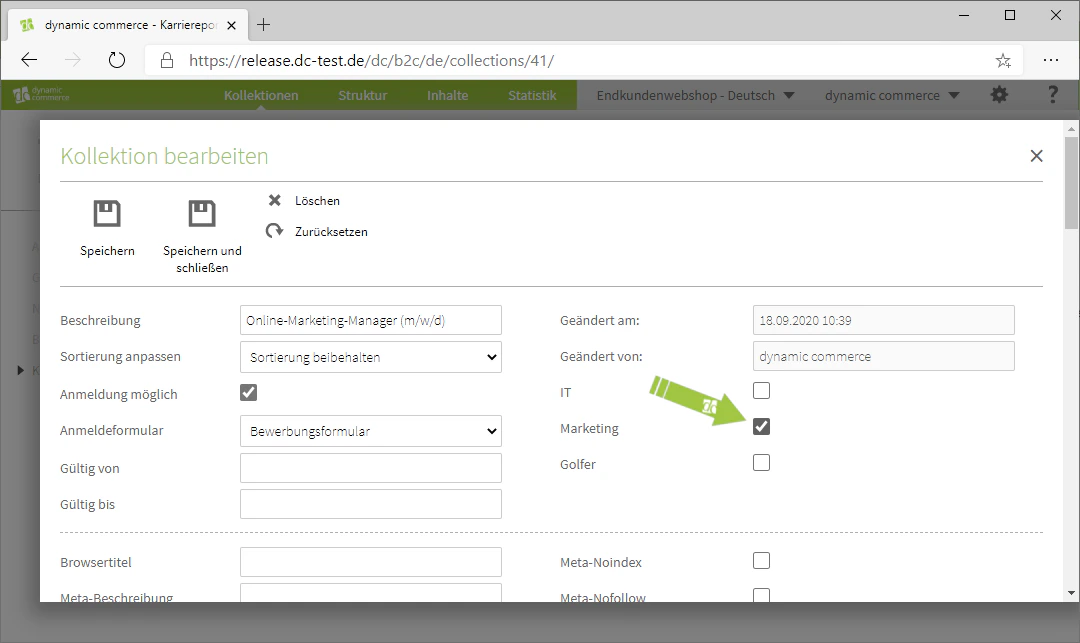
Step 7: Set Browser Title and Meta Description
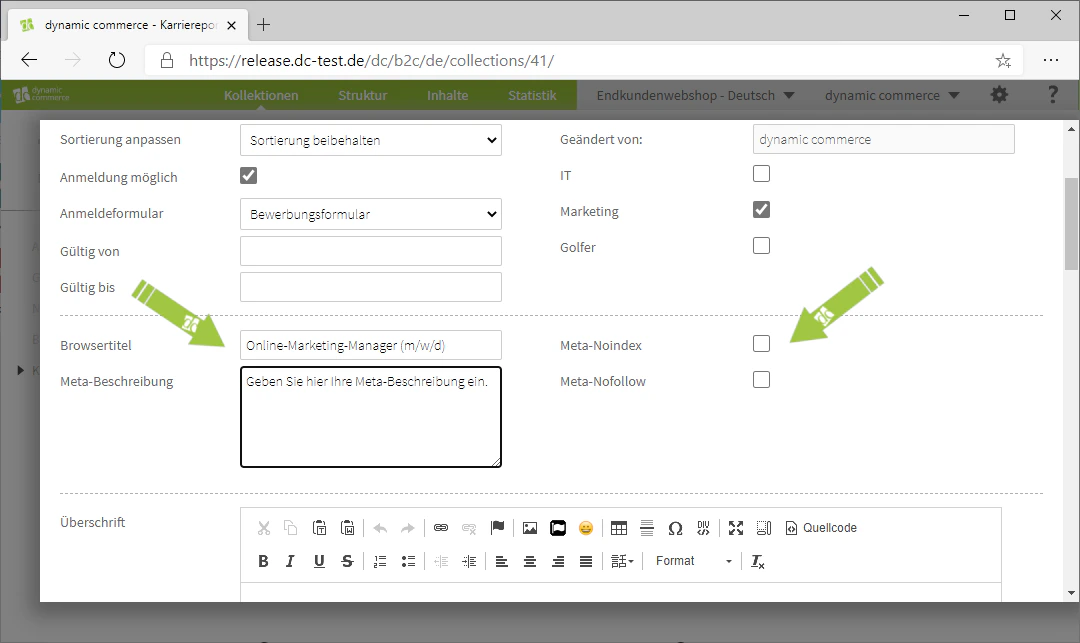
Next, set a browser title. You should pay attention to the browser title, as it is displayed in the browser tab for visitors to this page.You should then choose a meta description. This is a short description of the created page, up to approximately 160 characters long. This description is usually displayed in search engines below the link to your page (SERP snippet). It should therefore be meaningful and unique.If you check the “Meta Noindex” box, your page cannot be found by search engines.And if you check the “Meta Nofollow” box, search engines will not follow the links on this page.

Step 8: Fill in the Collection Fields
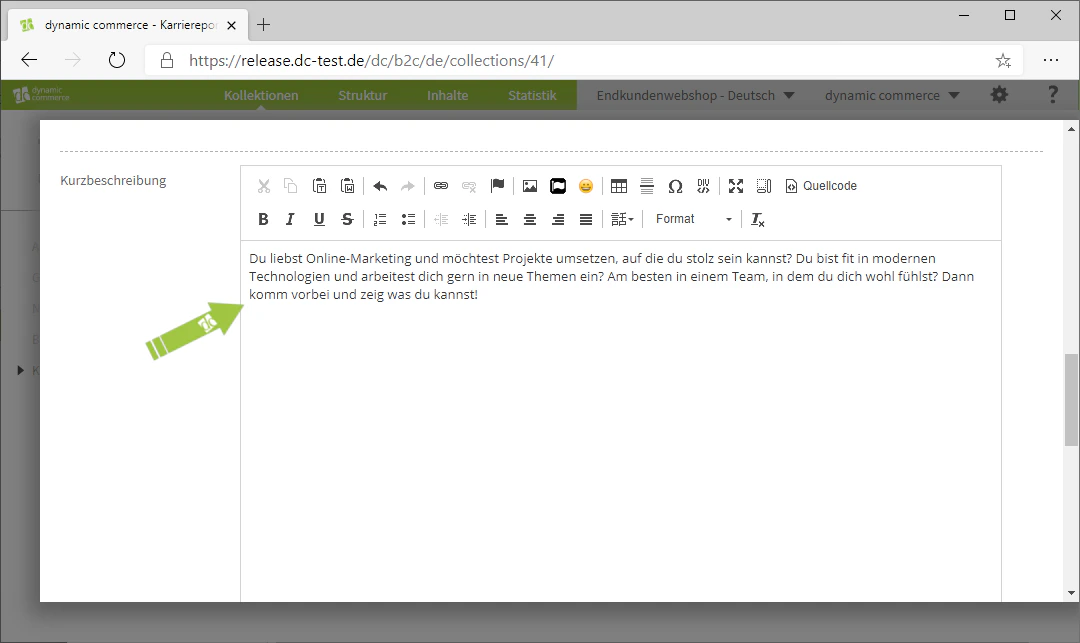
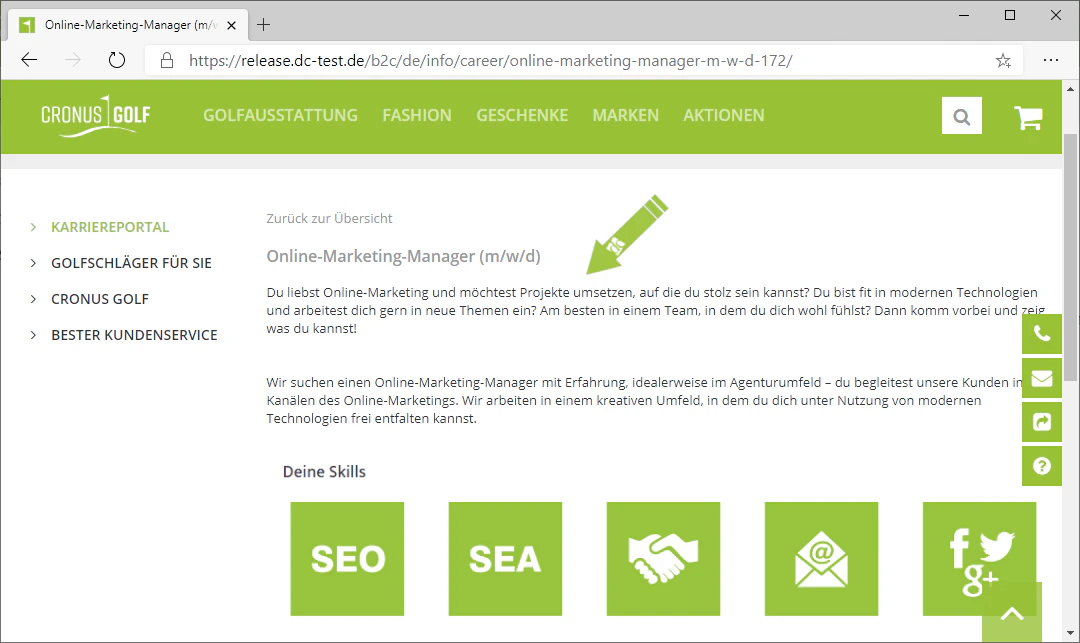
Finally, fill in the collection fields that you selected when creating the collection.Depending on which fields you chose, different input fields will now be displayed. These are based on the content modules.In our example, we selected during creation that the collection should contain three text fields.We now fill these with text and, if applicable, with images. The collection entry is then complete.After you have maintained your entries, the collection only needs to be assigned to a page so that your entries are also visible on your website.
Related Topics
Create Collections
Create a new collection with fields and groups.
Assign Collections to a Page
Link the collection to a page so that it becomes visible.
Create Content
Create and edit the content of a page.