Step 1: Navigate to the Websites Menu
First, navigate to the Websites menu. You can access it by hovering your mouse over the settings icon — the gear wheel in the upper right corner — and selecting “Websites” from the drop-down menu that appears. There, in addition to creating websites, you also have the option to edit, delete, and copy a website.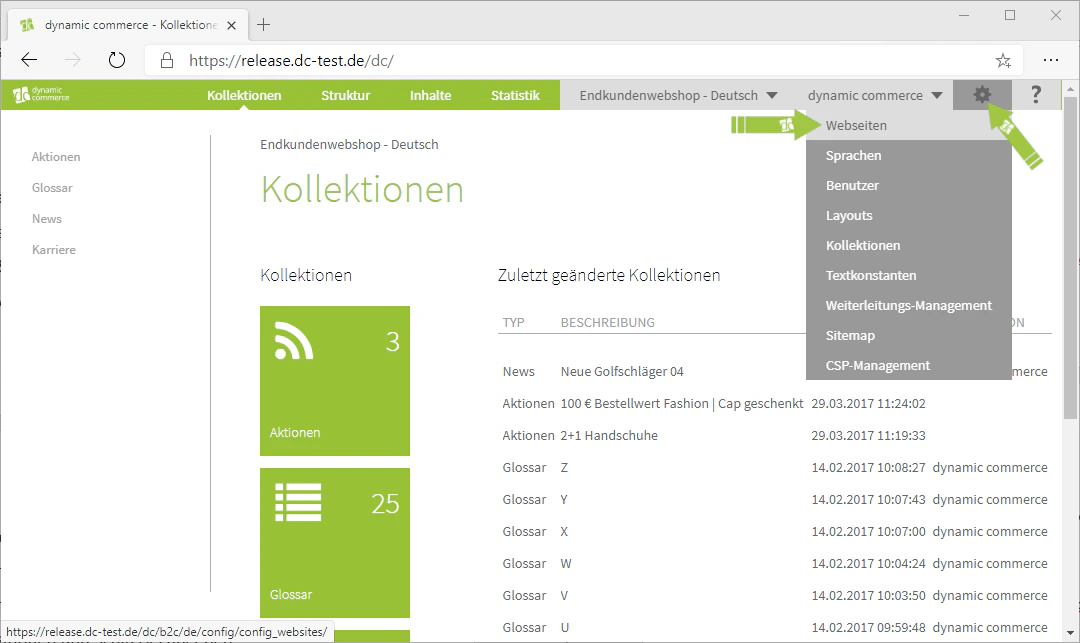
Step 2: Create a New Website
Click on the “Plus” icon with the label “New” below it to create a new website. A window with the heading “Create New Website” should then open, in which you can configure the settings for your newly created website.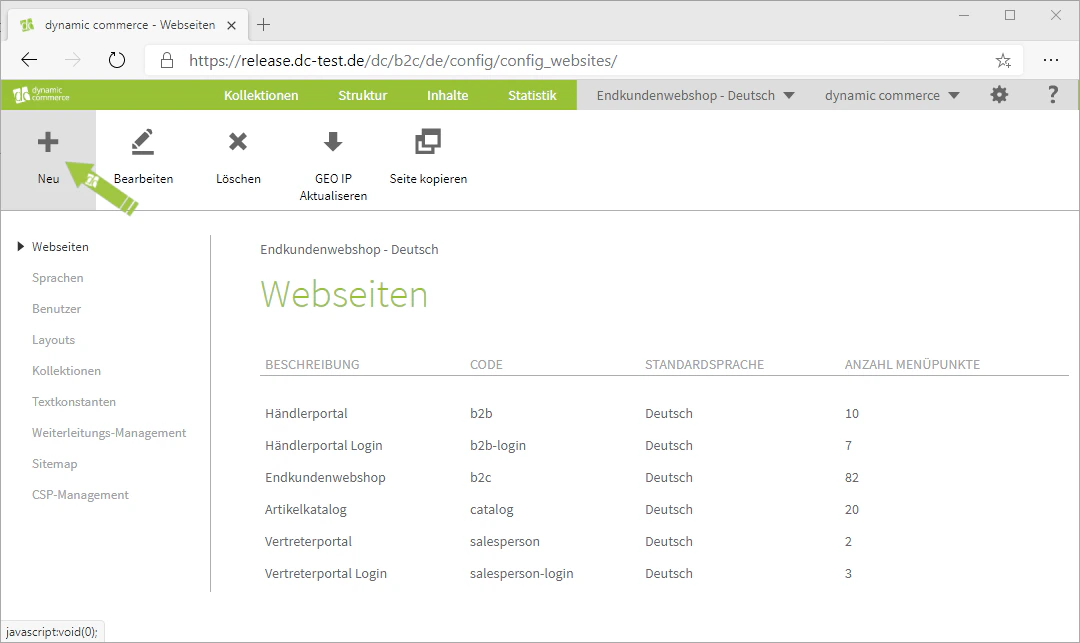
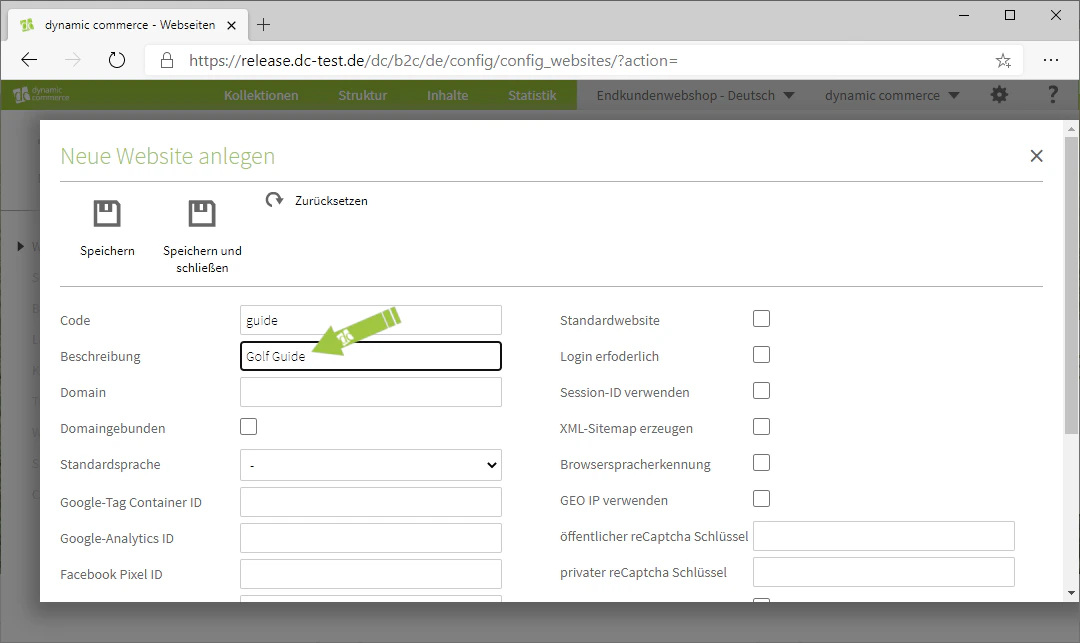
Step 3: Choose Code and Description
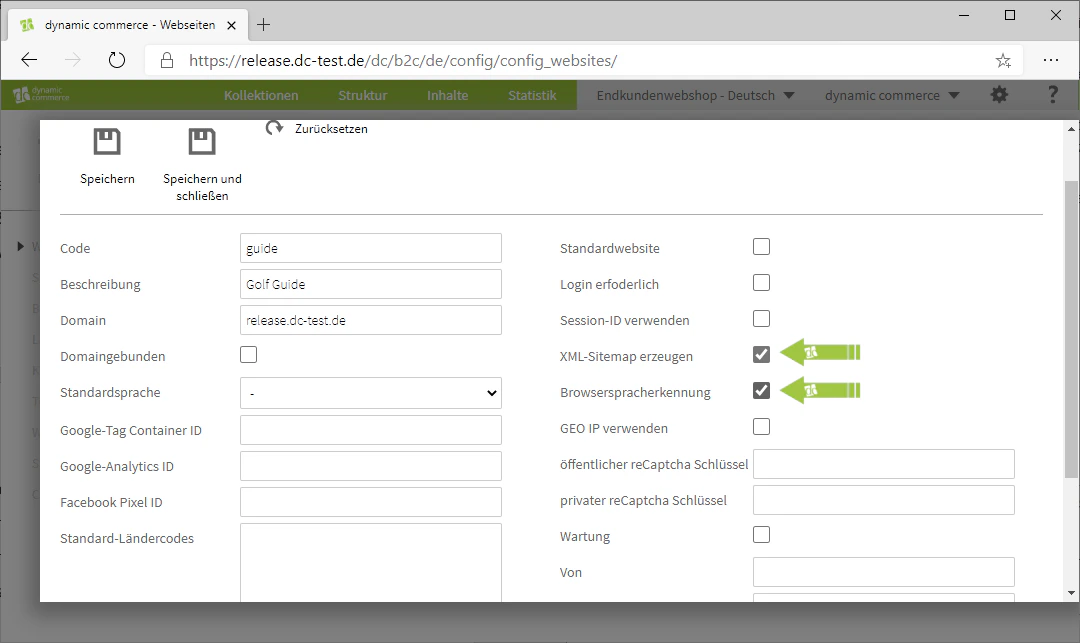
Here you first select the code and the description. When choosing the code, please note that it must not contain any spaces, umlauts, or special characters. Furthermore, you should pay attention, as the code is displayed directly after the domain in the site’s navigation (i.e. in the link) and can therefore be seen by visitors. The description, however, can be chosen freely — it is not displayed on your website and serves only for organisational clarity. In our example, we want to create a dedicated Golf Guide website. Therefore, we set the code to “guide” and the description to “Golf Guide”.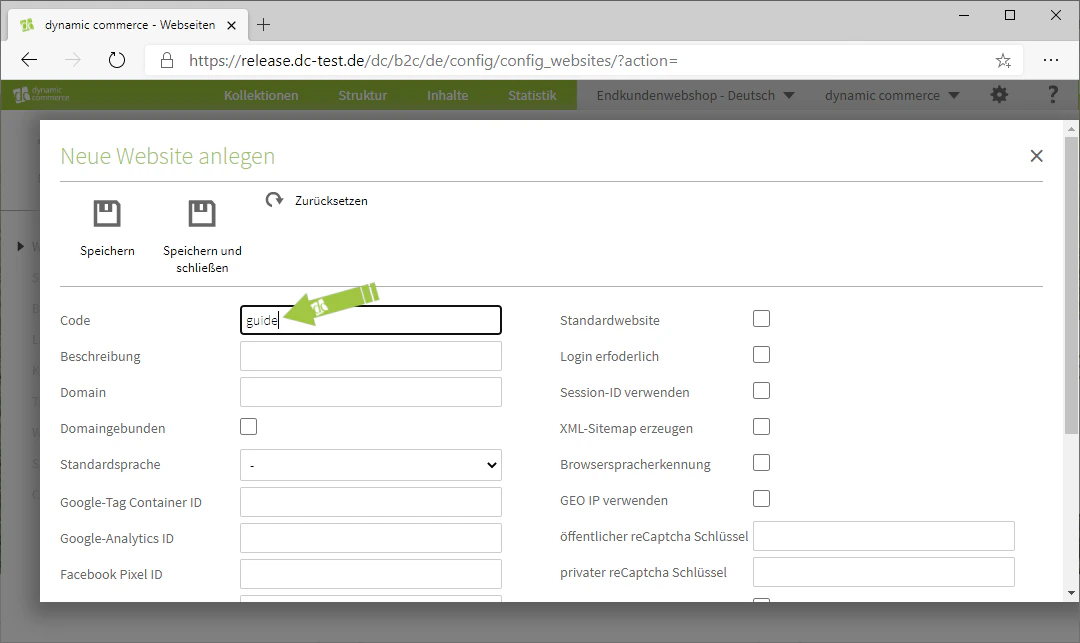
Step 4: Assign a Domain
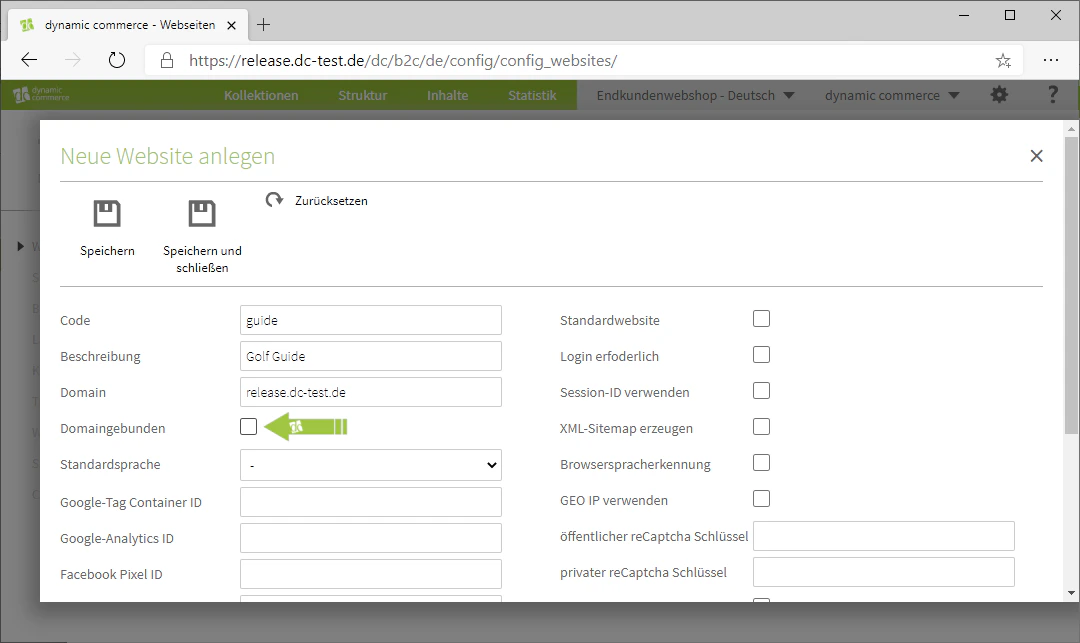
Next, assign a domain to the website under which it can be found on the internet. This is done by entering it in the corresponding field. Naturally, this must be one of your own domains. In our example, we use our demo domain “release.dc-test.de”. As a result, our website would be accessible at the URL “https://www.release.dc-test.de/guide/”. This means that the link to a website generally follows the pattern “https://www.domain/code/”.If you only have one website running on one of your domains, you can declare it as domain-bound by checking the corresponding checkbox. This will prevent the code from being displayed in the URL navigation. However, you will then not be able to run multiple websites under the same domain. In our example, we therefore leave the domain-bound checkbox unchecked.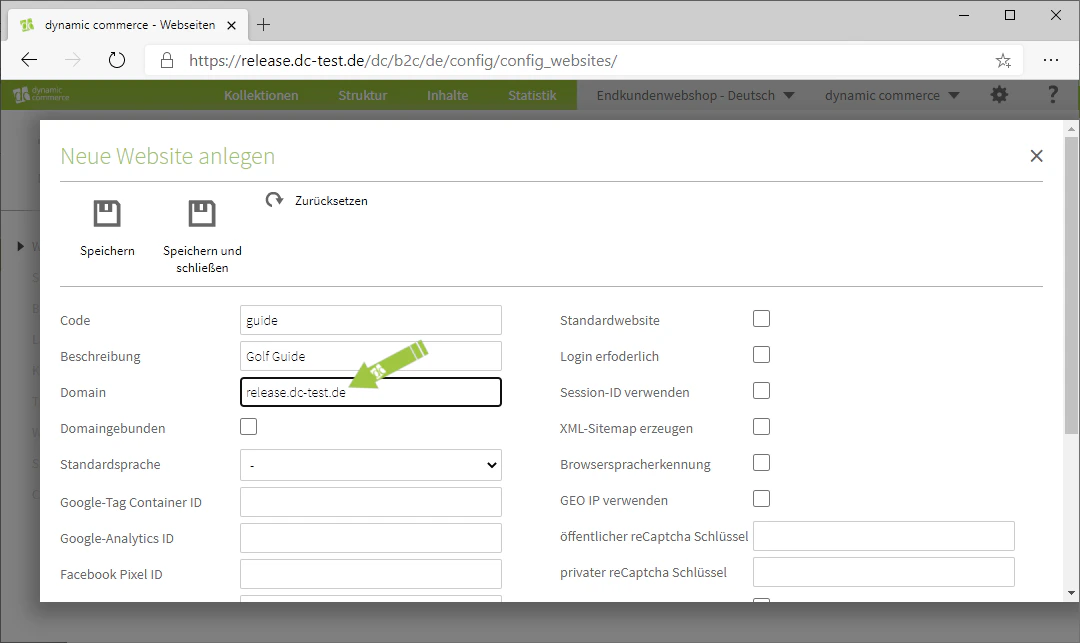
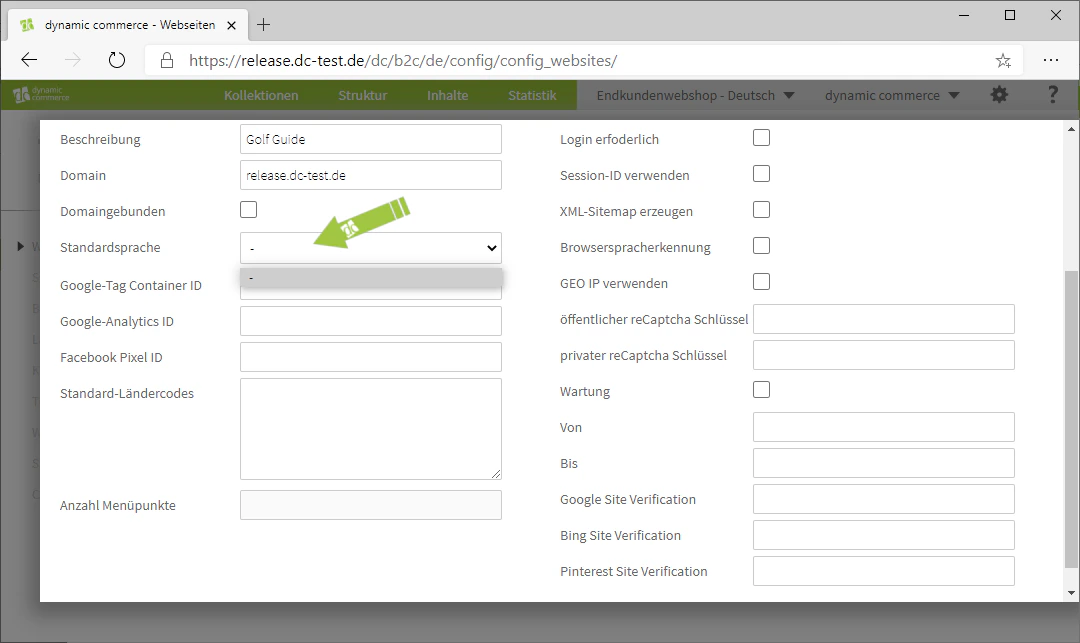
Step 5: Select the Default Language
The default language can be selected in the drop-down of the same name. When creating a new website, no options will be available here yet, as no languages have been maintained for the website at this point. If you plan to maintain multiple languages, you can edit the created website afterwards and set the default language in which the website should be displayed first. We will show you how to create a language here. This default language is only displayed by default if you have not activated browser language detection. You can find more information about this under the further settings for your website.We will show you how to create a language under Languages.
Step 6: Define a Maintenance Interval
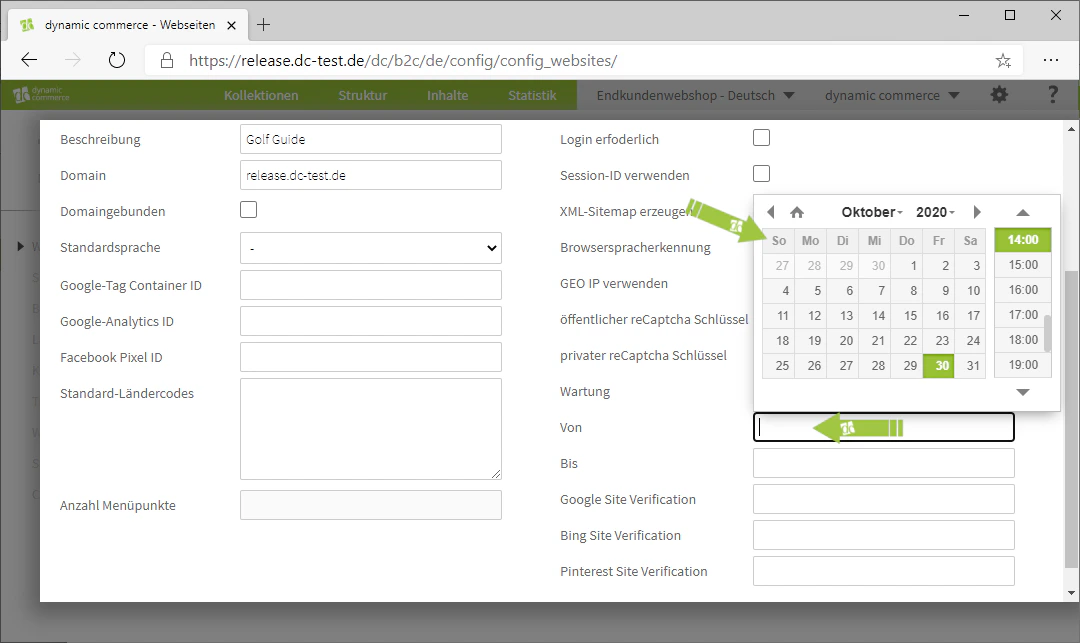
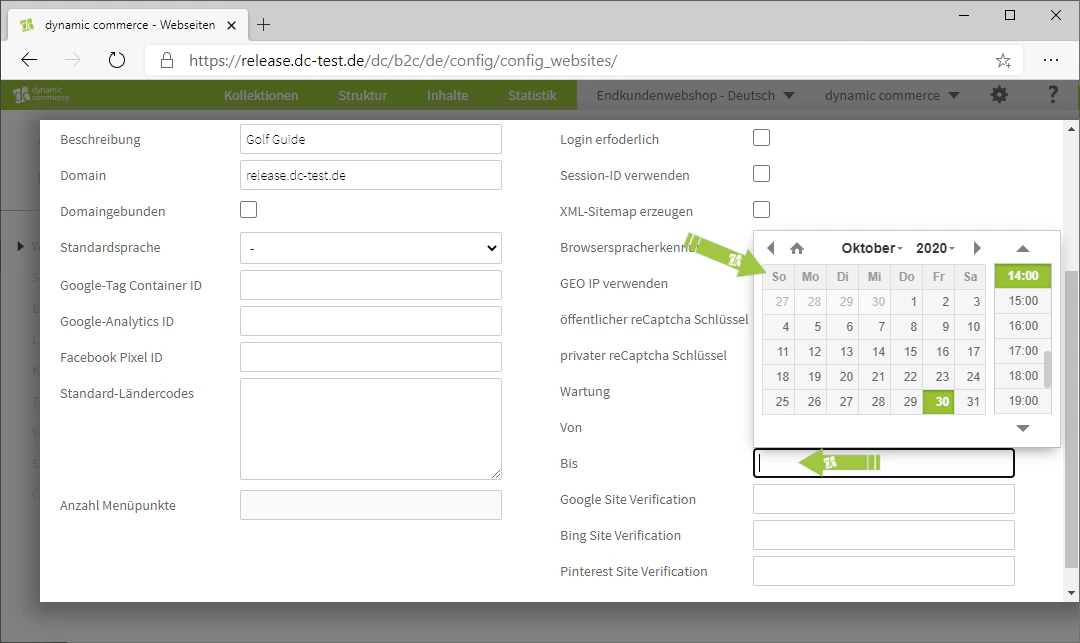
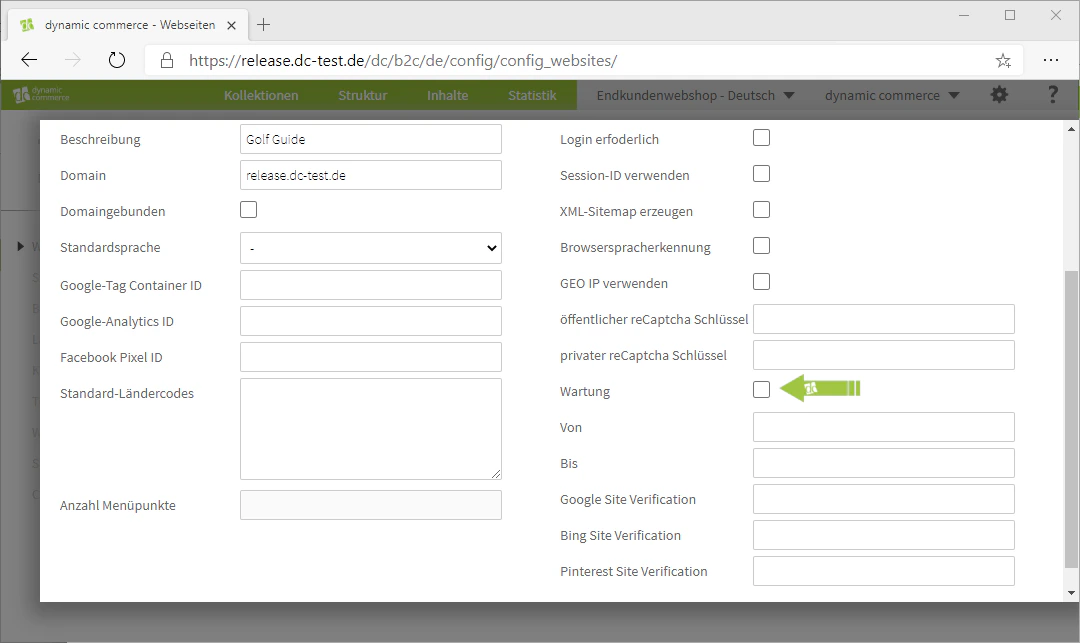
In the right column, you can decide whether your website should undergo maintenance. If you check the “Maintenance” checkbox there, you can define an interval below it. Maintenance makes sense, for example, during major changes to important pages of the website or during changes that temporarily affect the functionality of the website. When you click on the “From” field, a calendar will open directly, allowing you to set the respective date and time to start the maintenance interval. Clicking the “To” field will open the calendar again to select the end of the maintenance period. For our example website, no maintenance is planned for now, which is why we remove the checkmark there.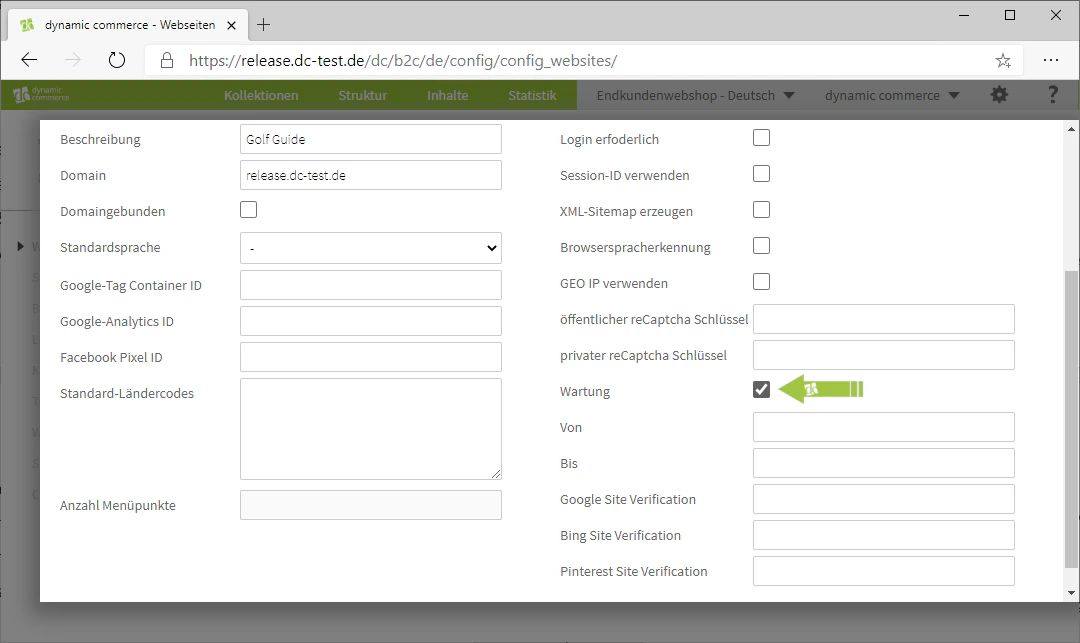
Step 7: Configure Further Settings
In the right column, you will also find various options at the top that you can activate by checking the respective checkbox. By setting your website as the default website, visitors will be redirected directly to it when they enter only the domain in the browser’s address bar. However, you can only have one default website per domain.If you make login required, the website cannot be visited without a prior login. We will show you how to create a login here.You must activate Session ID if users can log in on the website. By activating Session ID, your website can recognise the sessions of individual visitors. For this purpose, a session ID is assigned to the visitor. After a certain period of time or by logging out, the session is then ended and the session ID is deleted.If you want a sitemap to be generated, check the “Generate XML Sitemap” checkbox.Once you activate browser language detection, your website will be displayed in the same language that your visitor has set in their browser. This only works as long as the language is also maintained. If the respective language is not maintained, the default language will be displayed.In our example, we only activate sitemap generation and browser language detection.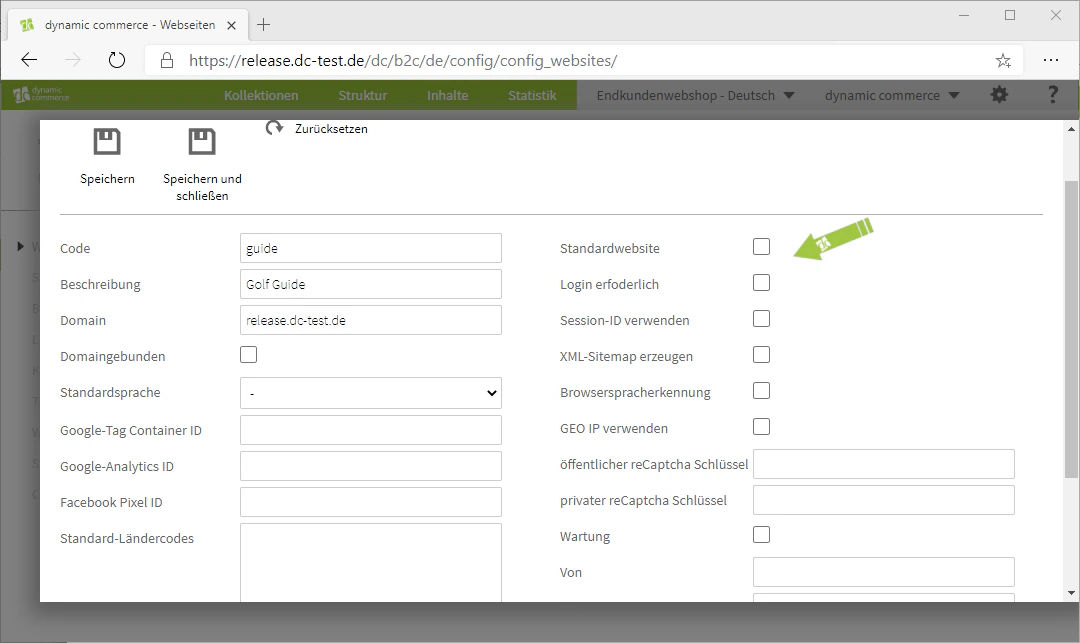
Step 8: Enter IDs, Verifications, and Keys
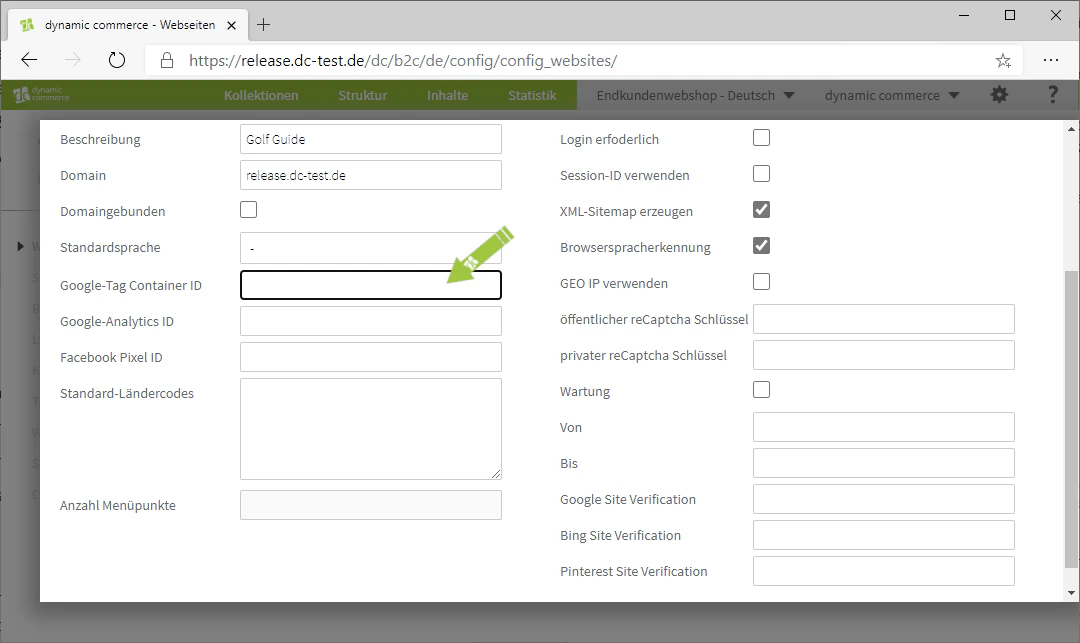
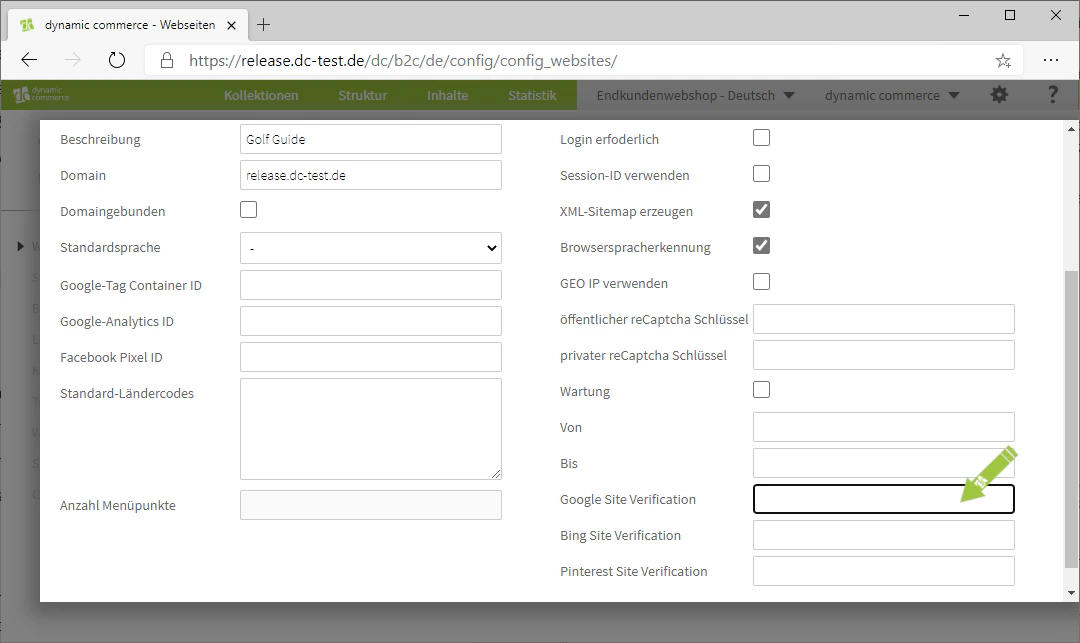
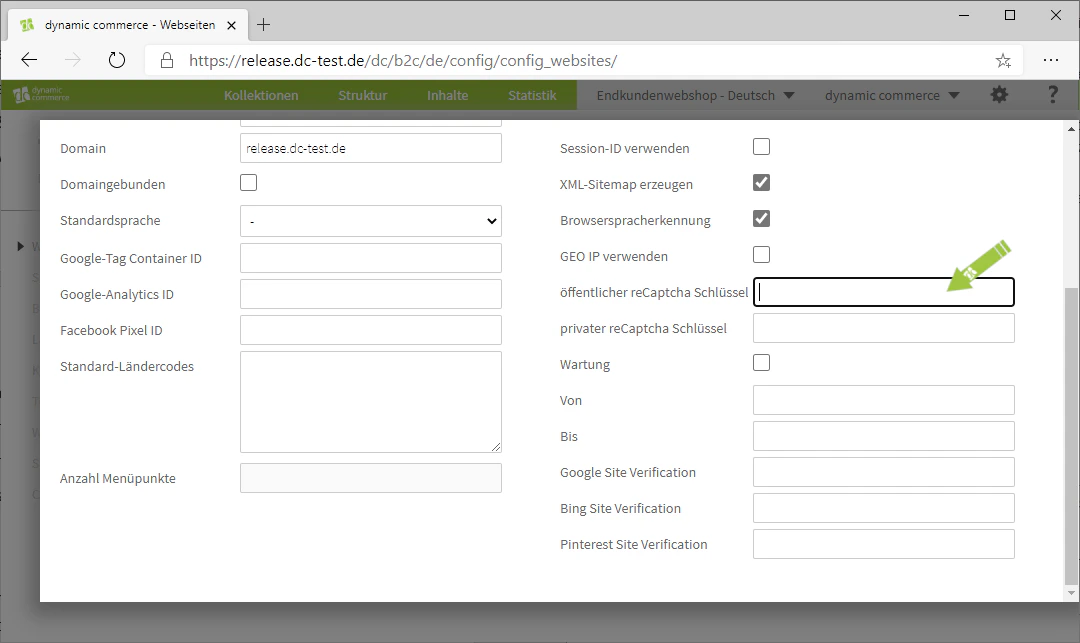
You can now link your website to other services. The required IDs, keys, and verification codes are needed for this.In the fields “Google Tag Container ID”, “Google Analytics ID”, and “Facebook Pixel ID”, you only enter the respective ID. These are provided to you by the services themselves when you register with them.In the fields “Google Site Verification”, “Bing Site Verification”, and “Pinterest Site Verification”, you can enter the verification codes of the respective search engines or services. These verify you as the owner of the website. Such a verification is carried out with the respective search engine providers or services.If you require a reCaptcha check for one of the pages you maintain on this website, you should enter a reCaptcha key in the corresponding field. You receive this key directly from reCaptcha. reCaptcha is a captcha service that distinguishes whether certain actions on your page are performed by a human or a computer (bot).If you have any problems setting up or connecting to the services, please feel free to get in touch at any time. In our example, unfortunately we cannot show you any of these IDs etc.
Related Topics
Languages
Create languages and assign them to a website.
Layouts
Design layouts and upload CSS or JavaScript files.
Redirects
Set up URL redirects for your website.
Switch Website
Go live with your website.