Step 1: Navigate to the Shopping Worlds Menu
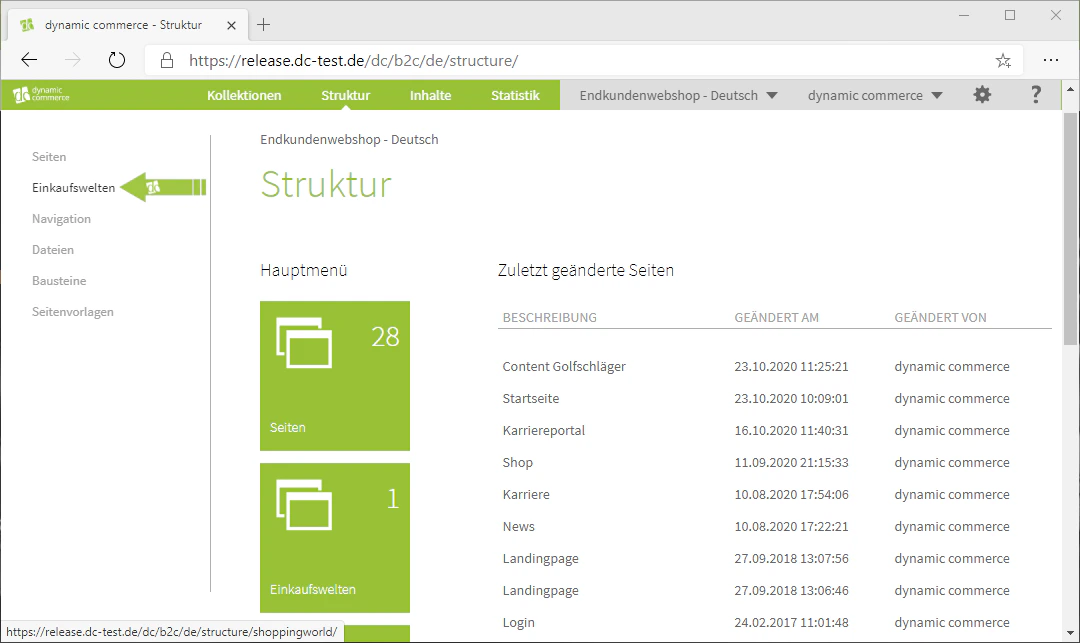
First, navigate to the shopping worlds menu by opening the Structure tab by clicking on “Structure” in the top bar.From there, you can access the shopping worlds menu via the “Shopping Worlds” item in the list on the left-hand side.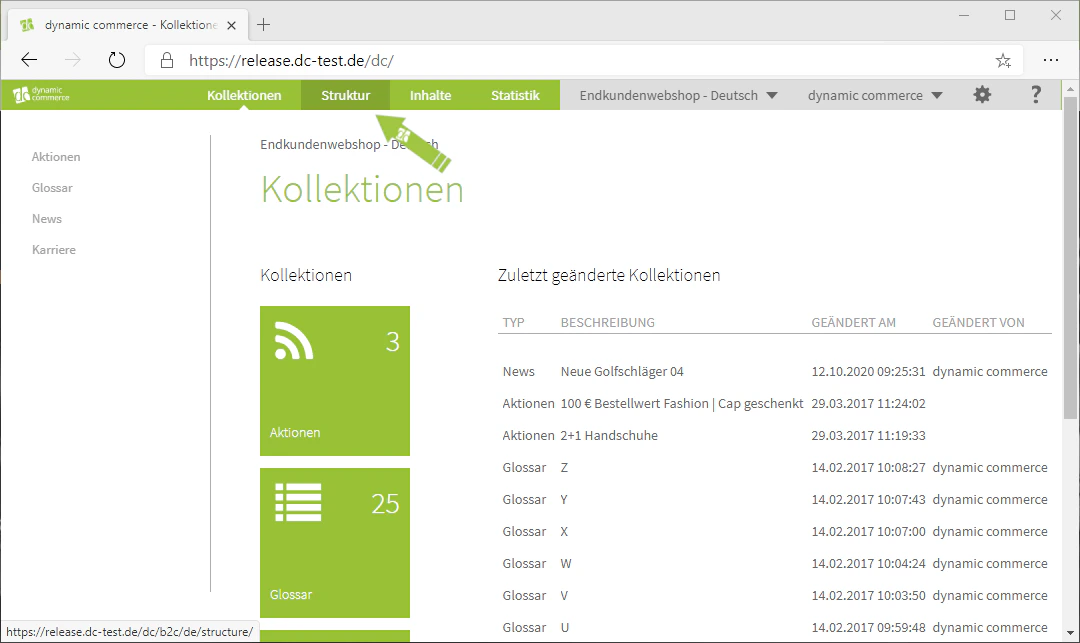
Step 2: Create a New Shopping World
You can now create a new page by clicking the “Plus” icon with the label “New” beneath it in the upper left corner.A window with the heading “Create New Page” should then open.In addition, you can see already created shopping worlds in a list in the centre. These can be edited by double-clicking. Furthermore, you can directly manage content this way.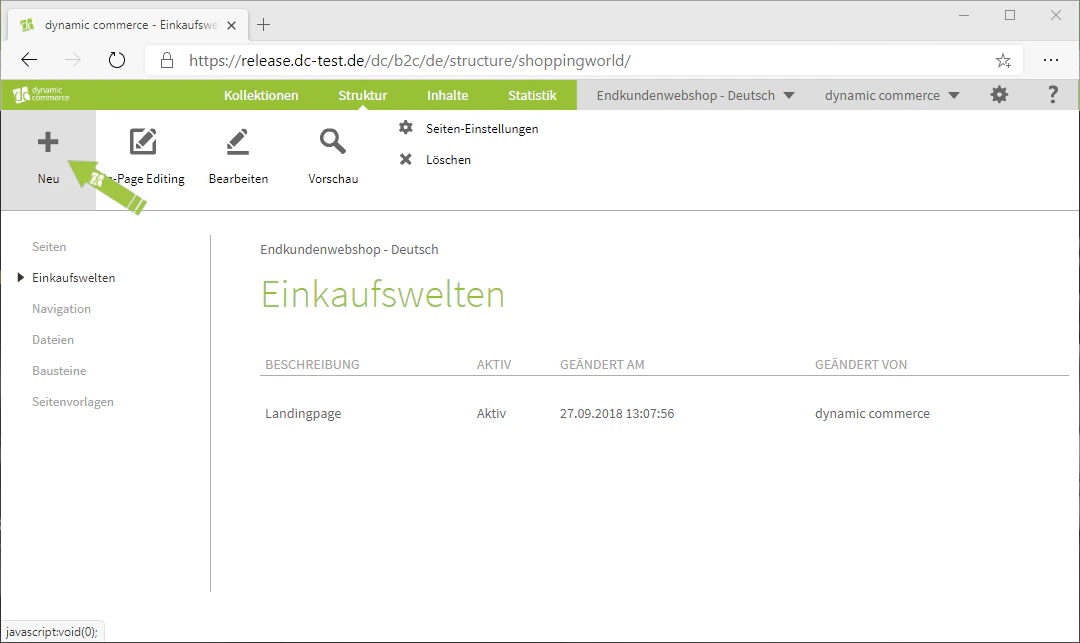
Step 3: Choose a Description
Here you first choose a description. You can choose this freely, as it is only used for clarity and is not displayed on your page.In our example, we choose “Fashion” as the description, as we want to replace the category page for the “Fashion” category.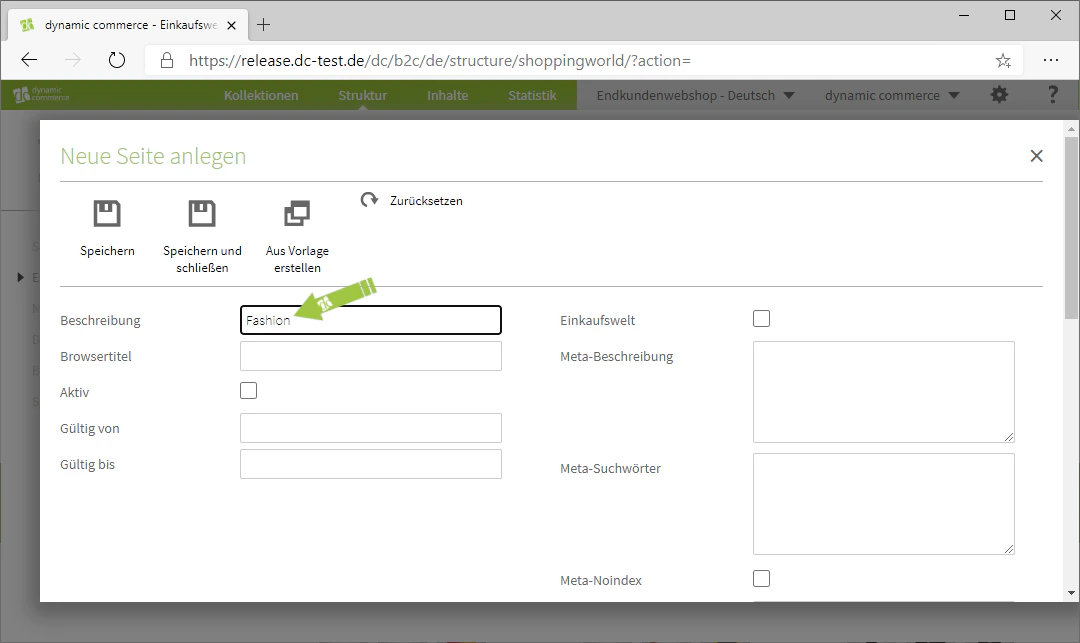
Step 4: Declare the Page as a Shopping World and Save
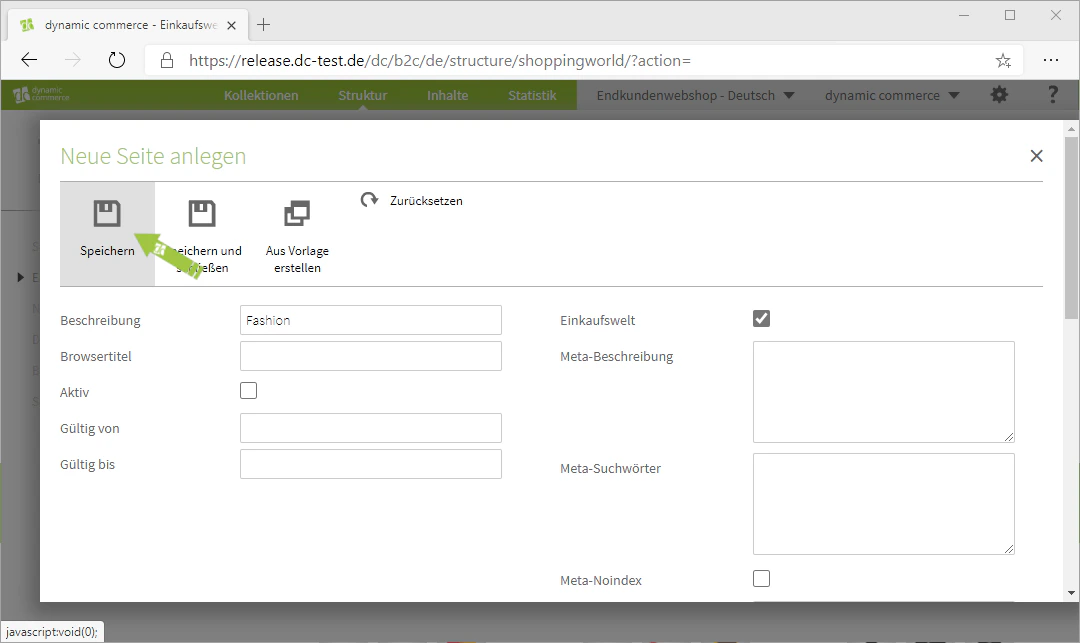
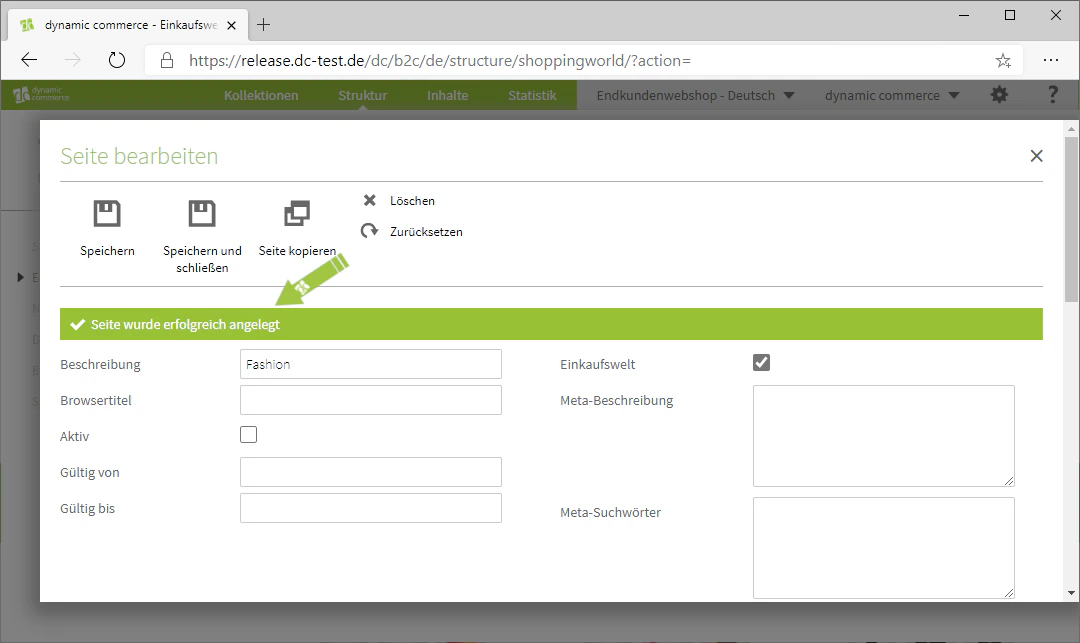
Next, declare the page as a shopping world. This is done by checking the “Shopping World” checkbox.Now save this page to reveal further settings for the shopping world. You can then see these further down on the right-hand side once the page has been successfully created.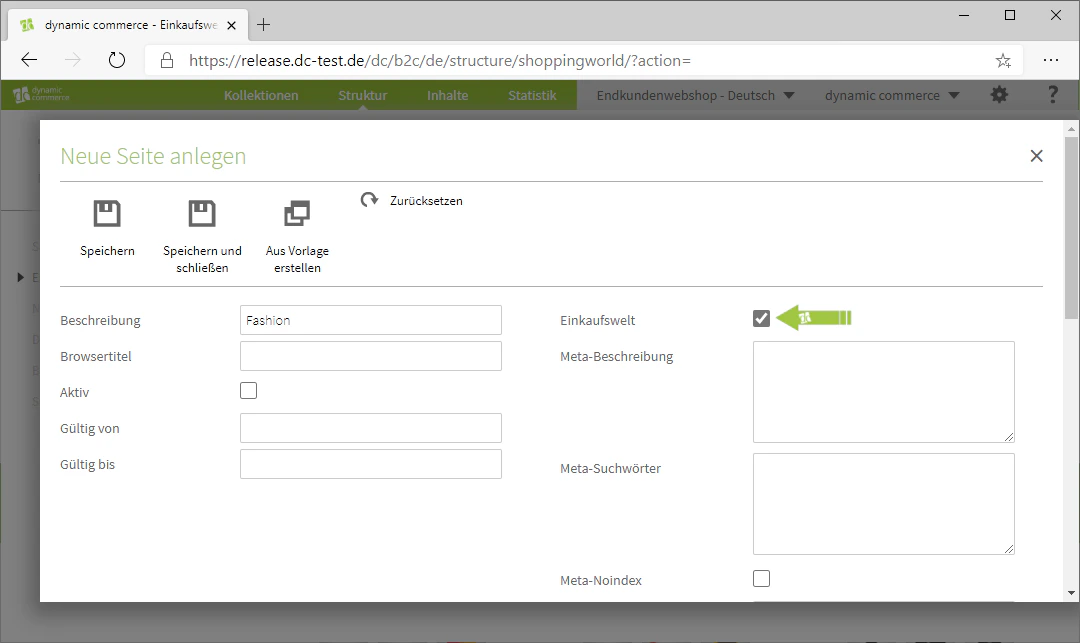
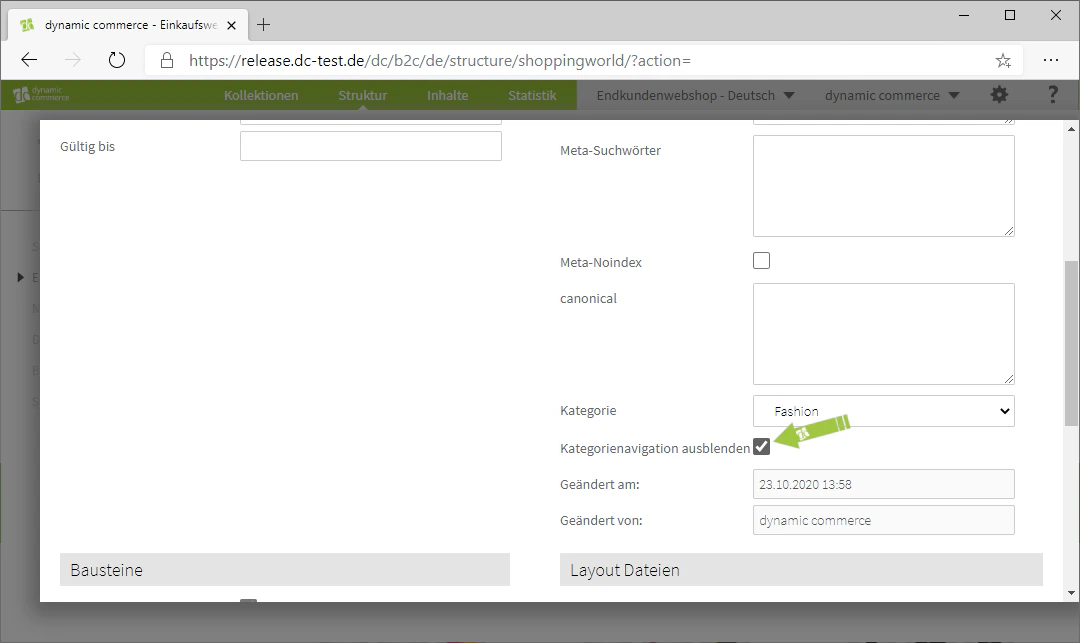
Step 5: Choose a Category
You now have the option to select a category.Using the drop-down, you can select which of your web shop categories you want to replace with this page.In our example, we select the “Fashion” category and also hide the category navigation.You have now already declared the page as a shopping world. We explain the other settings in the context of page creation here.

Related Topics
Create Pages
Fundamentals for creating regular pages as the basis for shopping worlds.
Page Navigation
Integrate shopping worlds into the navigation of your website.
Create Content
Fill shopping worlds with your own content.