This guide is part of the Content Types. We show you how to create content in general under Create and Edit Content.
Step 1: Select the Content Type “Contact Forms”
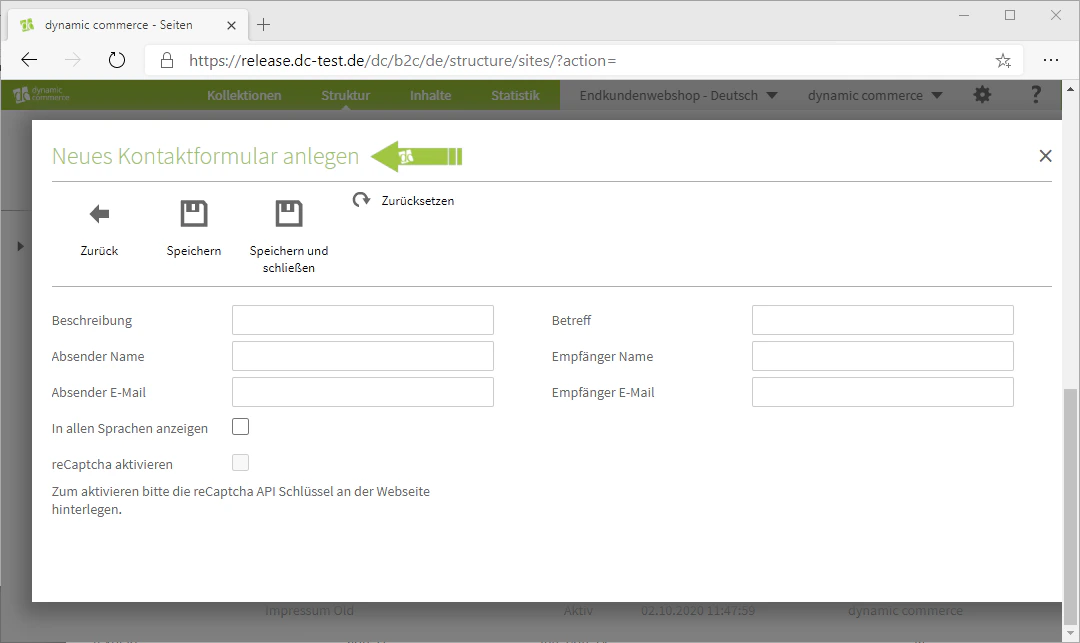
First, select the content type “Contact Forms” when creating a content item. A new window with the heading “Create New Contact Form” should open.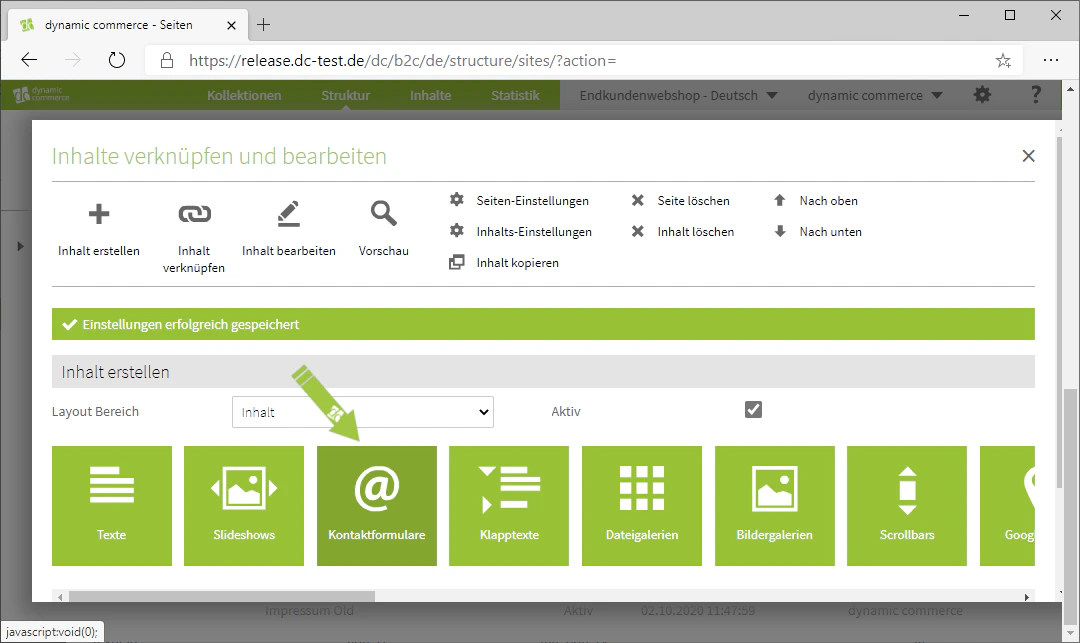
Step 2: Choose a Description
Start by choosing a description. This is only for organisational purposes and will not be displayed on your website.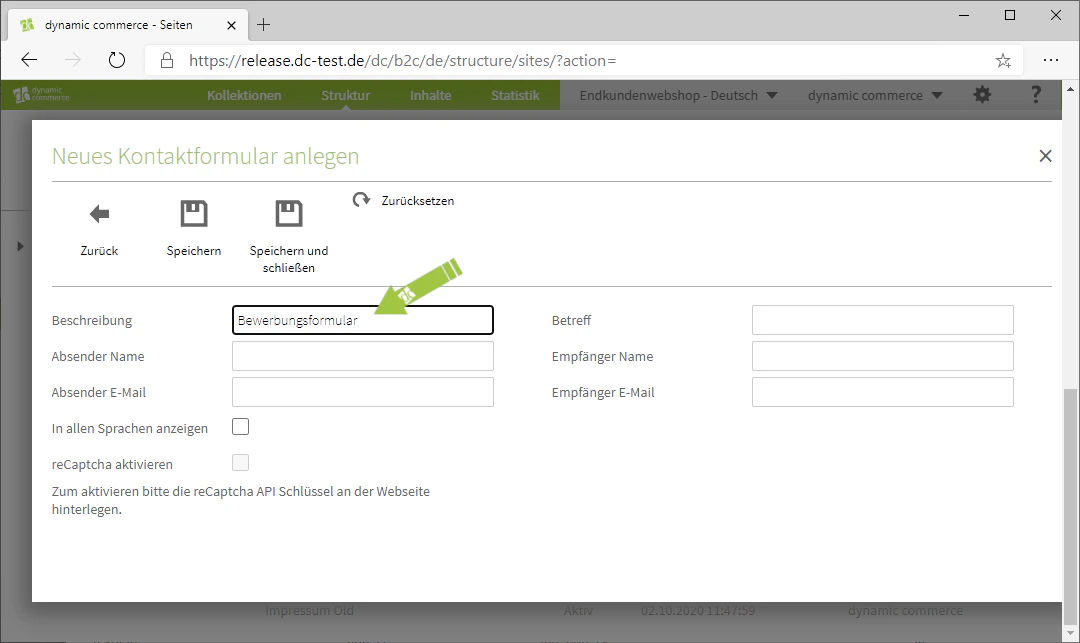
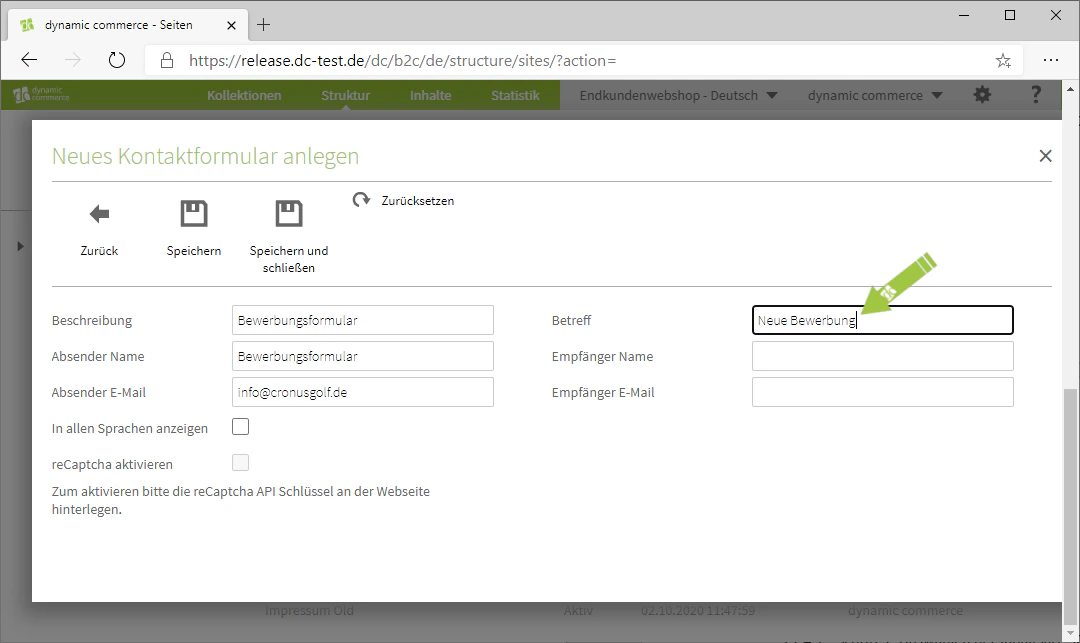
Step 3: Define Sender and Subject
Next, define a sender. It is recommended to use the description or name of the contact form as the sender name. Then enter the subject for the enquiries.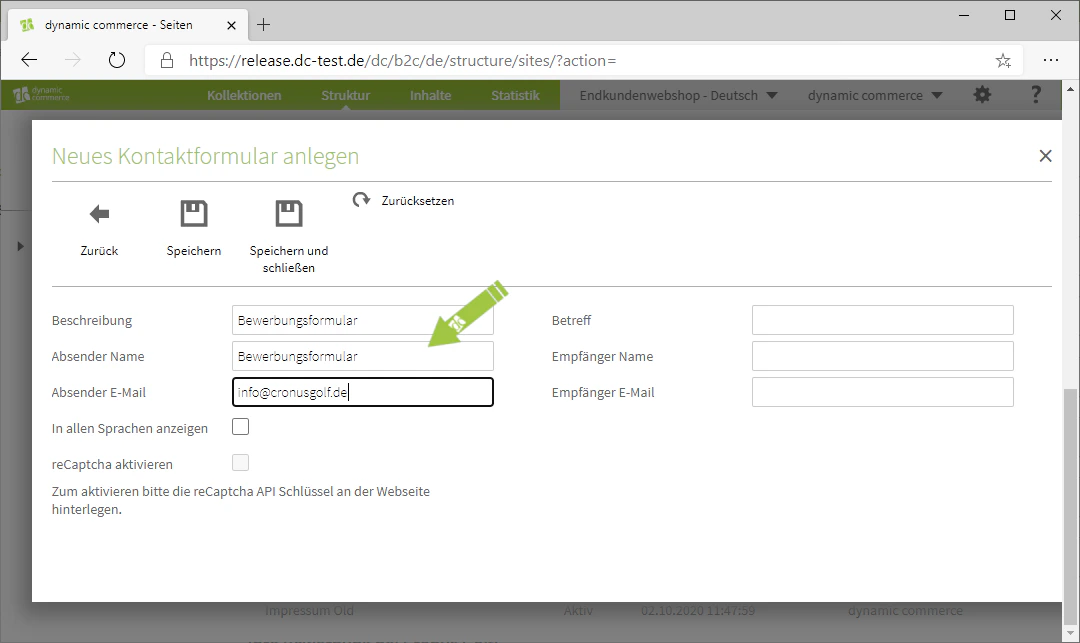
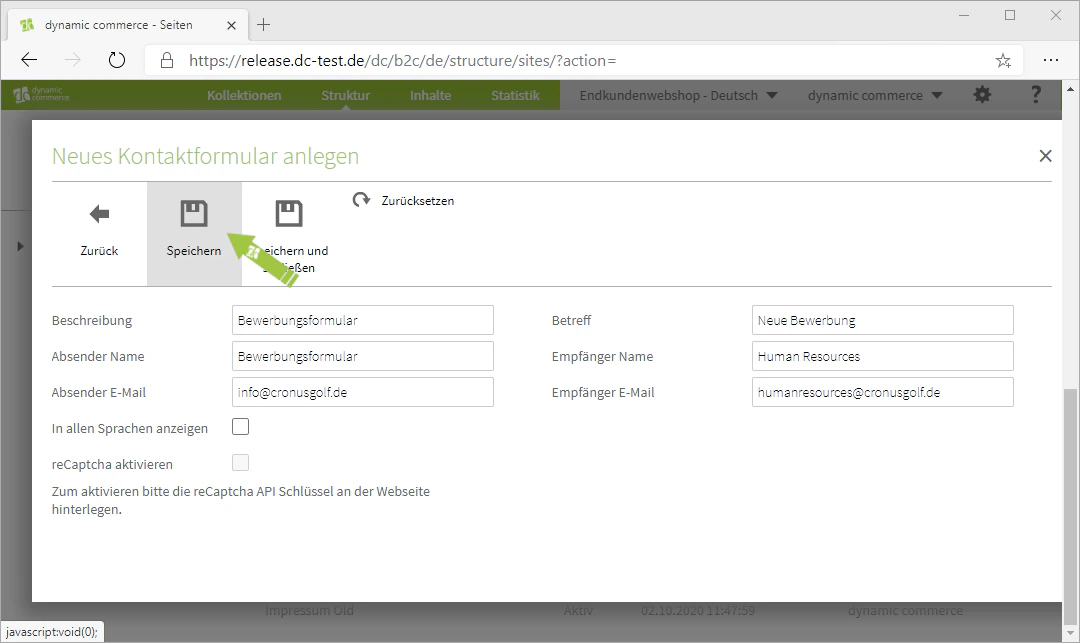
Step 4: Choose Recipient and Save
Then select a recipient. You can enter both a recipient name and a recipient email address. Save your entries afterwards.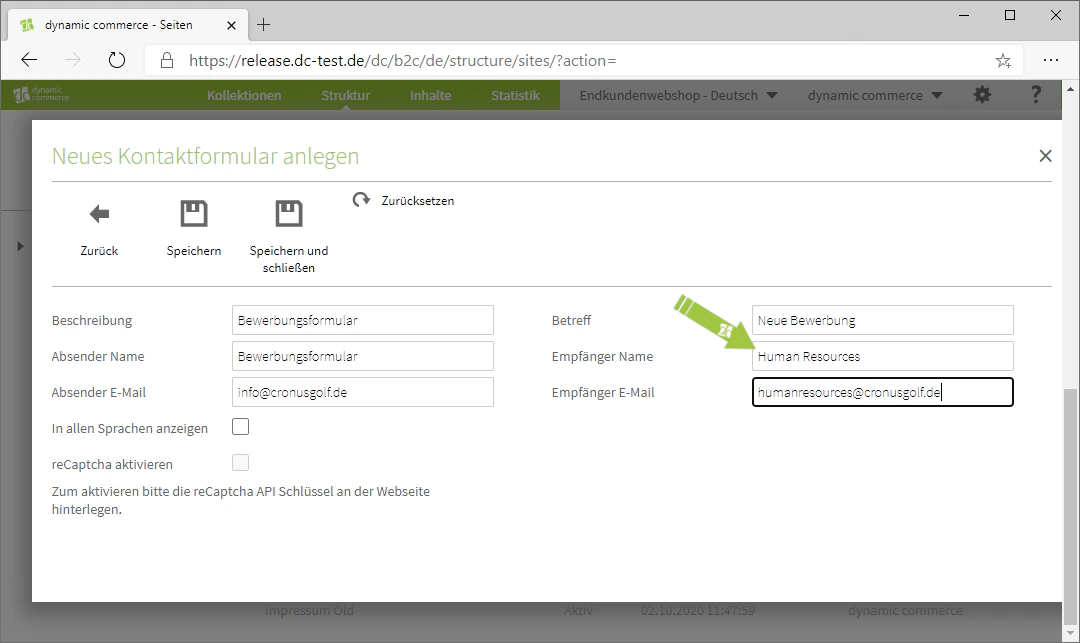
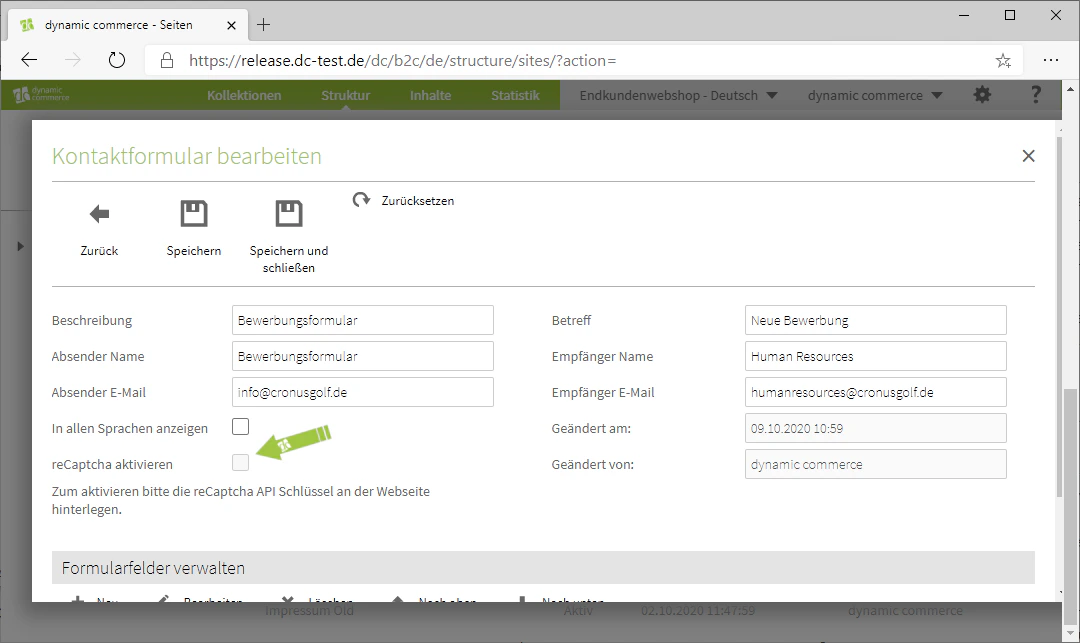
Step 5: Activate reCaptcha
You also have the option to enable a reCaptcha verification by checking the “Activate reCaptcha” checkbox.ReCaptcha is a captcha service that distinguishes whether certain actions on your site are performed by a human or a computer (bot).
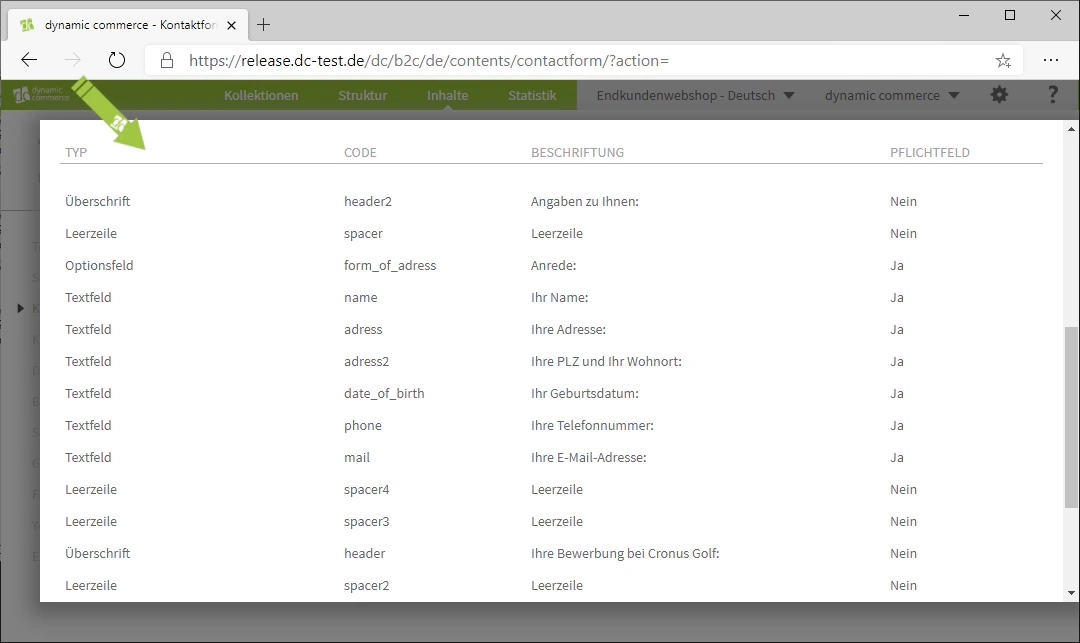
Step 6: Create Form Fields
After saving, a menu with the heading “Manage Form Fields” should appear below the general settings.You create a new field by clicking the “Plus” icon with the adjacent label “New”.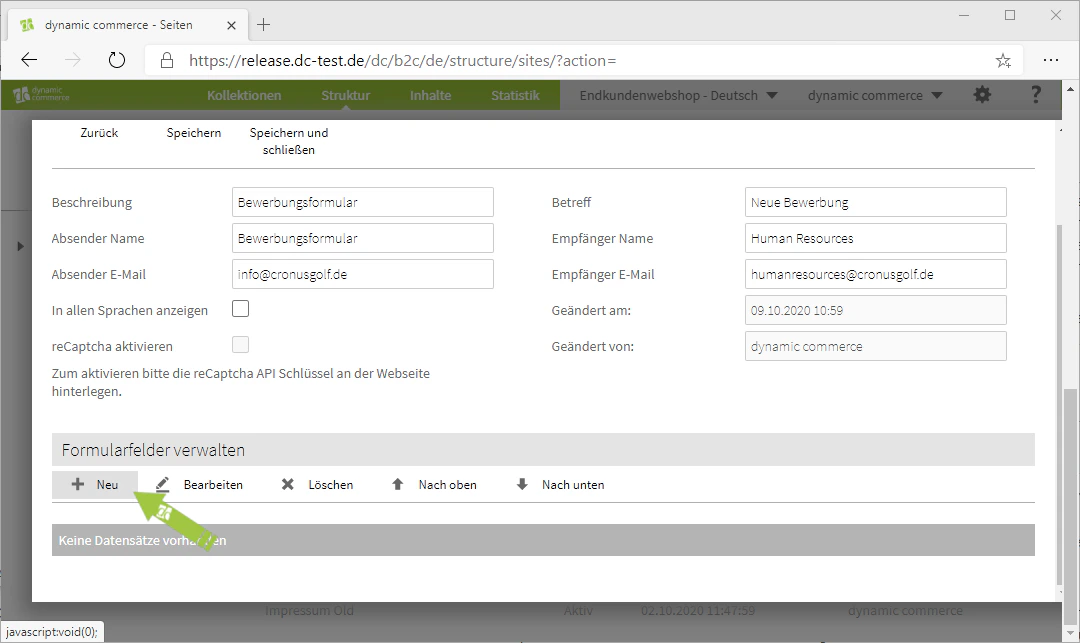

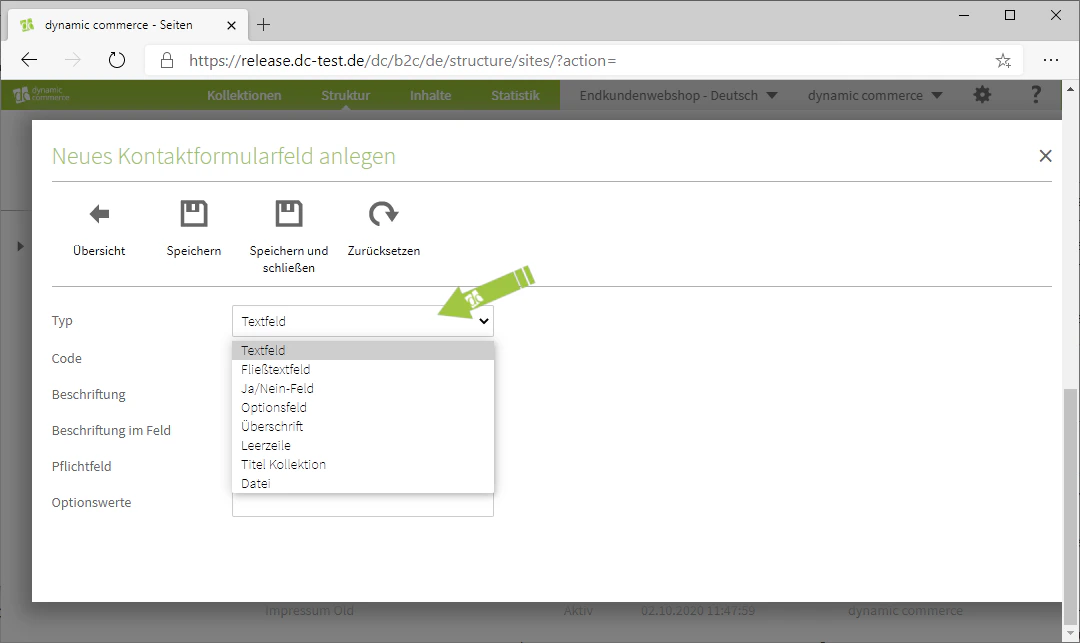
Step 7: Define the Field Type
Define the field type there. You select it by clicking on the drop-down named “Type”.- Text fields are standard fields in which the user can enter a short text.
- Long text fields behave like text fields. The only difference is that users can enter a longer text there.
- Yes/No fields are fields in which the visitor must check a box.
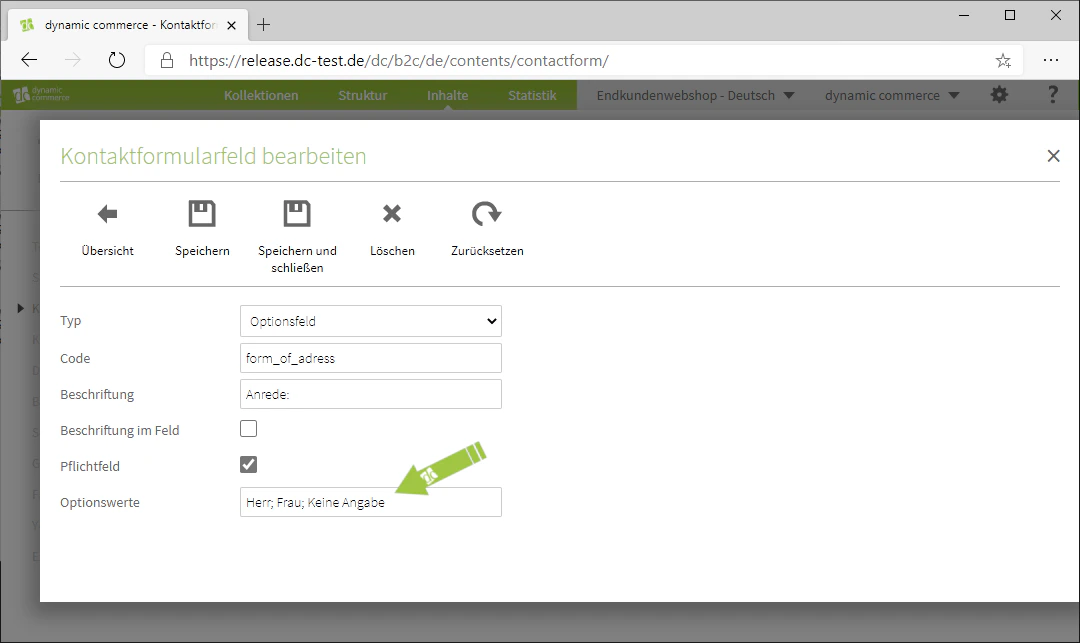
- For option fields, the user can select an option from a drop-down.
- With the “Headings” field, you have the option to maintain a heading that will then be displayed to the visitor.
- “Blank line” simply inserts a blank line.
- With “Collection Title”, the name of the collections would be displayed.
- With a file field, the visitor can upload files relating to their enquiry.
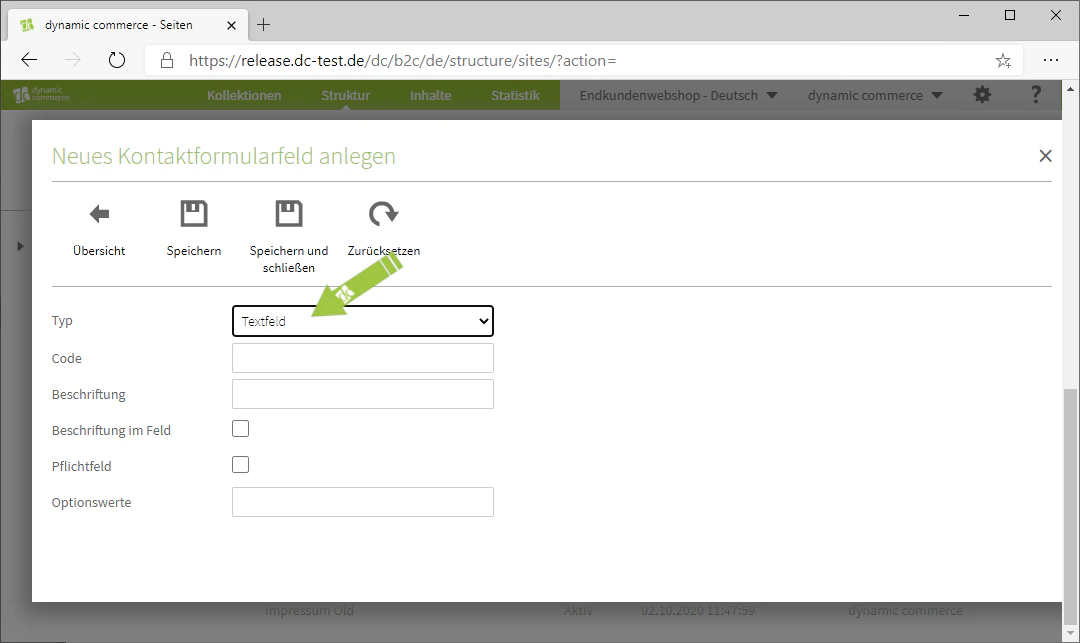
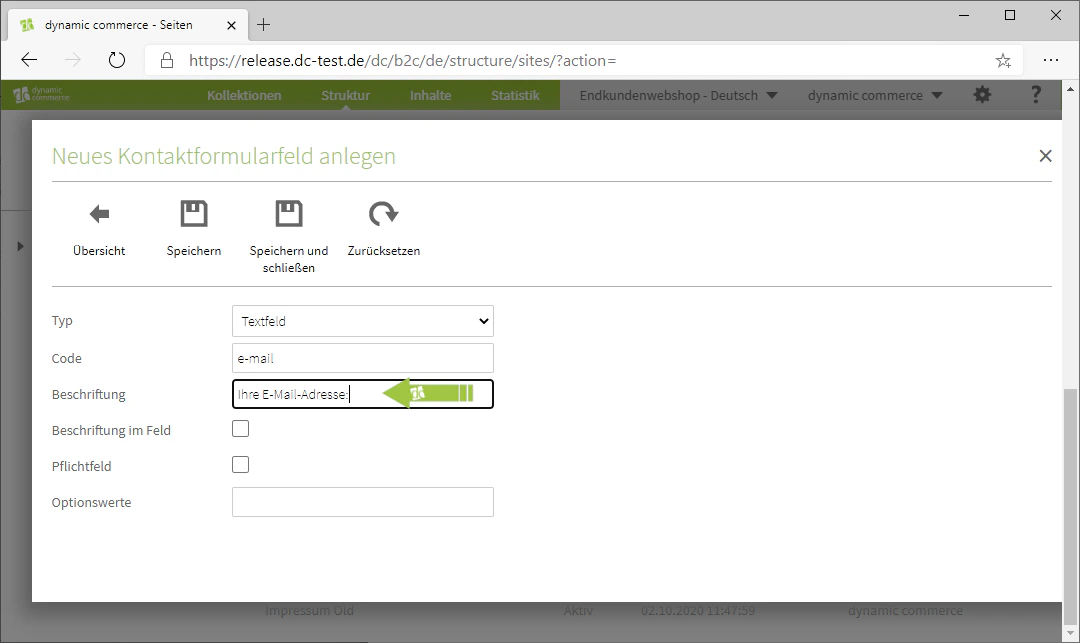
Step 8: Choose Code and Label
Next, define the code and the label of the field. The field code is only for organisational purposes and will not be displayed on the website.The label will then be displayed on the website directly in front of the field.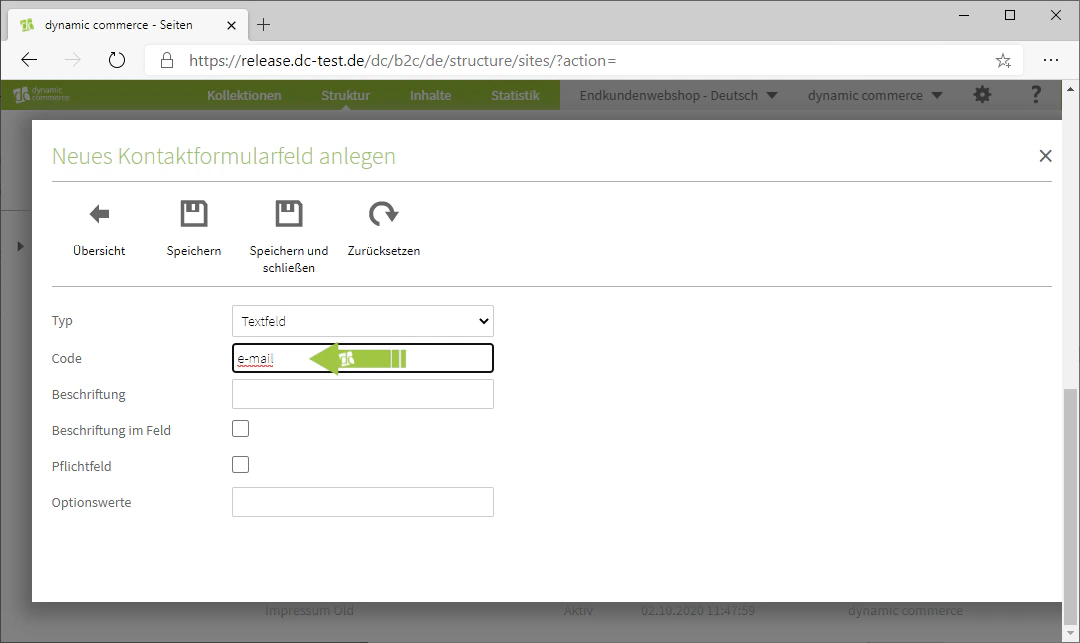
Step 9: Create Required Fields and Choose Option Values
You also have the option to mark a field as “Required”. This means the visitor must fill it in or make a selection.Option values are only needed for the field type “Option field”.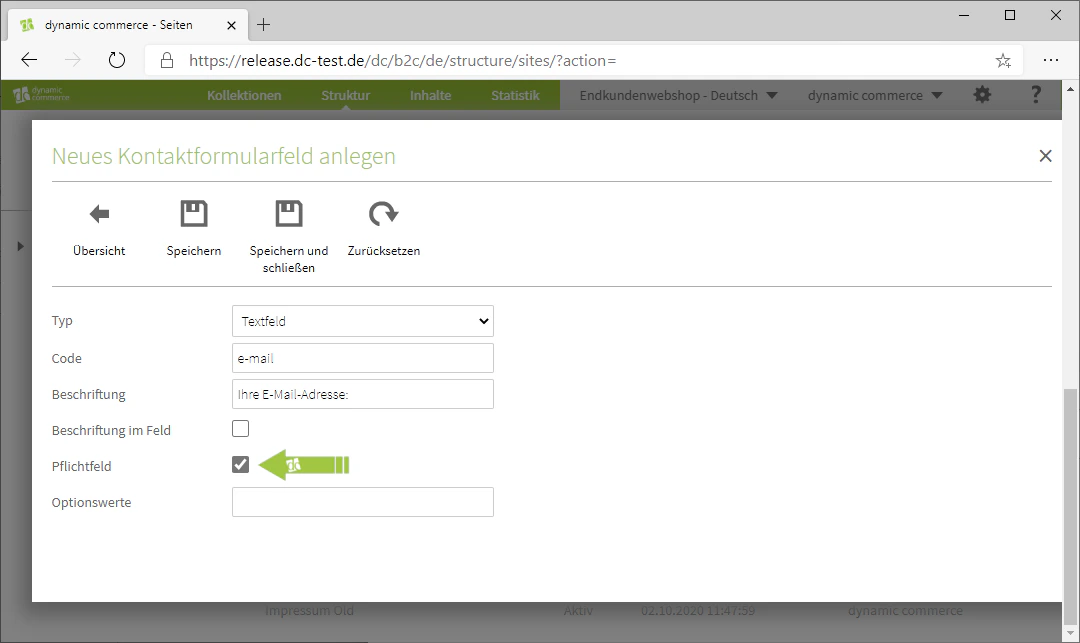
Related Topics
Content Types
Overview of all available modules.
Create and Edit Content
Create content on pages.
Newsletter
Collect newsletter sign-ups via a form.