This guide is part of the Content Types. We show you how to create content in general under Create and Edit Content.
Please note that we only explain here how the article preview module works. This assumes that you have already created a page on which the content can be displayed. It is also assumed that you have already reached the window for creating content.
Step 1: Select the Content Type “Article Preview”
First, select the content type “Article Preview” when creating content.A window with the heading “New Webshop Article Preview” should open. There you can then make the selection of articles to be displayed.In our example, we are on our home page. Here we want to show our top articles. For this purpose, we have previously created a category with our top sellers in our webshop, which we can then use.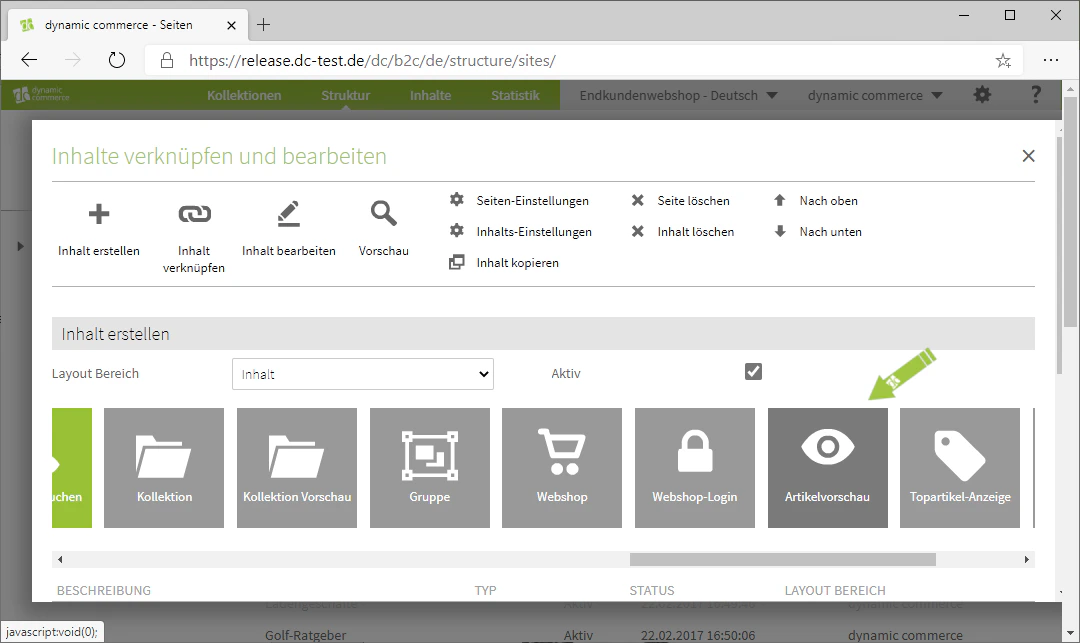
Step 2: Choose a Description
In the window that has just opened, start by defining a description for the article preview. This is only for clarity and will not be displayed on the selected page. Normally, however, the description field is automatically filled with “Article Preview”.For our example, we will change the description to “Article Preview: Top Sellers” to make it more meaningful and precise.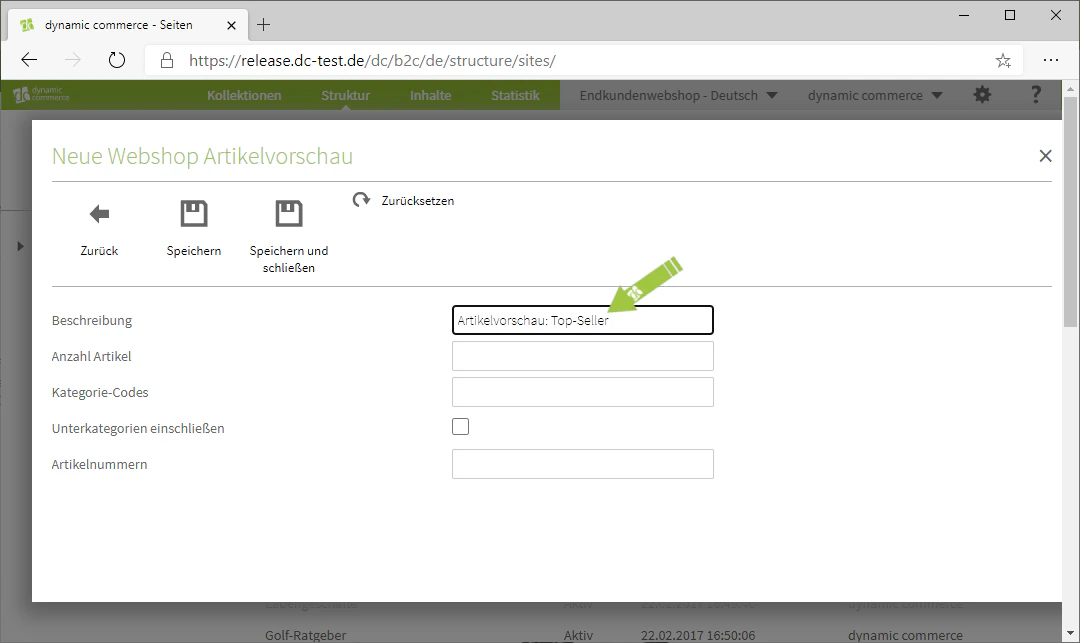
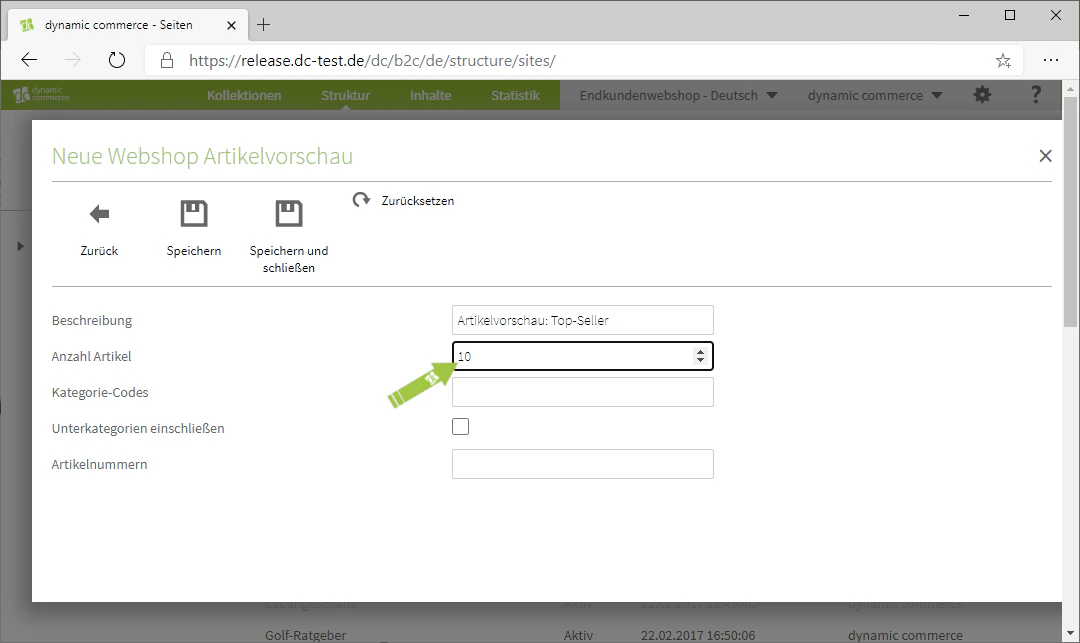
Step 3: Define the Number of Articles
Next, define the number of articles to be displayed.Please note that this does not refer to the number of articles displayed to the visitor simultaneously in the scrollable view, but rather the number of articles after which the scrollable view repeats. The number of articles displayed simultaneously is determined automatically based on the size of the device on which the article preview is viewed.
Step 4: Select Articles
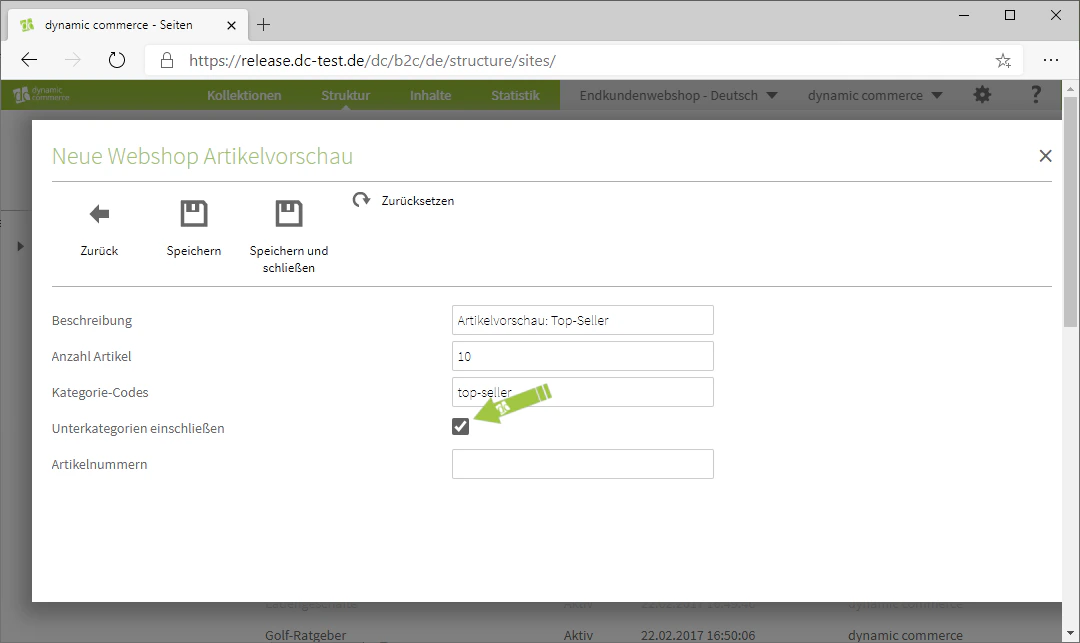
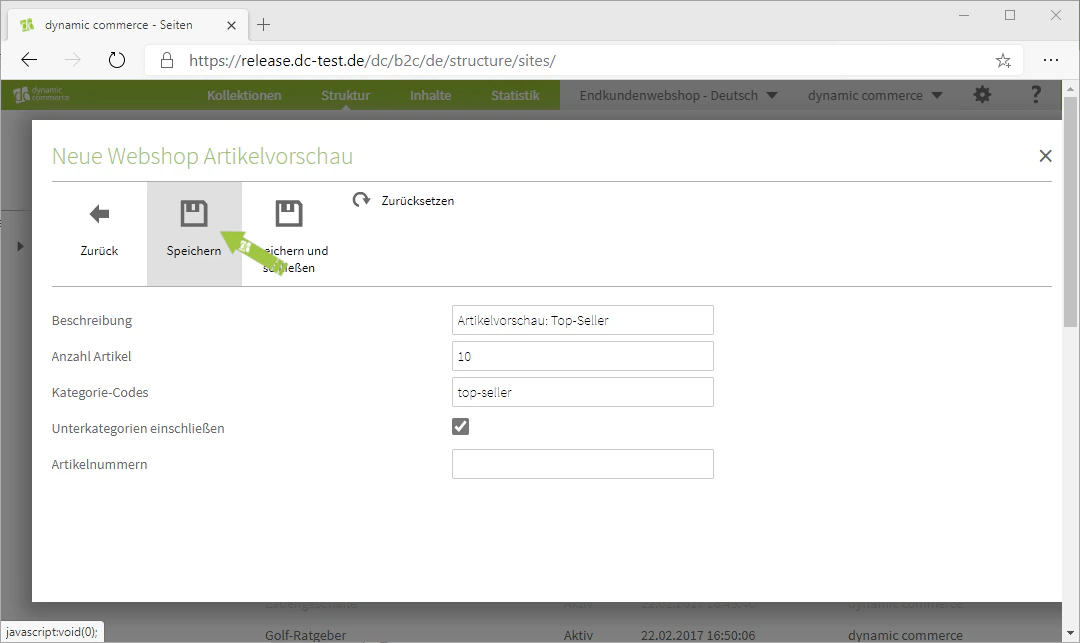
Next, you can already define the articles to be displayed. Please note that the articles themselves are not maintained within the CMS, but in your Microsoft Business Central or Dynamics NAV.There are two options for making the selection. You can select articles based on a specific category or based on article numbers.To determine the articles by category, simply enter the category name or code in the “Category Codes” field. If you want more than one category to be displayed, enter them in the field and separate the individual category codes with a semicolon. You also have the option to include the associated subcategories by checking the corresponding checkbox.To determine the articles by article number, enter them in the “Article Numbers” field. If you also want to enter multiple article numbers here, separate them with a semicolon.In our example, we want to select articles from the “top-seller” category, so we enter this in the “Category Codes” field. We also want the subcategories to be included, which is why we then check the corresponding checkbox.Finally, do not forget to save. This completes the creation of your article preview.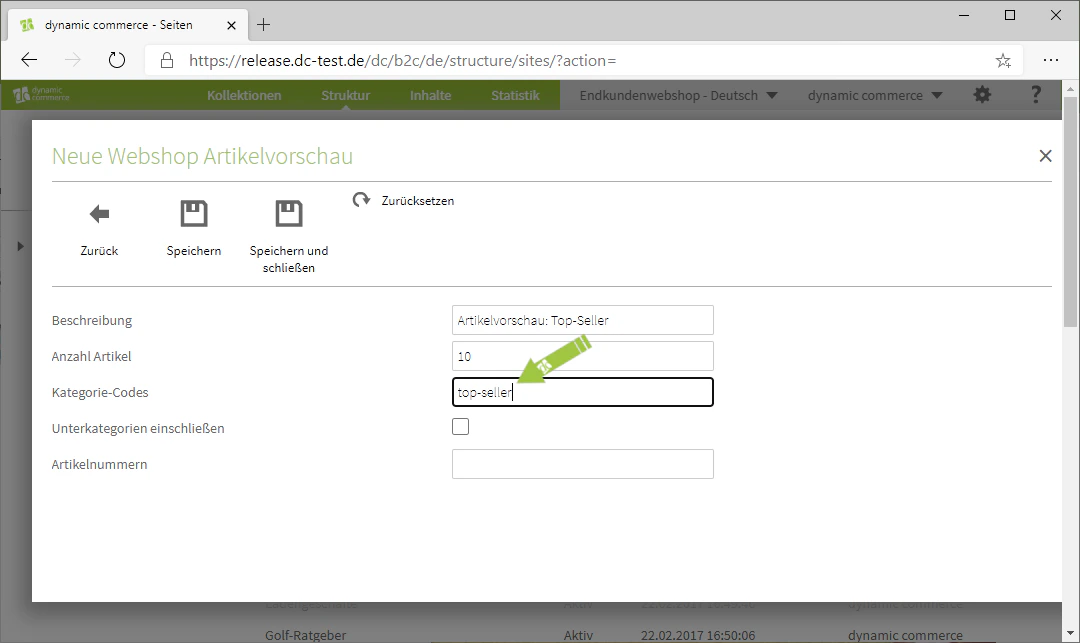
Related Topics
Content Types
Overview of all available modules.
Create and Edit Content
Create content on pages.
Webshop Siteparts
Integrate webshop content such as login, top articles, or dealer search.
Display Collection Preview
Display selected collection entries in a preview.