This guide is part of the Content Types. We show you how to create content in general under Create and Edit Content.
Step 1: Select the Content Type “File Galleries”
First, select the content type “File Galleries”. This should open a window with the heading “New File Gallery”.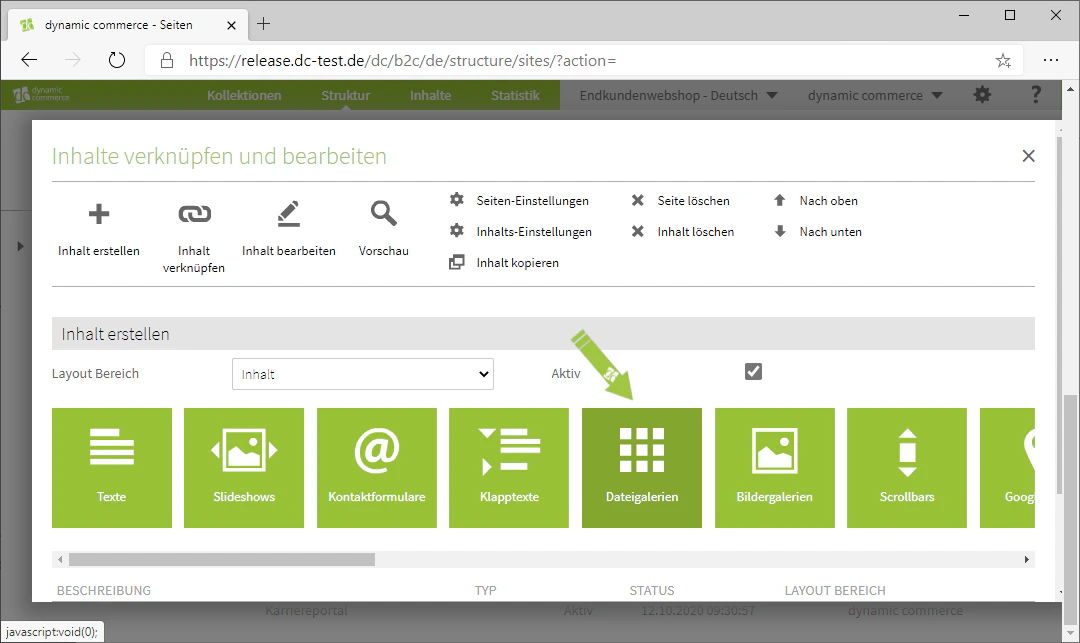
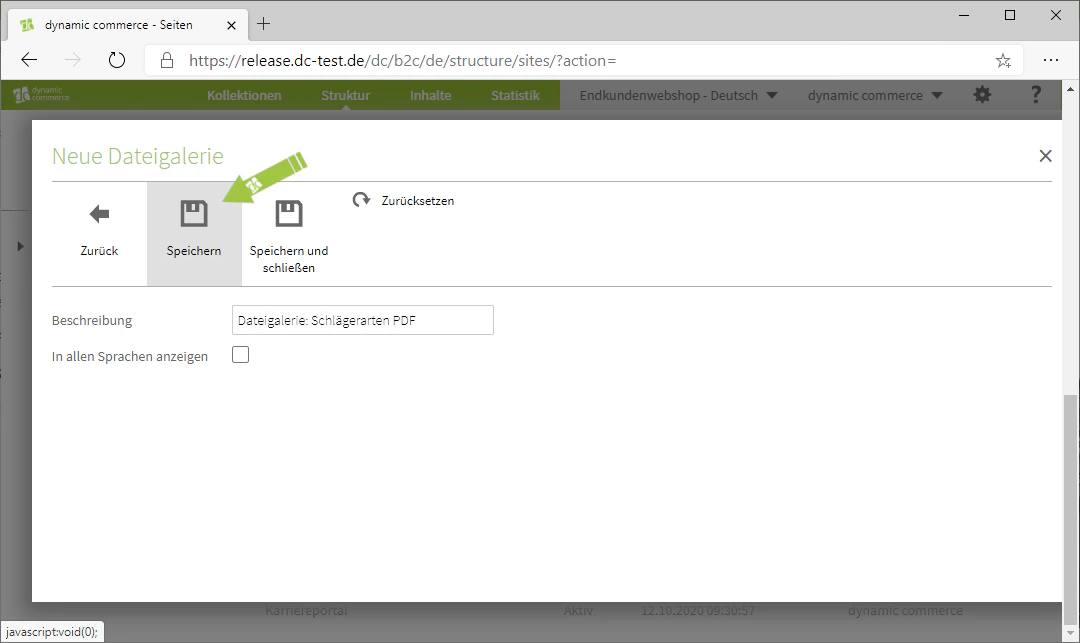
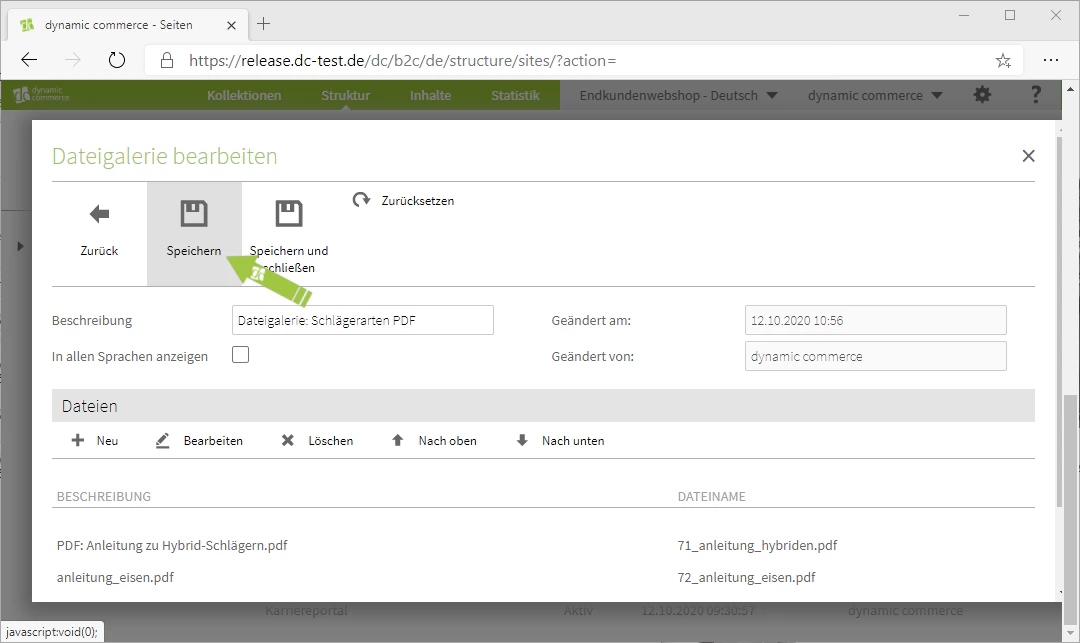
Step 2: Choose a Description and Save
Now choose a description. This is only for organisational purposes and will not be displayed on the selected page. Then save so that the area for managing files is shown.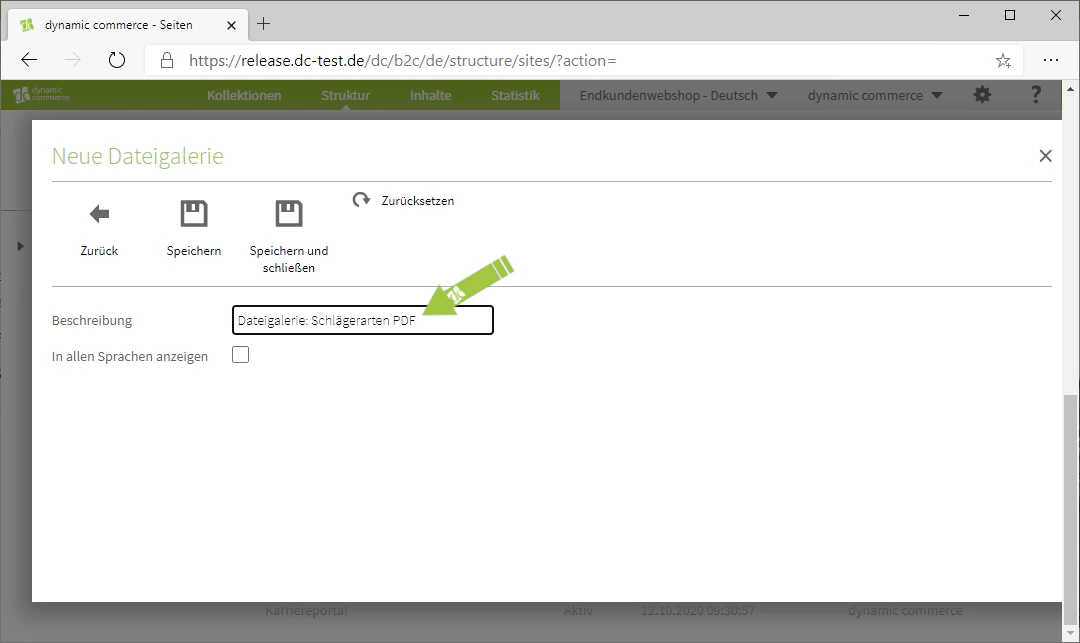
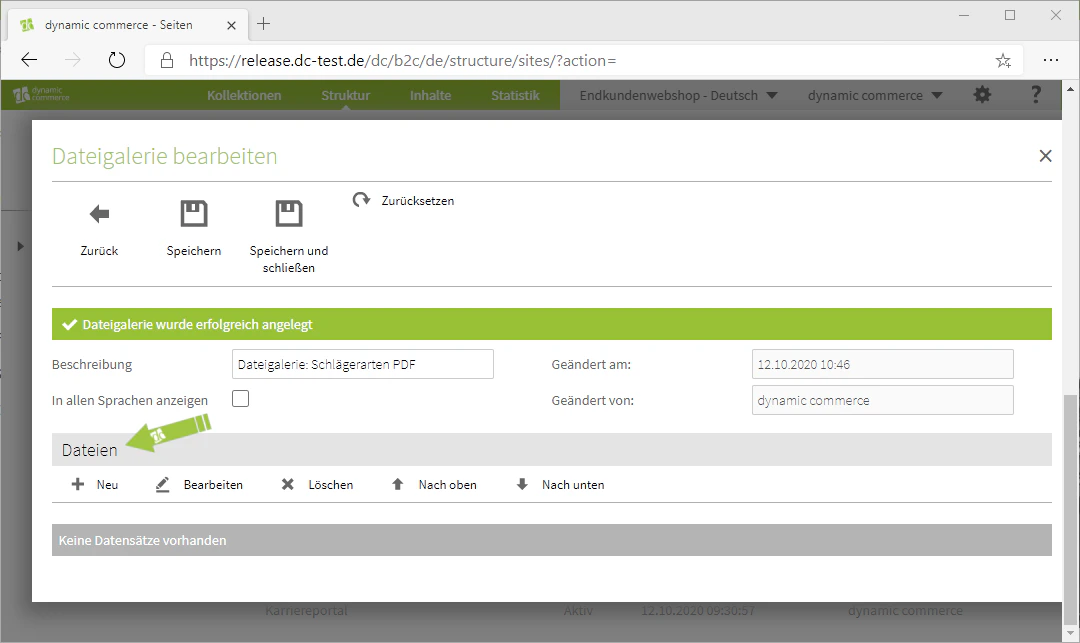
Step 3: Manage Files
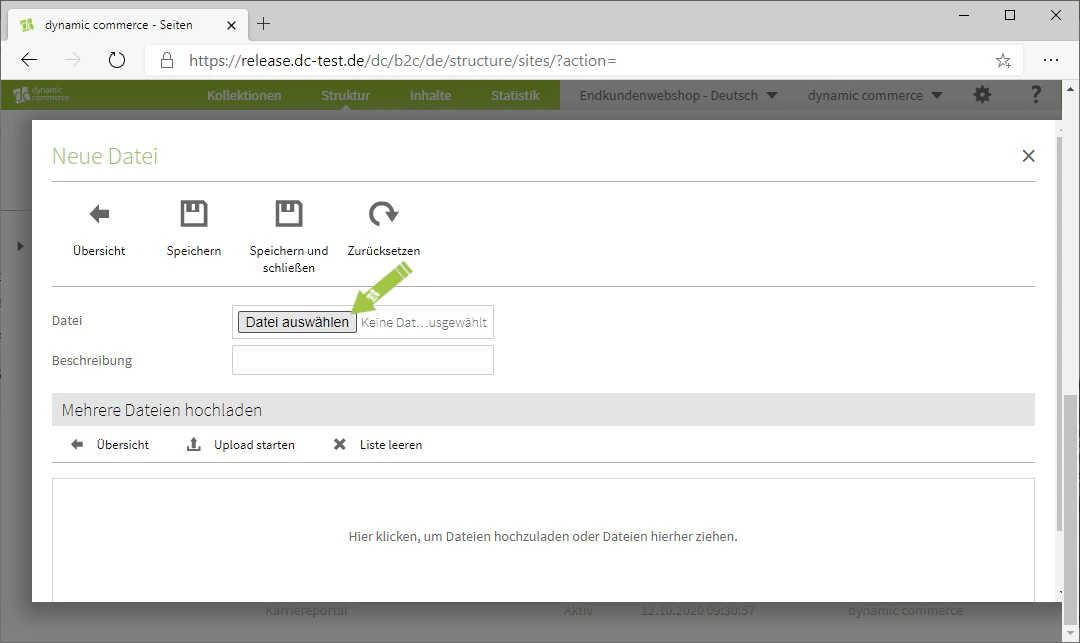
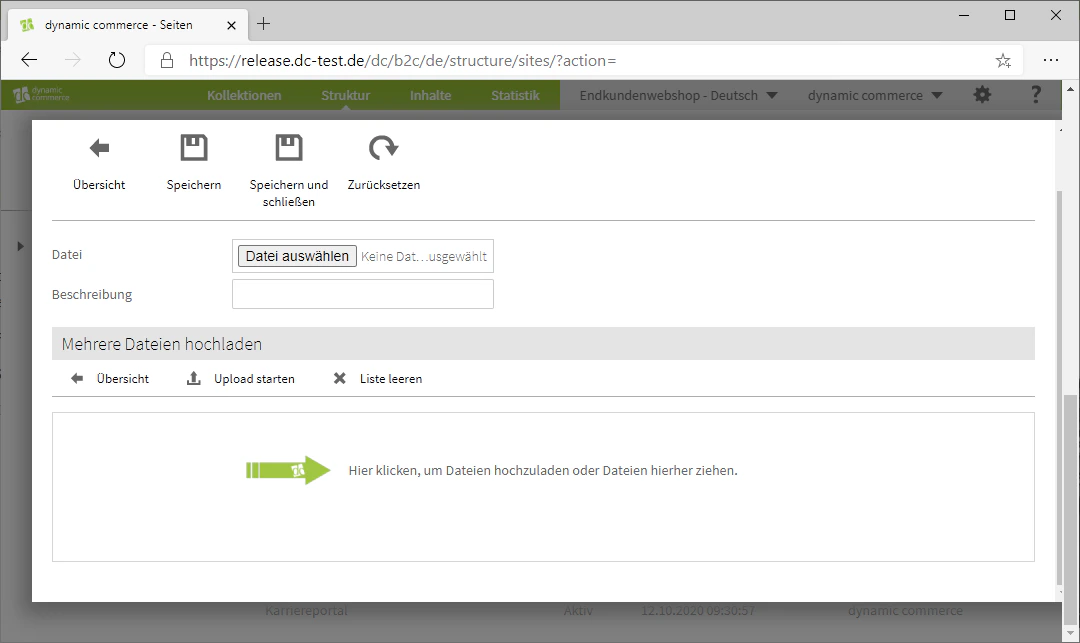
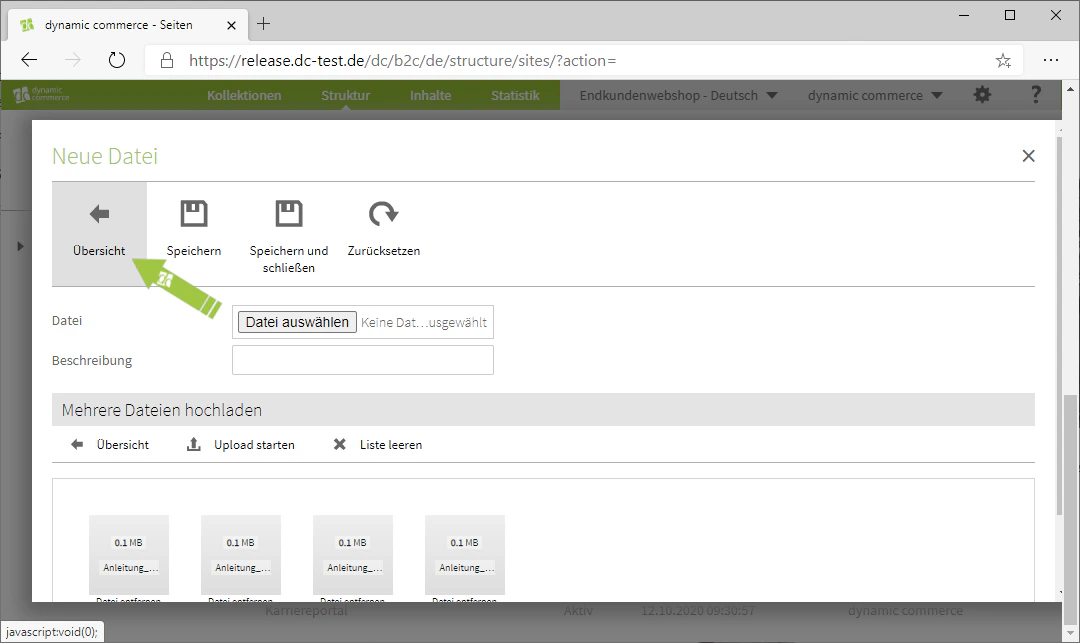
You can now upload new files by clicking the “Plus” icon with the adjacent label “New”. Two methods of uploading are available: you can select files individually or upload multiple files via drag & drop.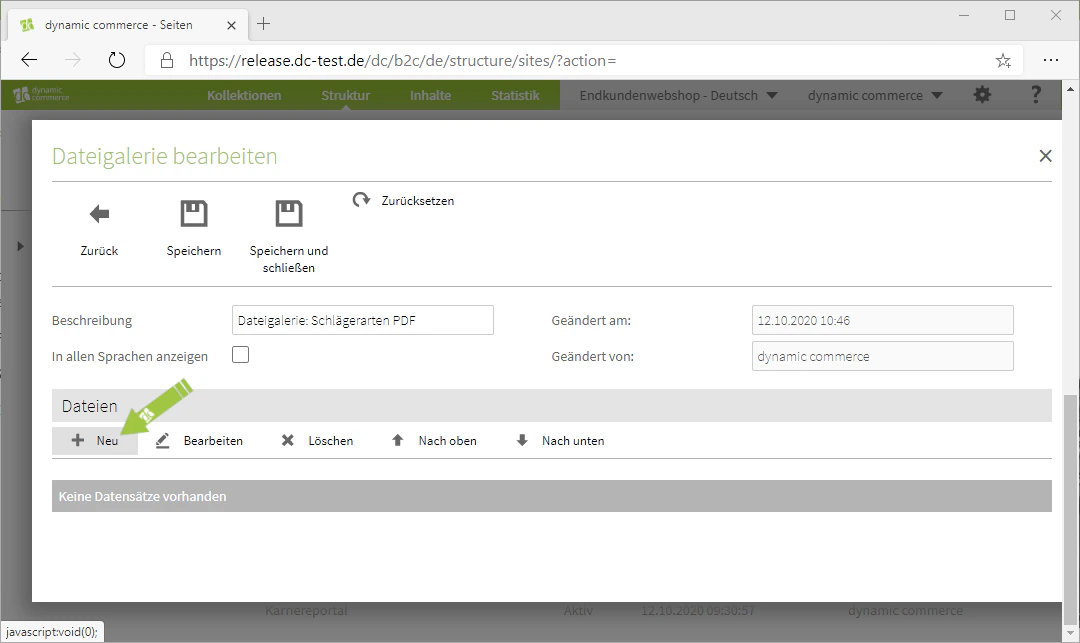
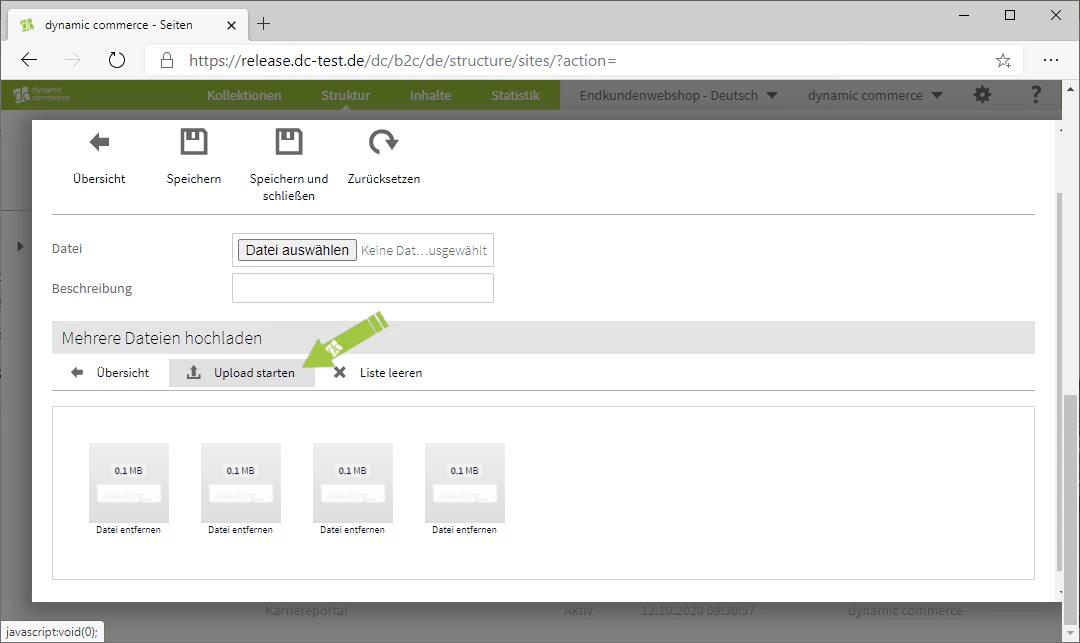
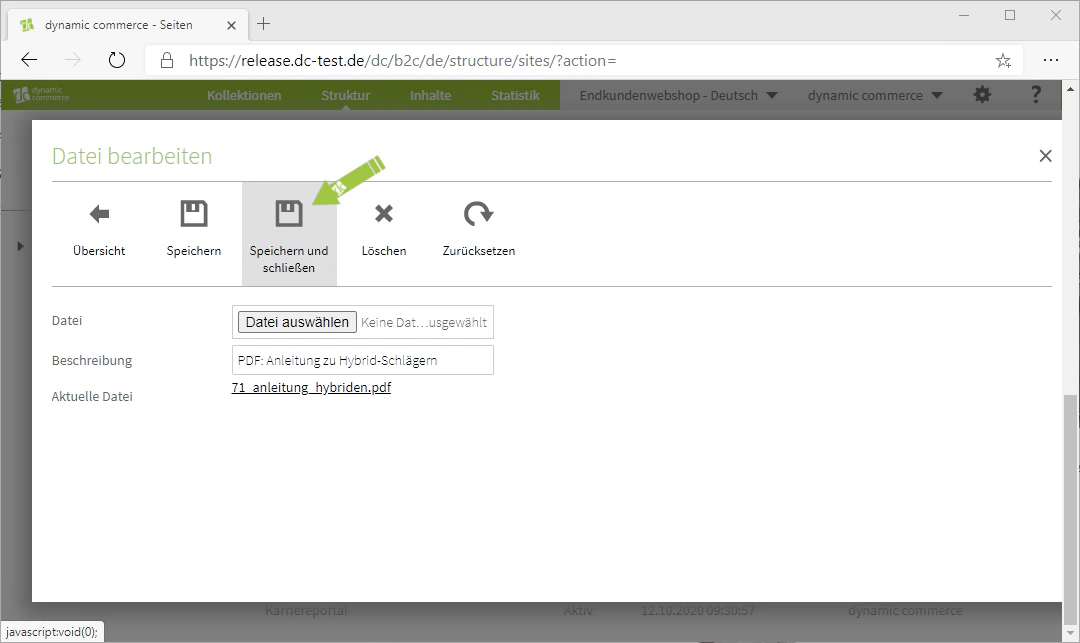
Step 4: Edit Descriptions
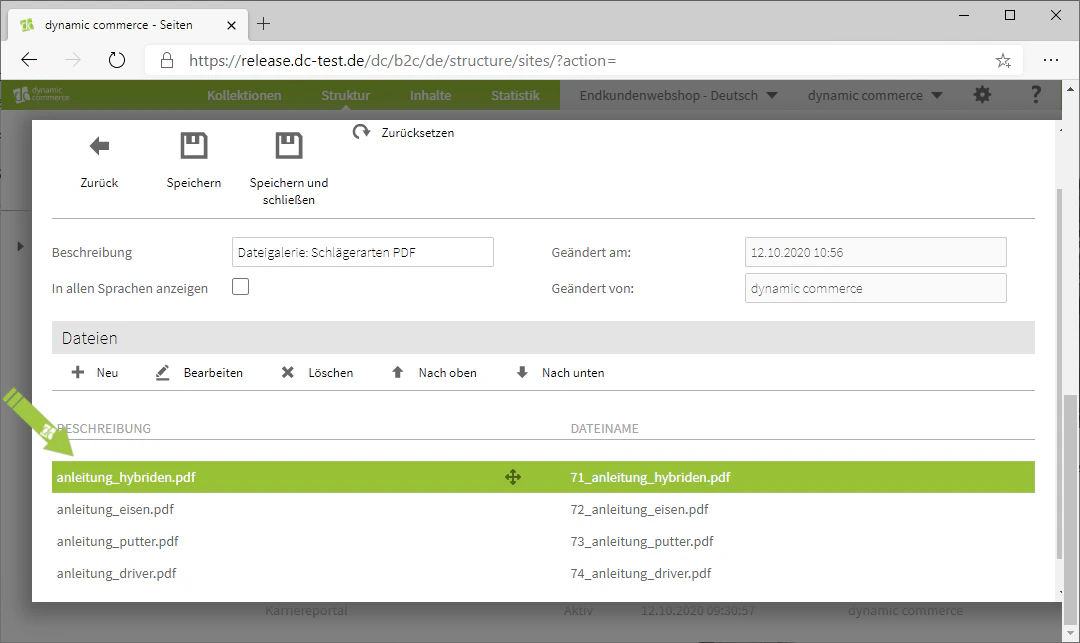
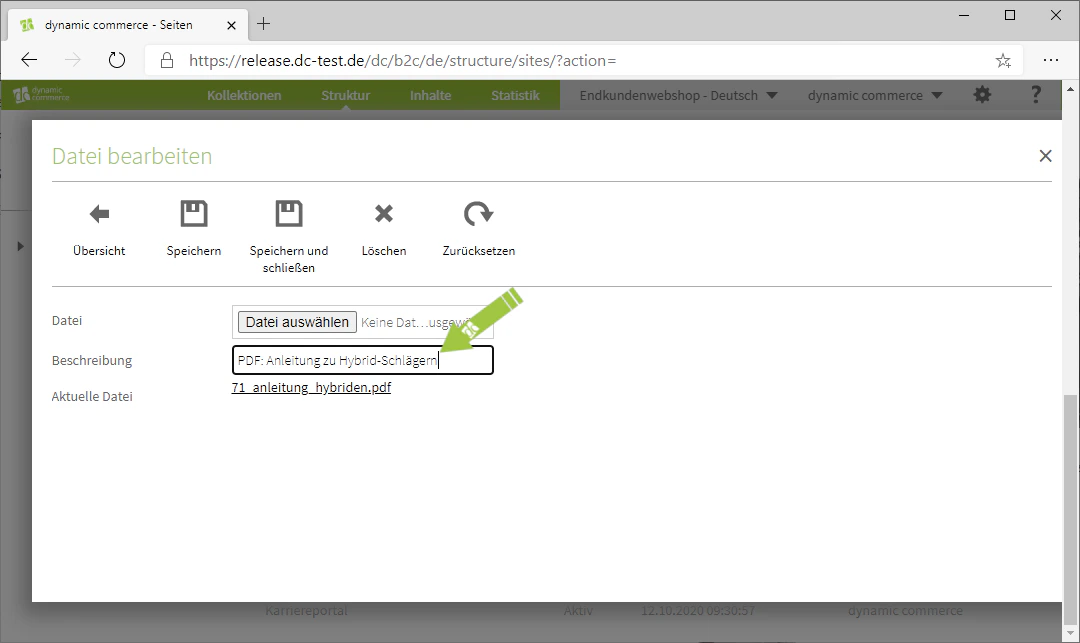
In the overview you will then see the files you have uploaded. An automatic description has already been generated for each file based on the file name.By double-clicking on the respective file, you can edit it. This gives you the ability to adjust the individual descriptions.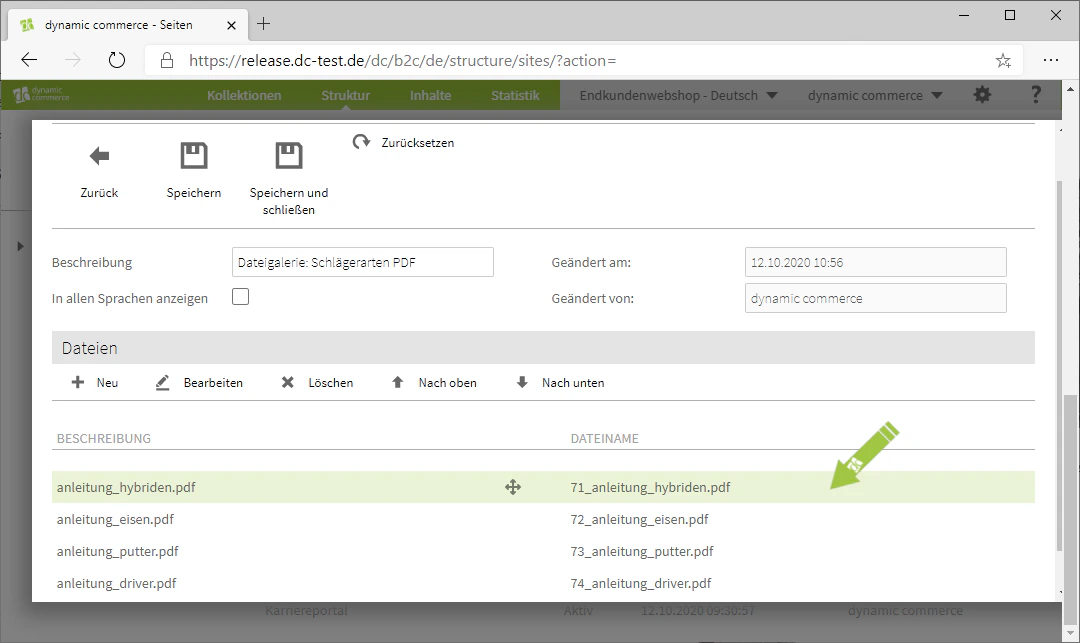
Related Topics
Content Types
Overview of all available modules.
Create and Edit Content
Create content on pages.
Image Galleries
Display images as a classic gallery.