This guide is part of the Content Types. We show you how to create content in general under Create and Edit Content.
Step 1: Select the Content Type
First, select the content type “Texts” when creating a content item. A window with the heading “New Text Content” should open, where you can configure the settings and manage your text.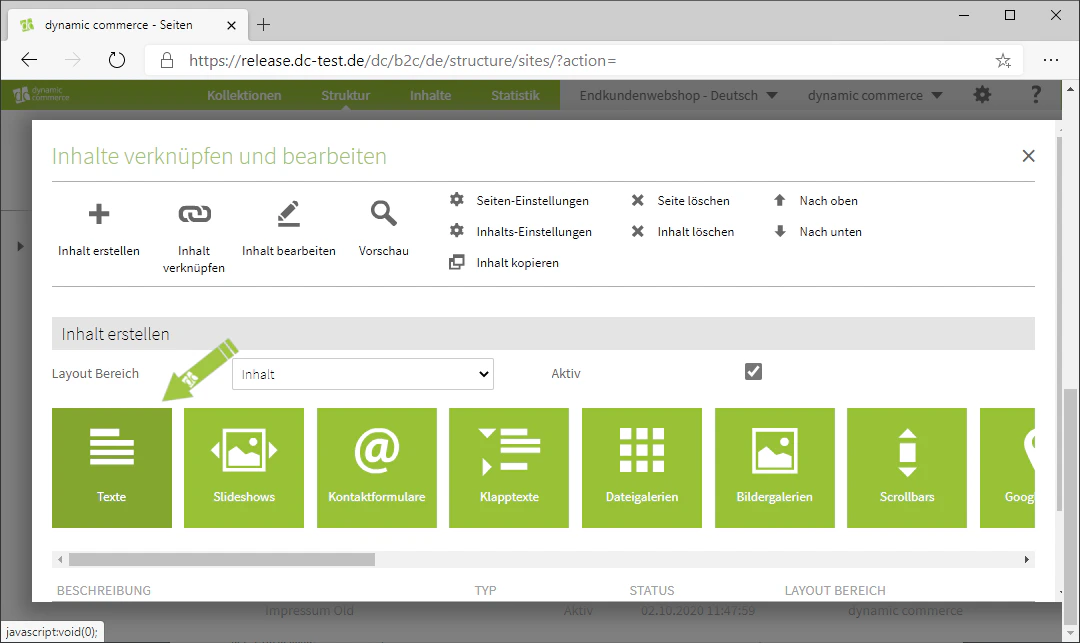
Step 2: Choose a Description
Start by choosing a description. This is for organisational purposes only and will not be displayed on the selected page.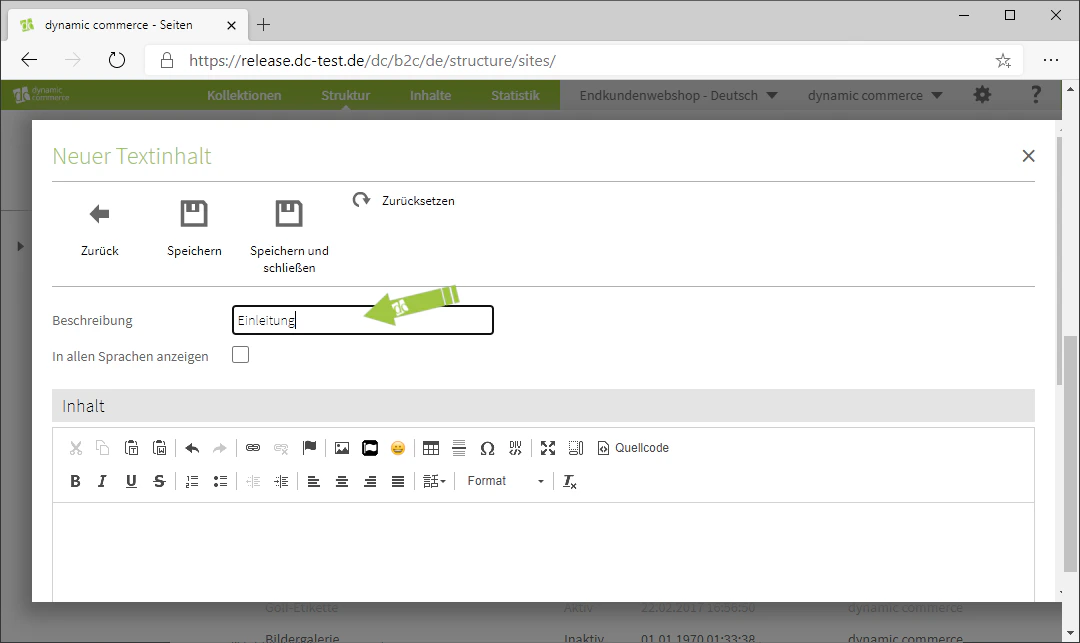
Step 3: Write Text
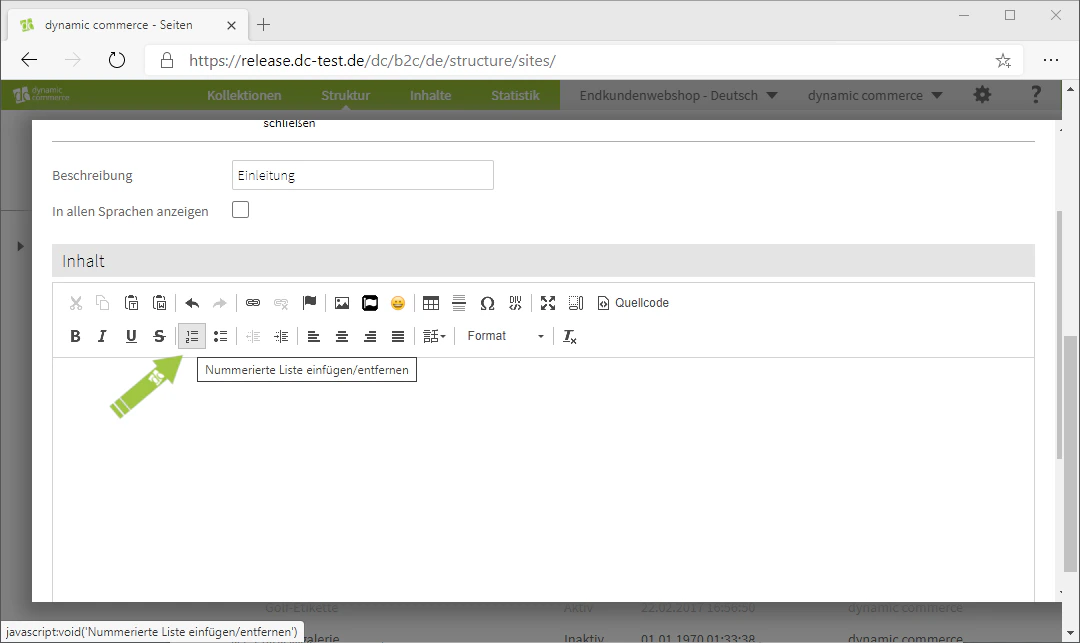
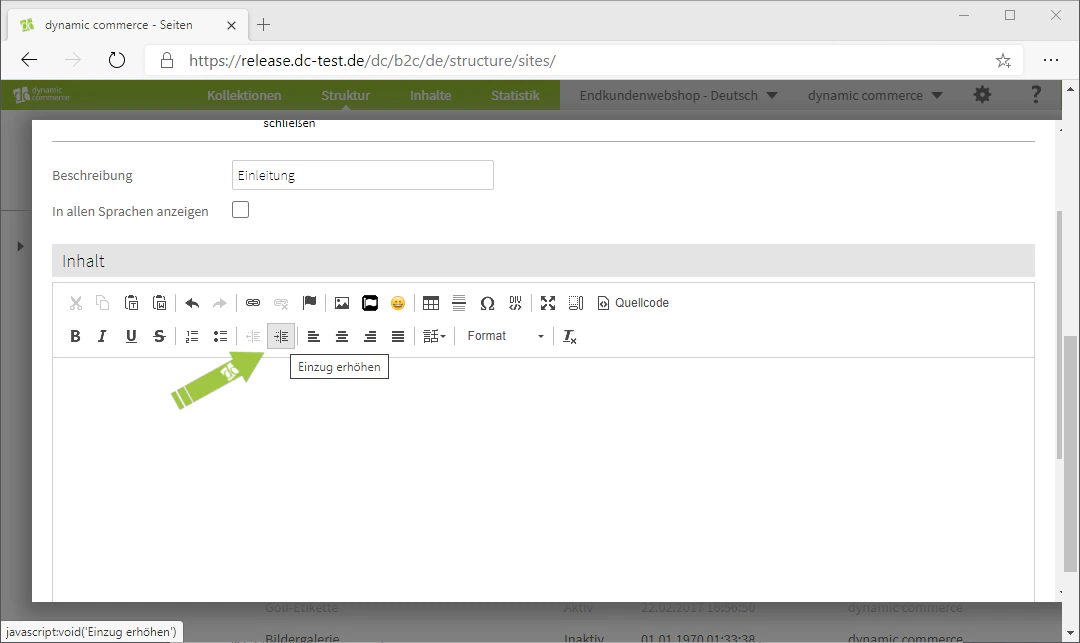
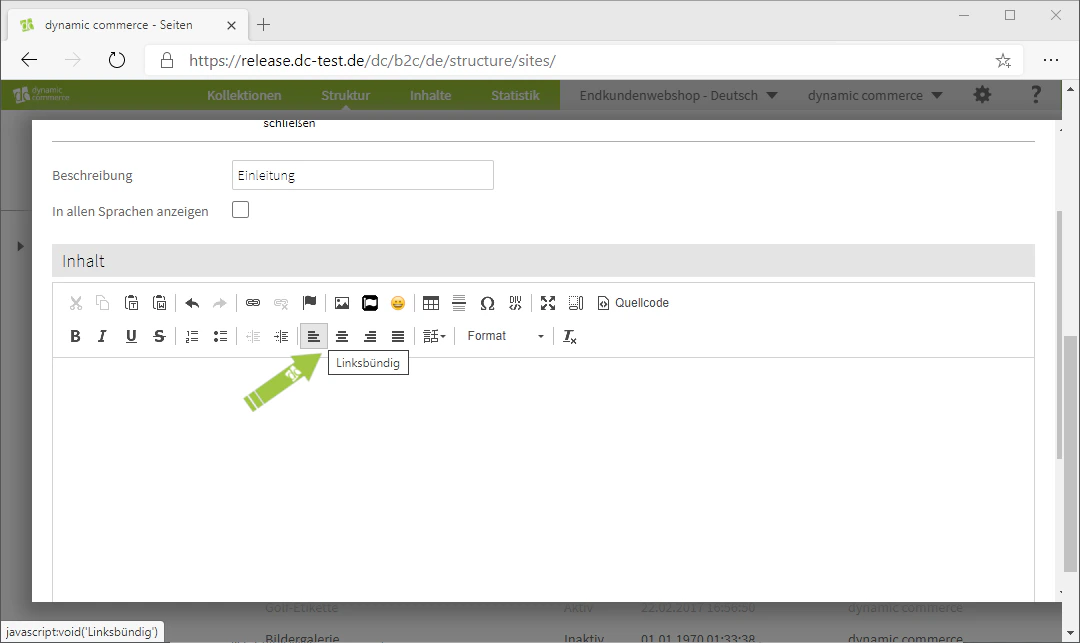
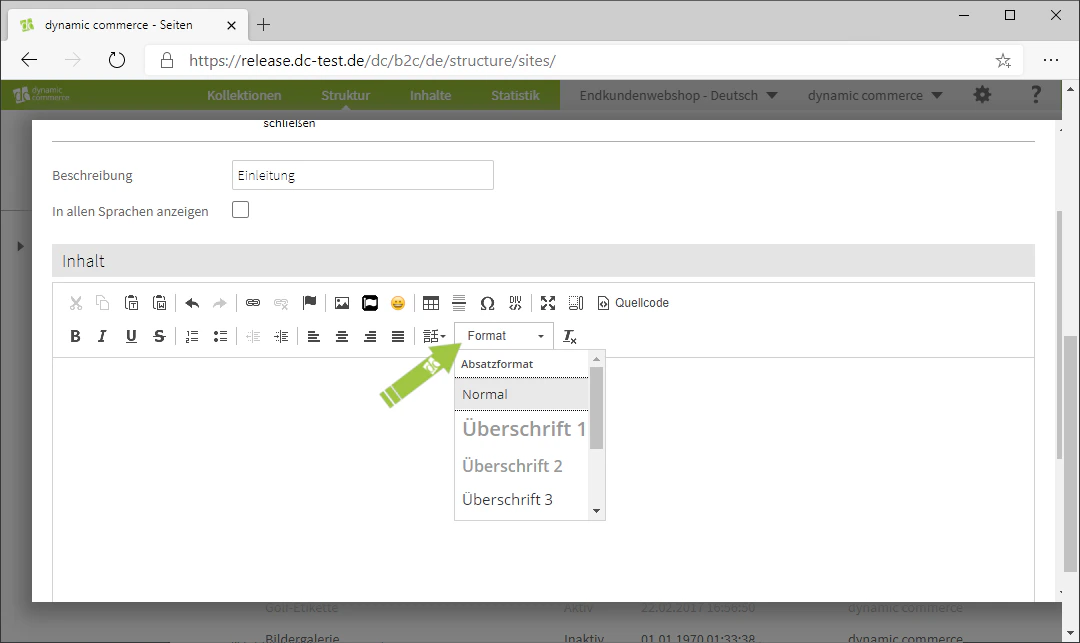
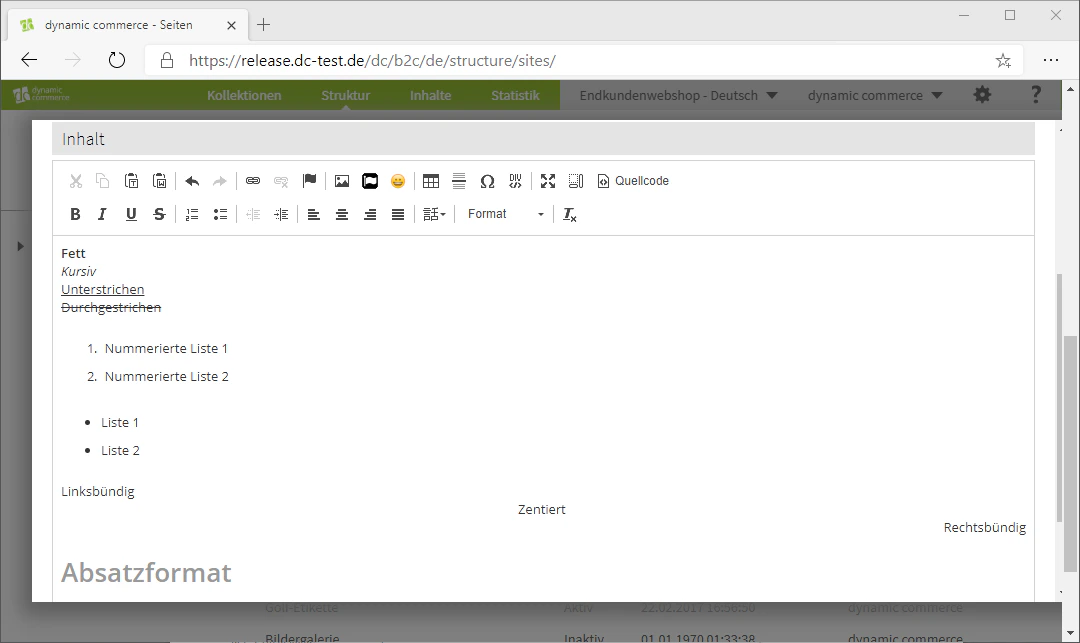
You can now enter your text in the editor below. The toolbar provides functions such as Bold, Italic, Underline, and Strikethrough. You can also create lists, increase or decrease indentation, set the alignment of your text, choose a language, and format paragraphs.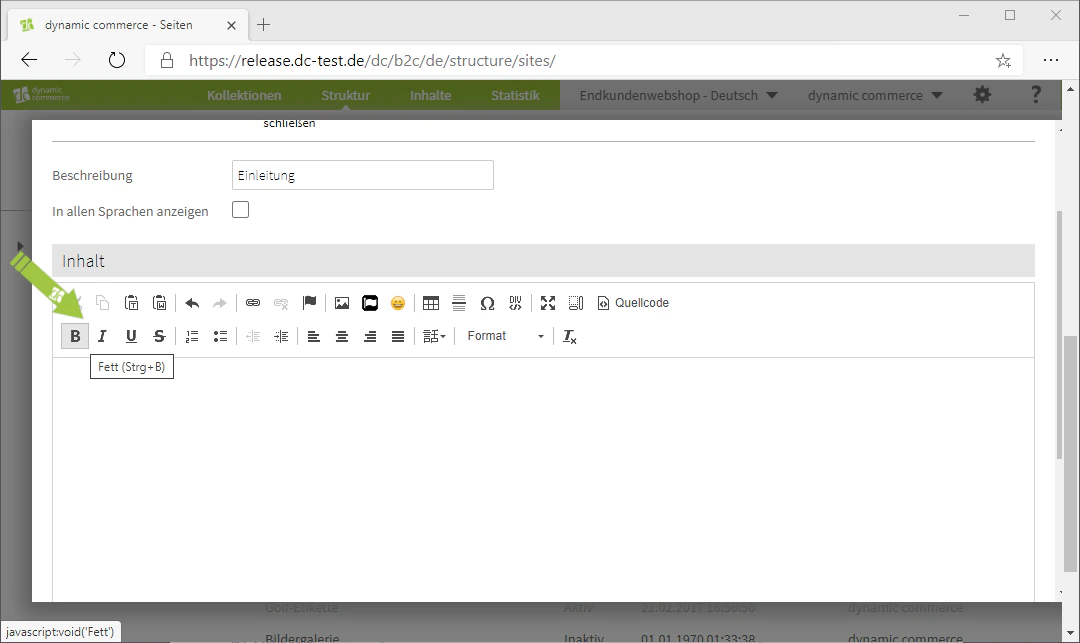
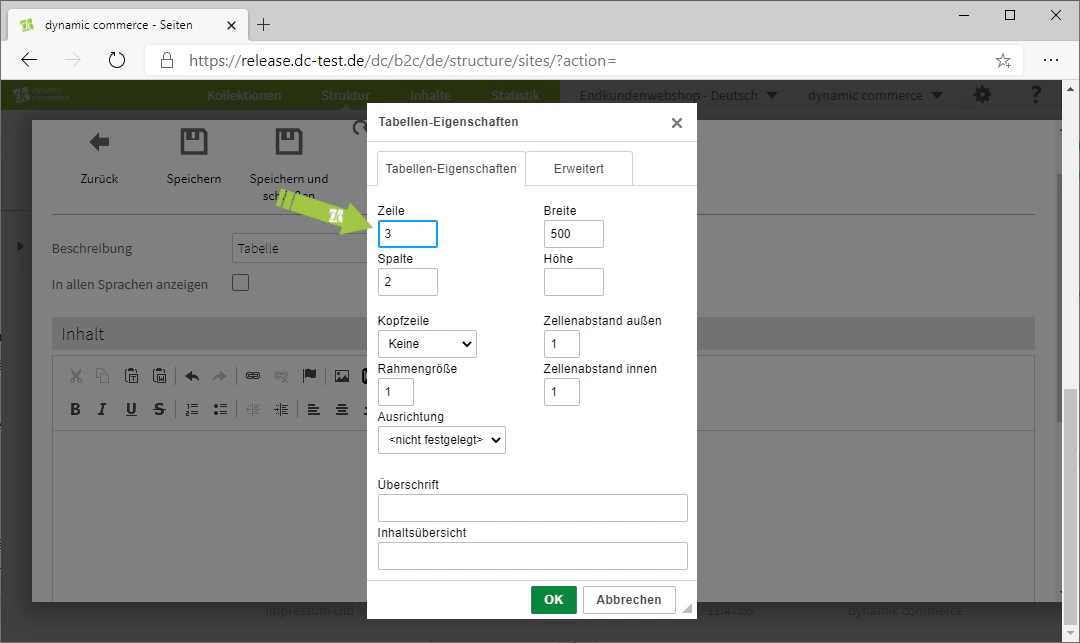
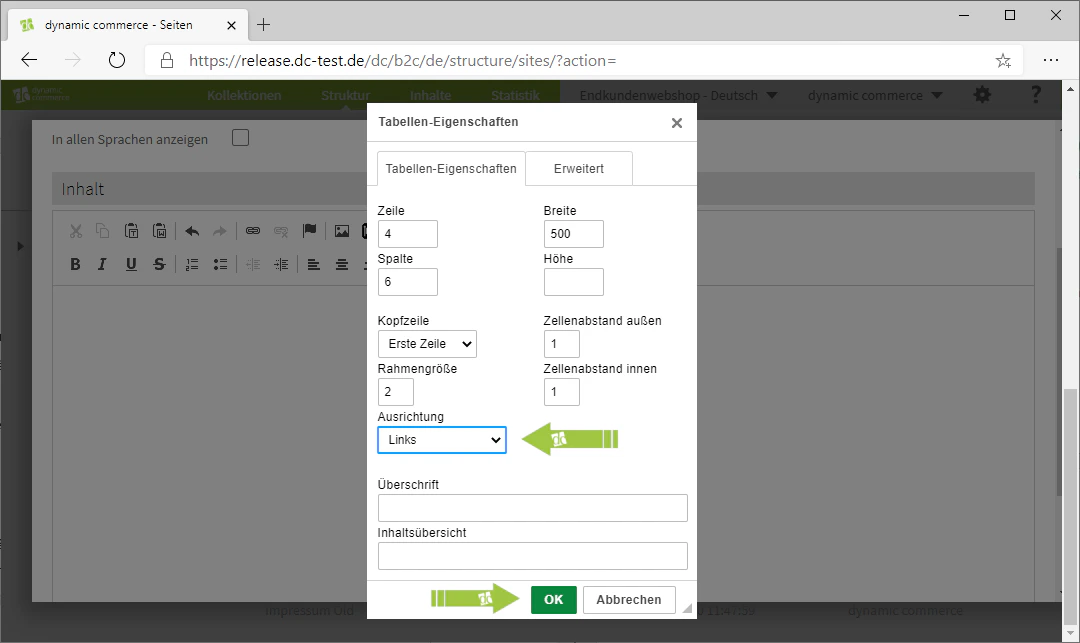
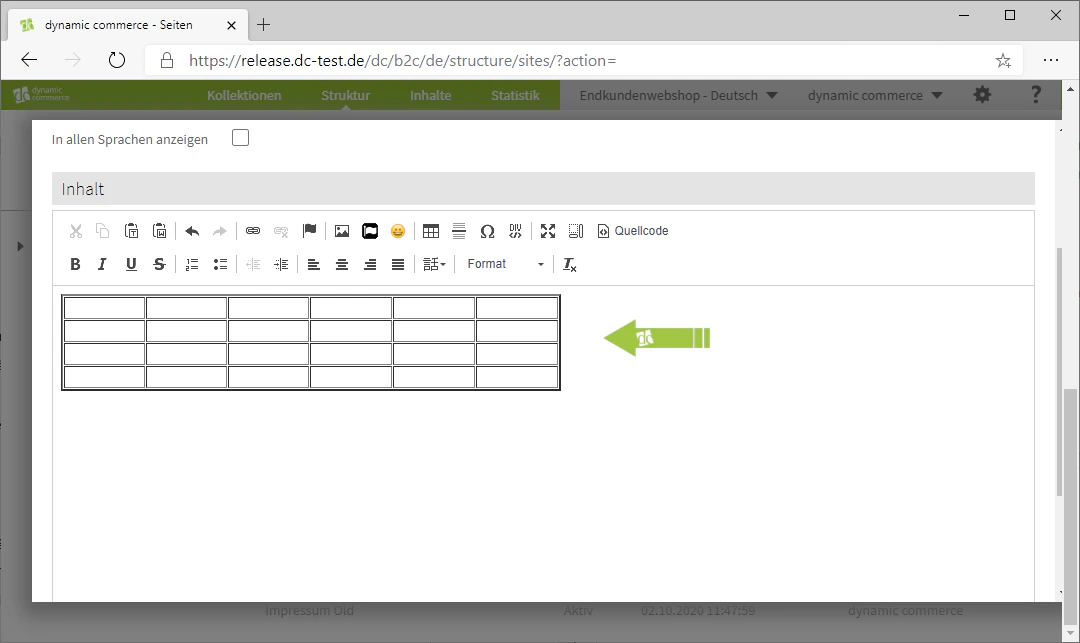
Step 4: Create Tables
You also have the option to create tables in our editor. Click the table icon and define the number of rows and columns, cell dimensions, headers, spacing, borders, and alignment.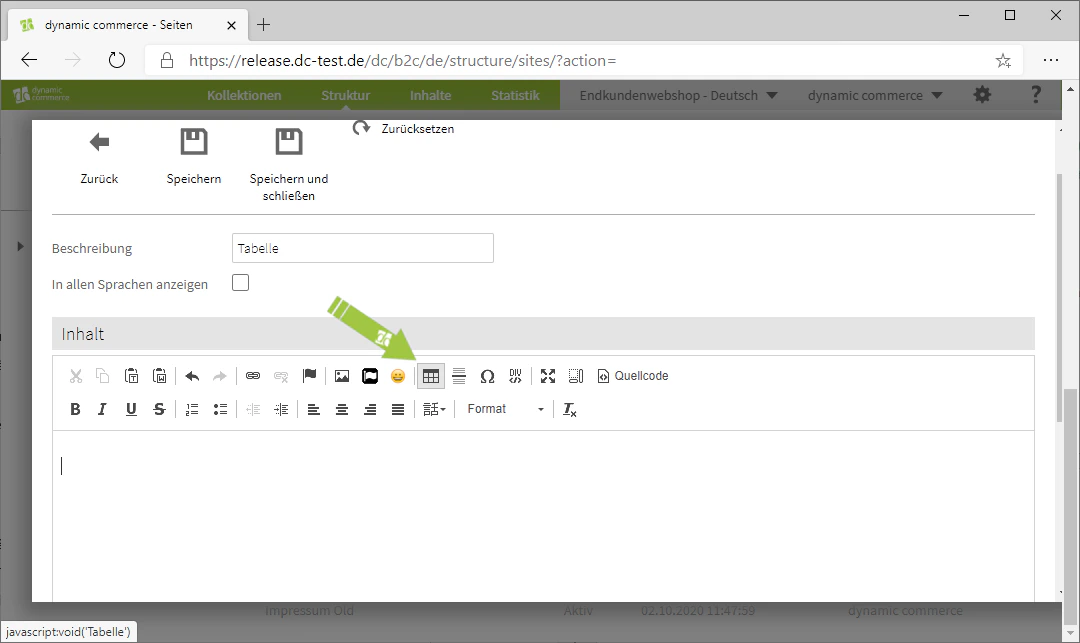
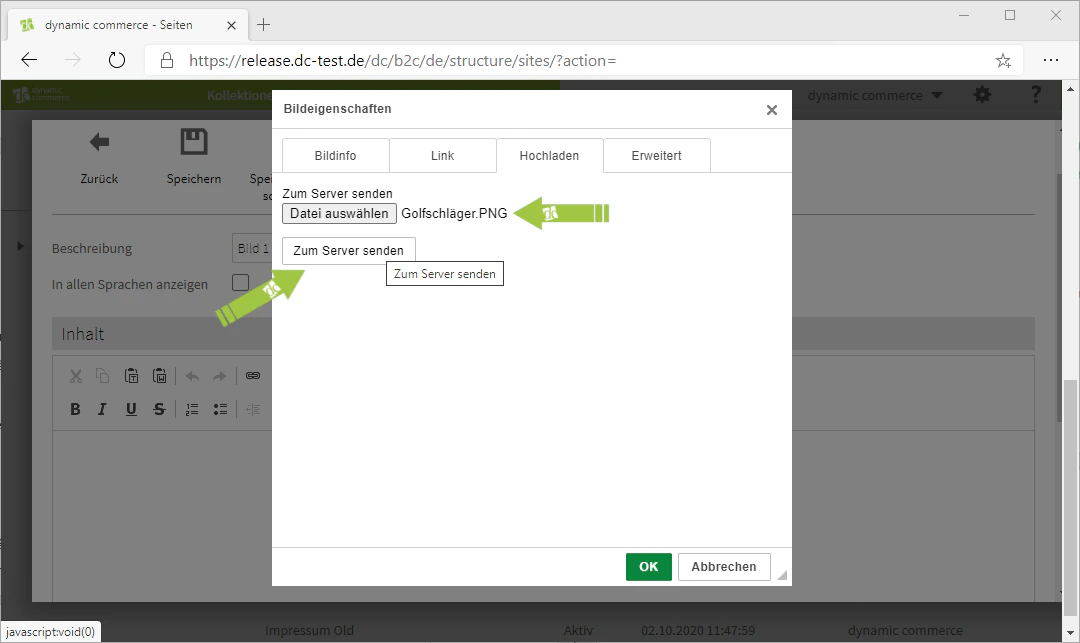
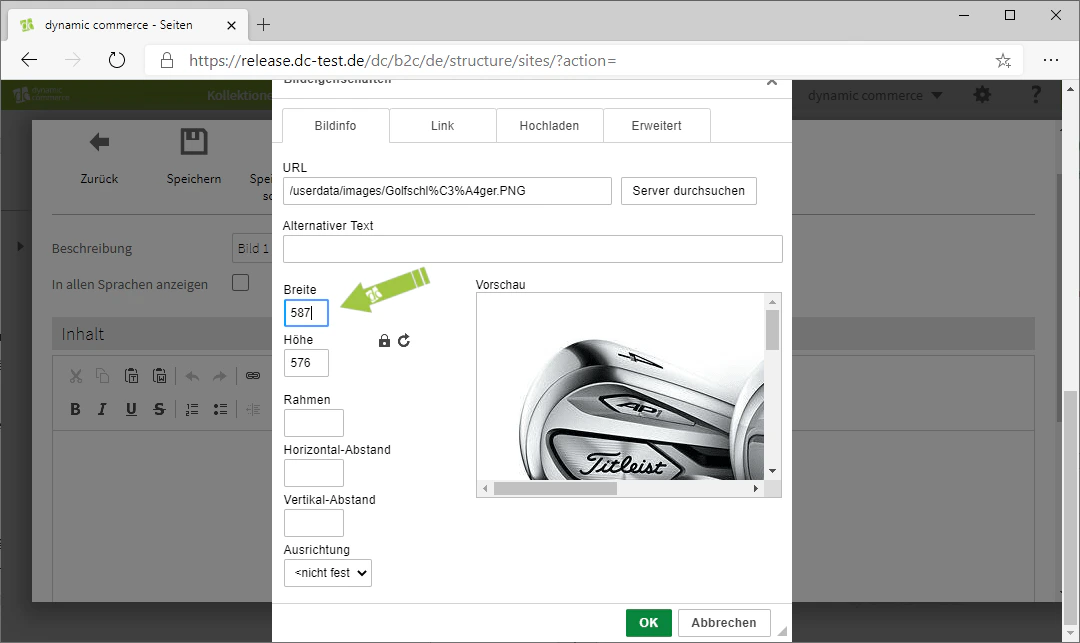
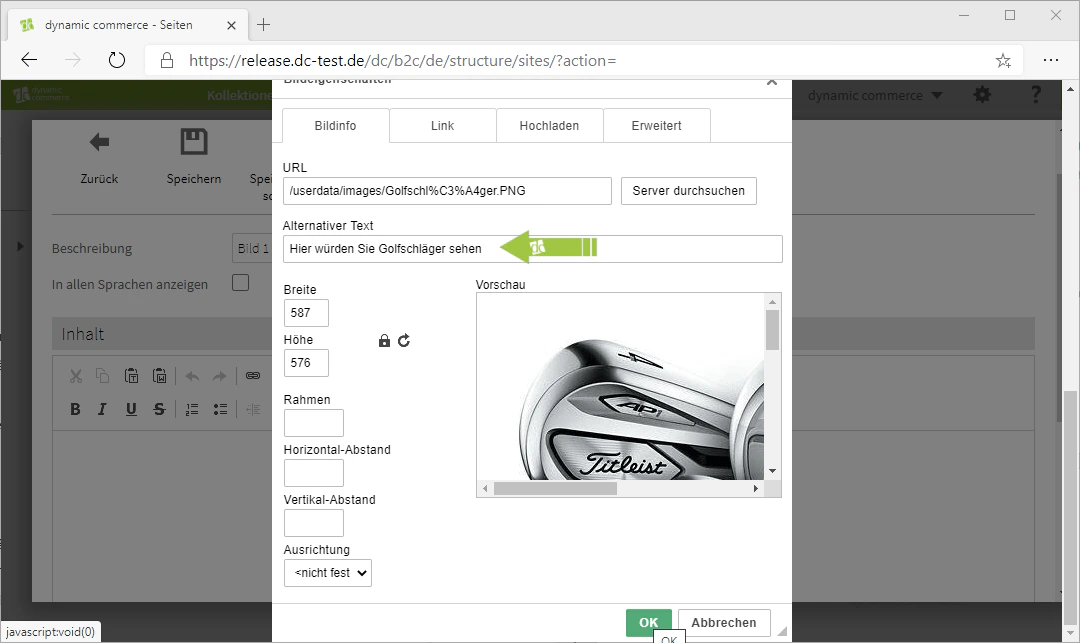
Step 5: Insert Images
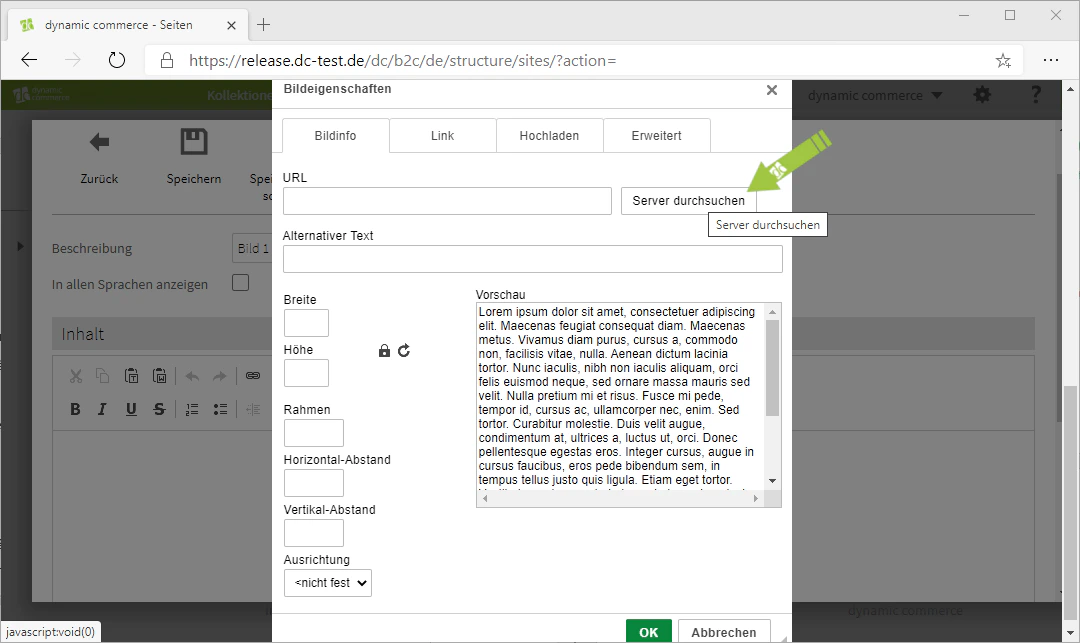
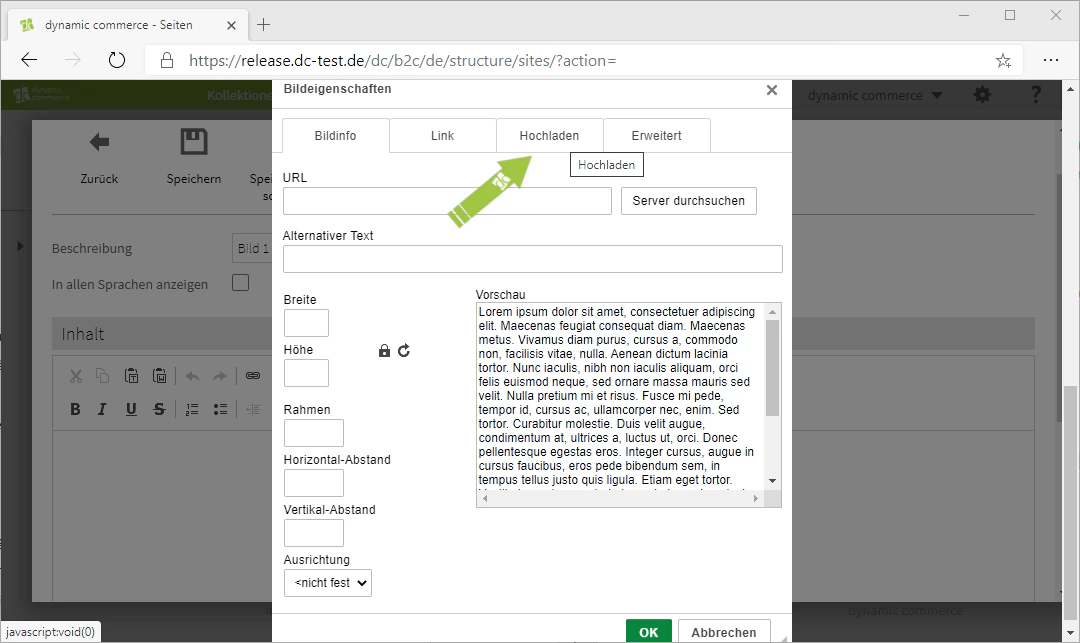
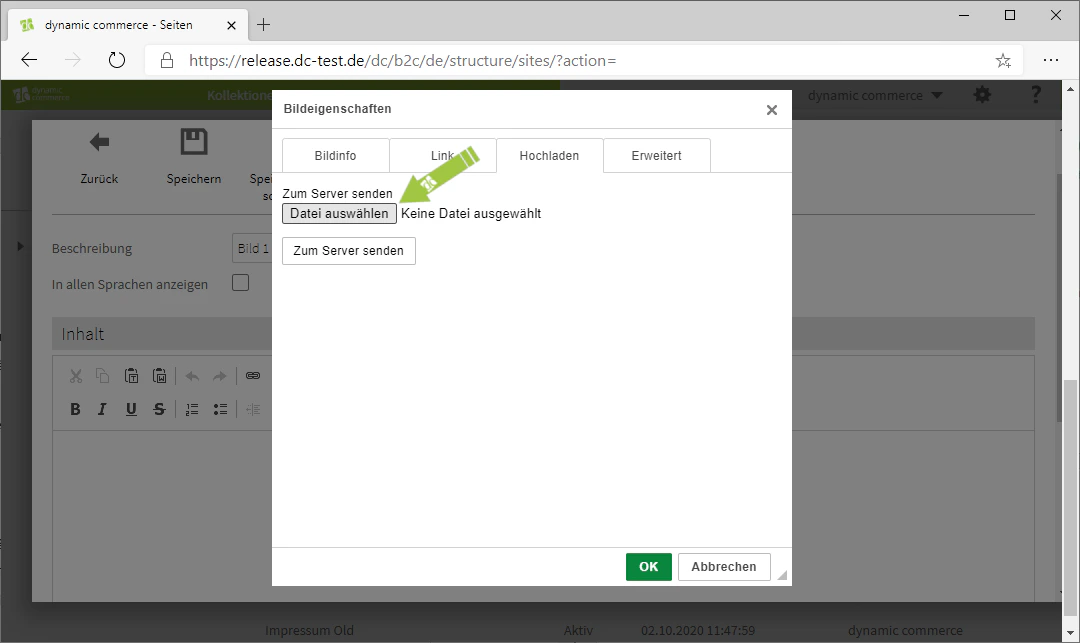
There is also the option to upload images directly via our editor. Use “Browse Server” to select already uploaded images, or upload a new image via the “Upload” tab. You can then set the height and width as well as alternative text.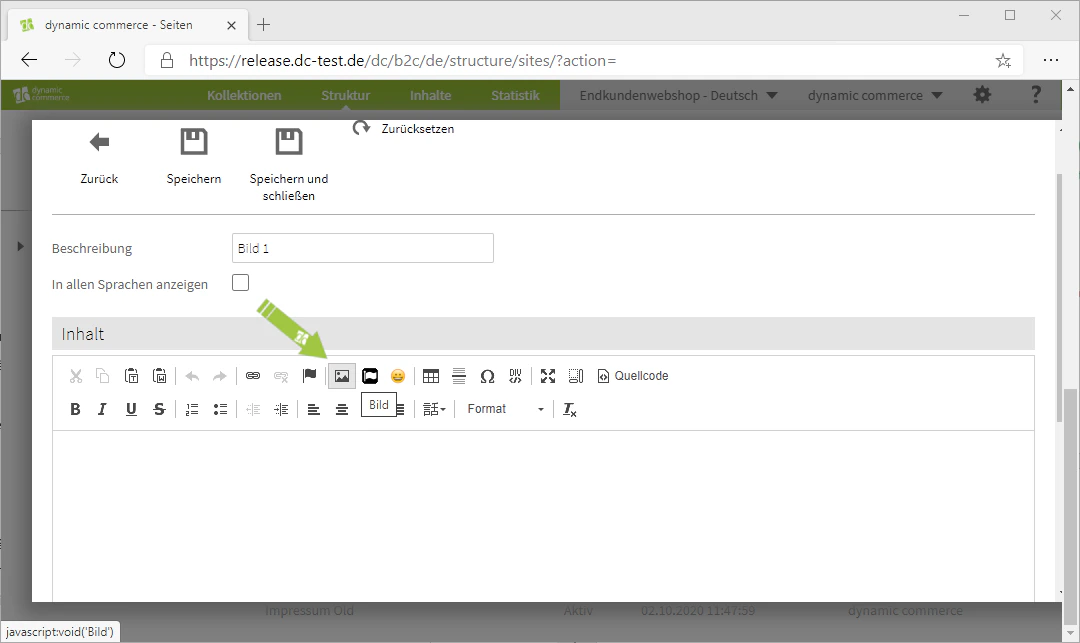
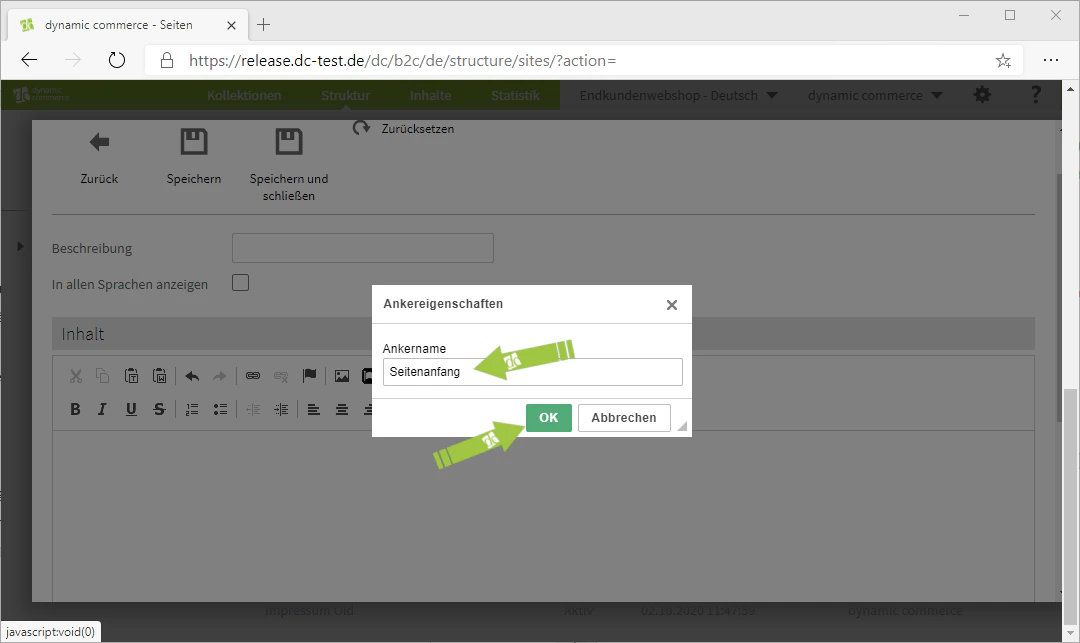
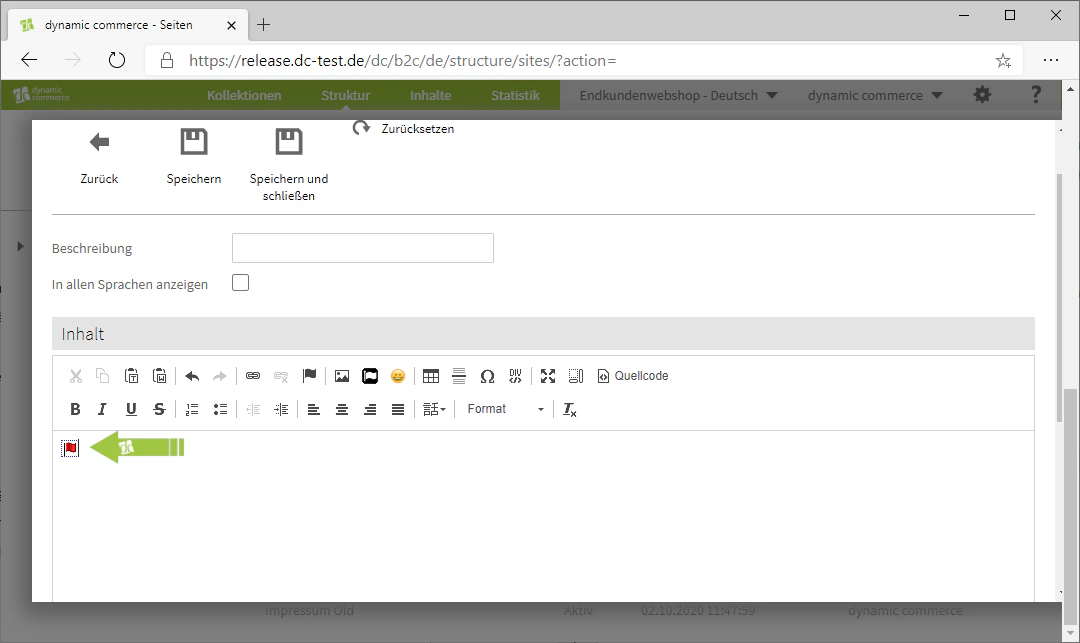
Step 6: Set Anchors
You can also set an anchor. Anchors mark positions for internal links within the same content item. Click the flag icon and assign an anchor name.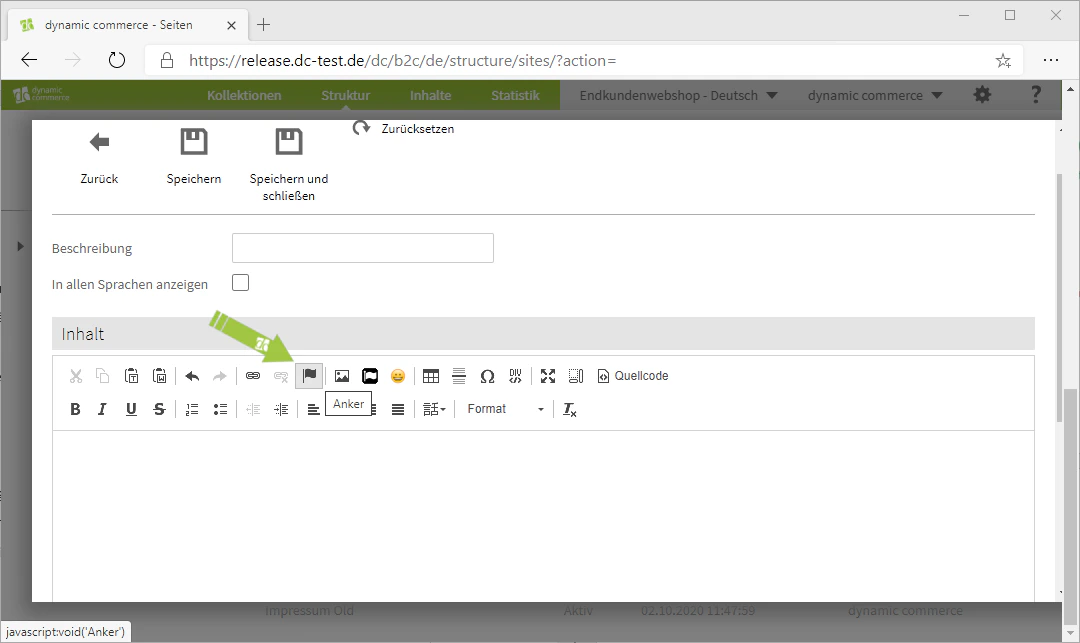
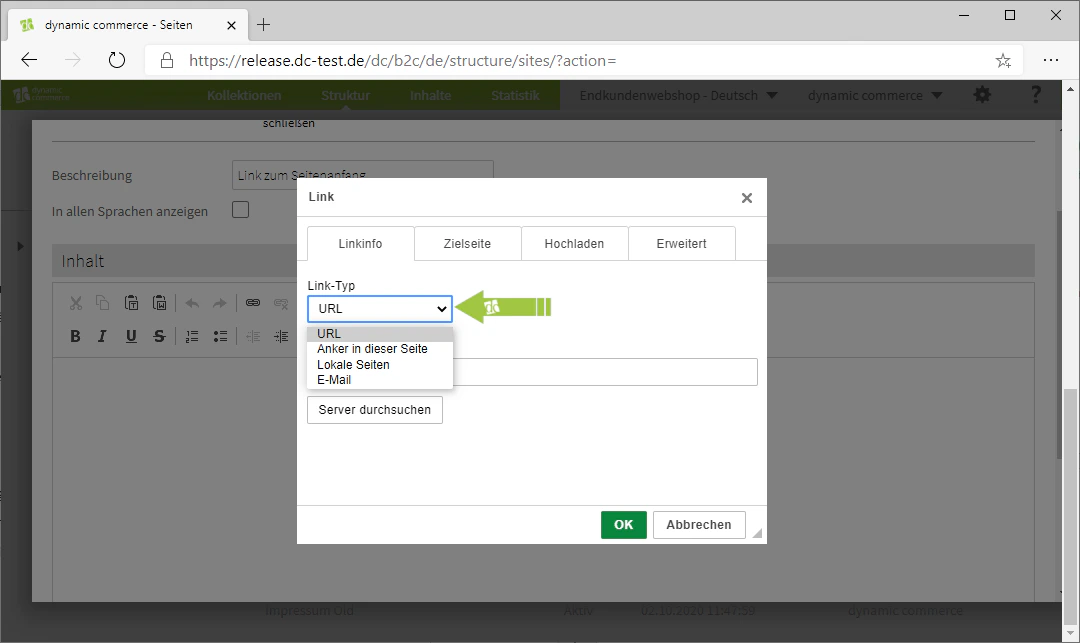
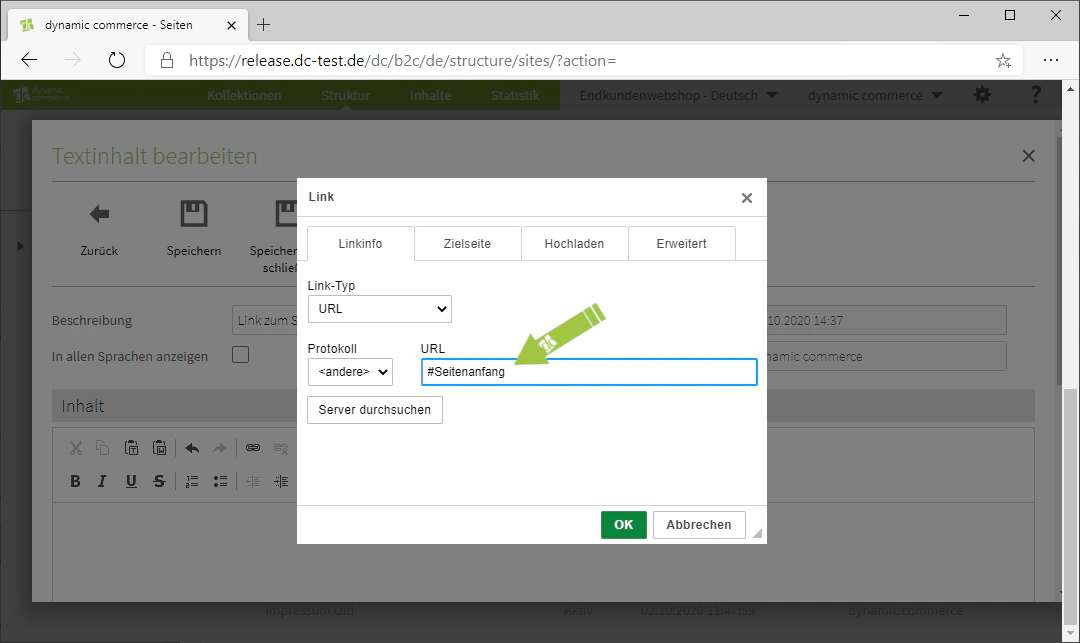
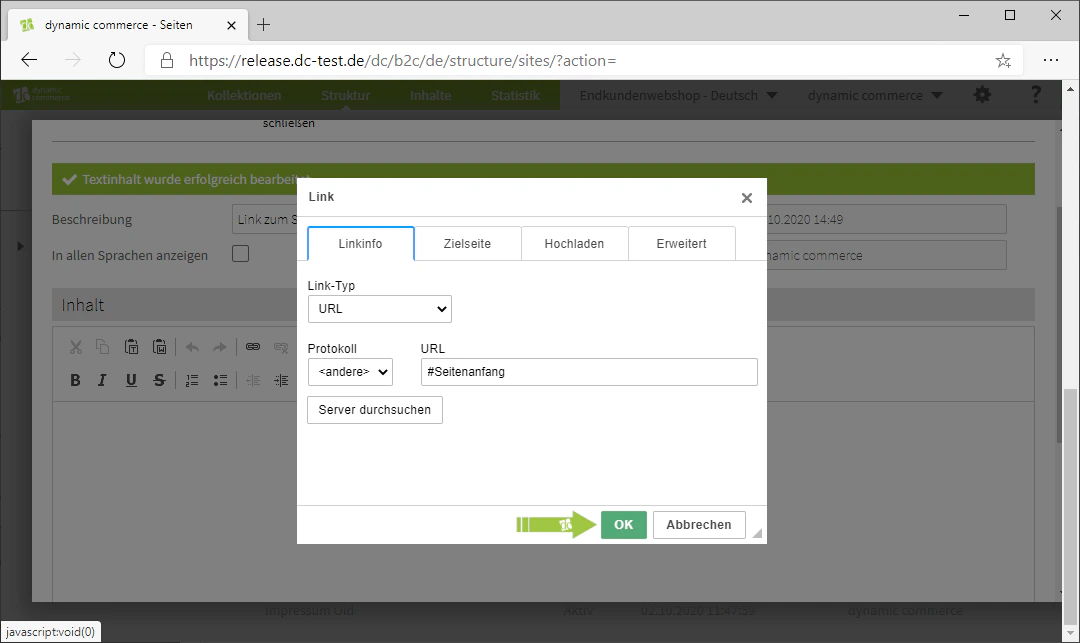
Step 7: Insert Links
Links can be used to reference internal as well as external content. Select the link type (URL, anchor, internal page, e-mail), enter the link target, and confirm your input.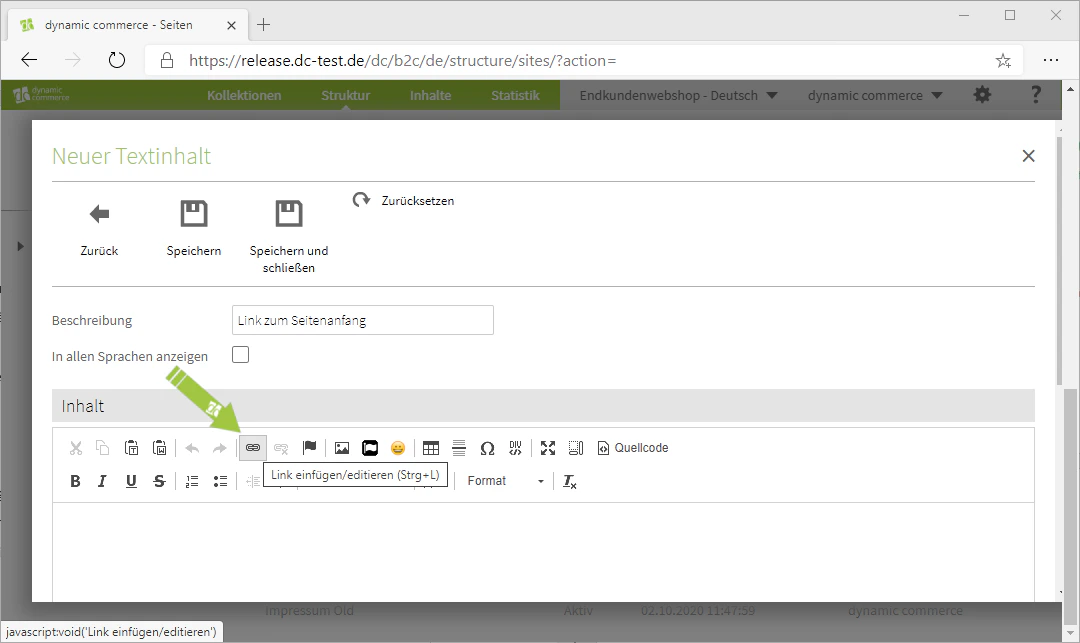
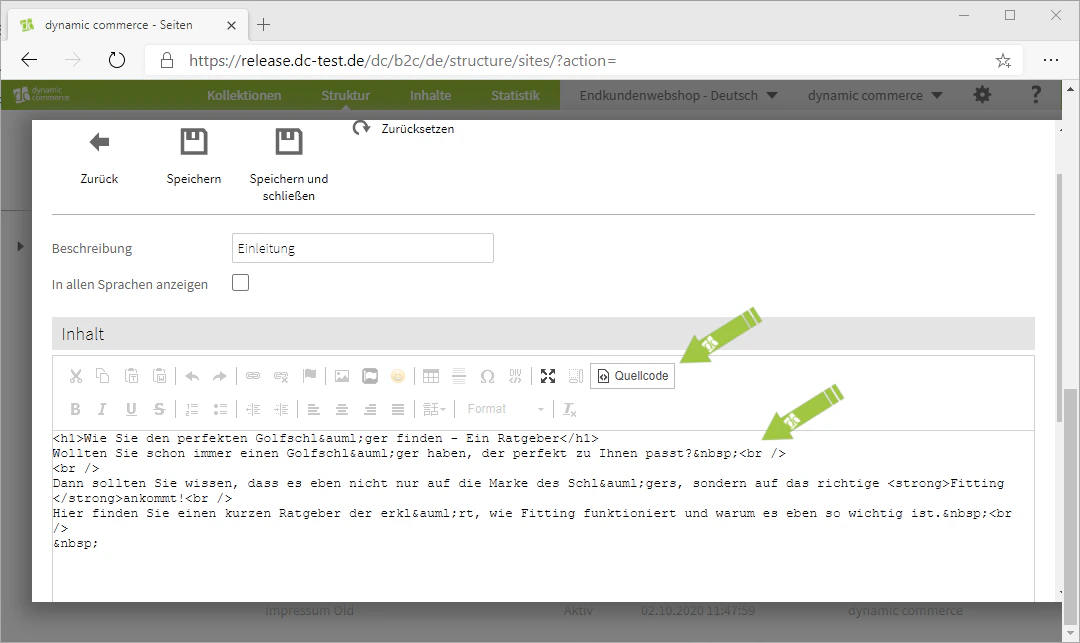
Step 8: View Source Code
If you are familiar with HTML, you also have the option to view your text as source code. Click “Source Code” to switch between the HTML view and the normal editor view.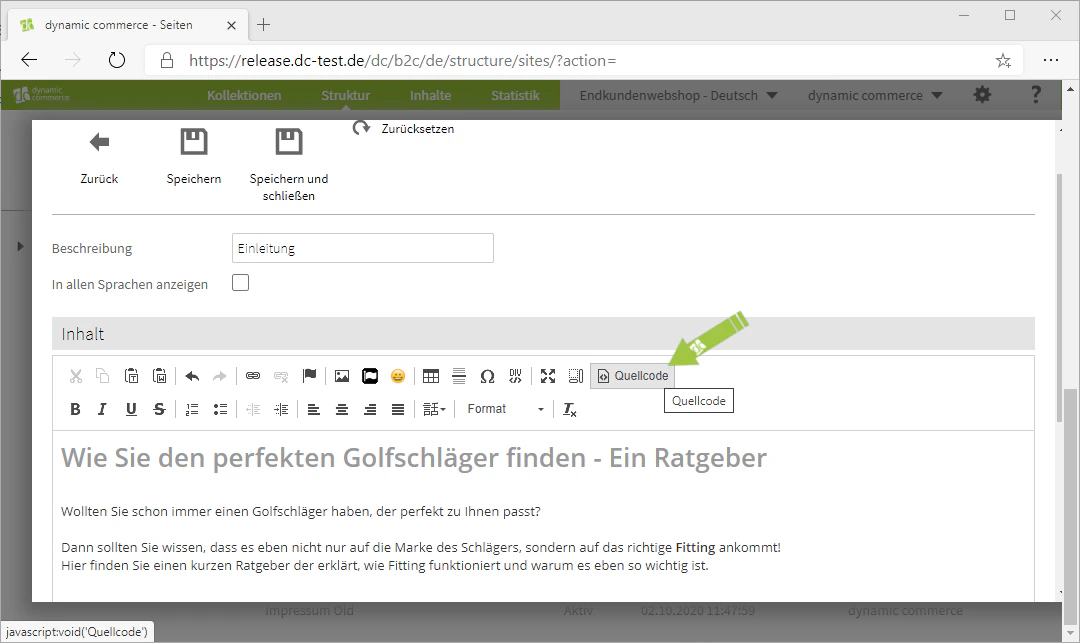
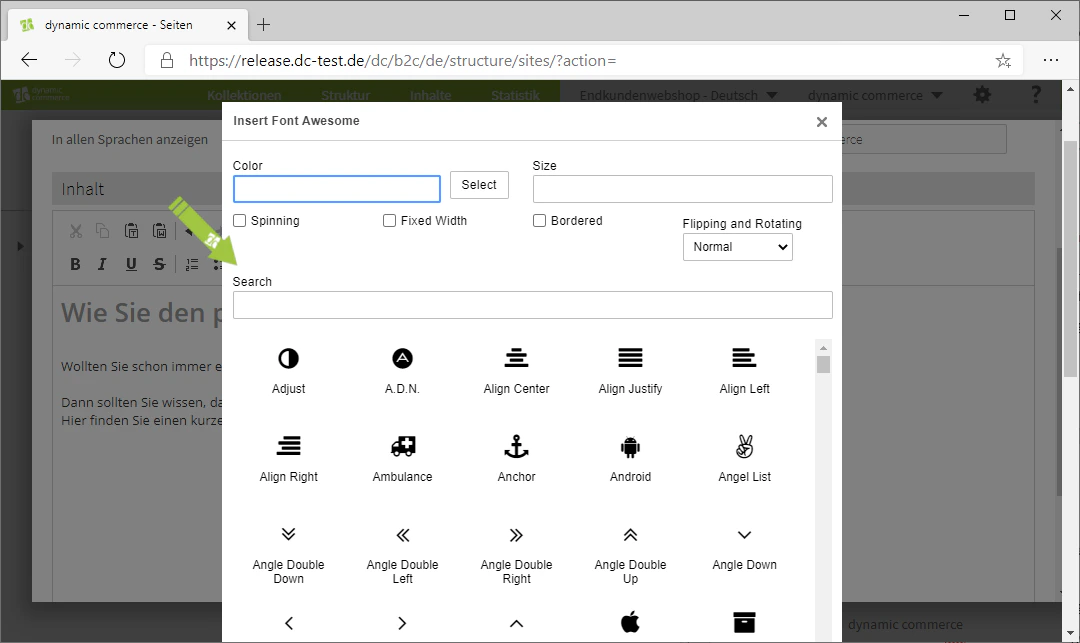
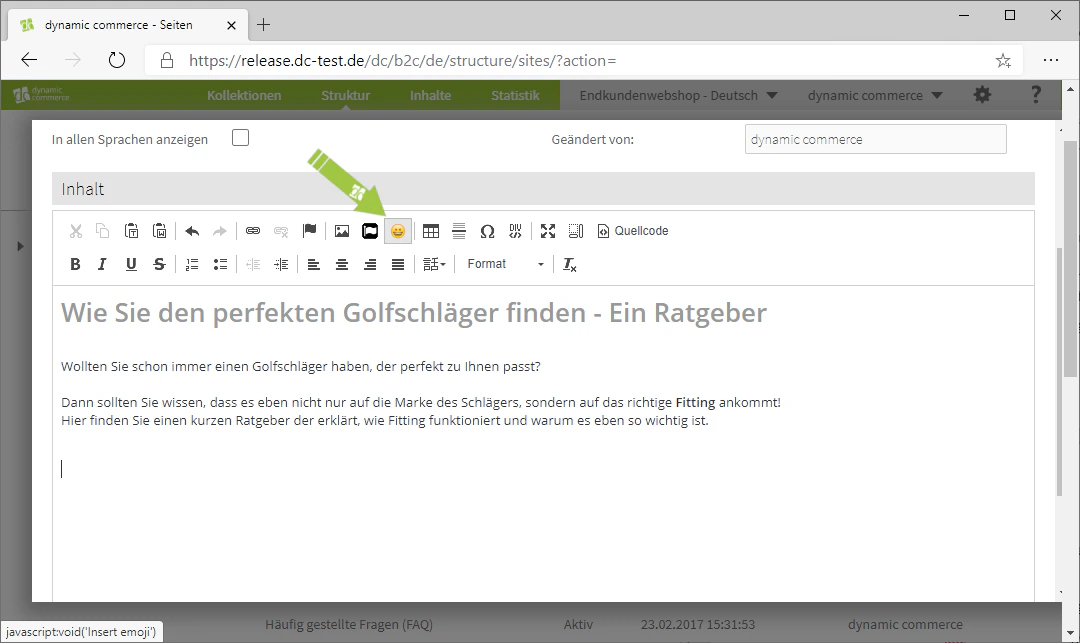
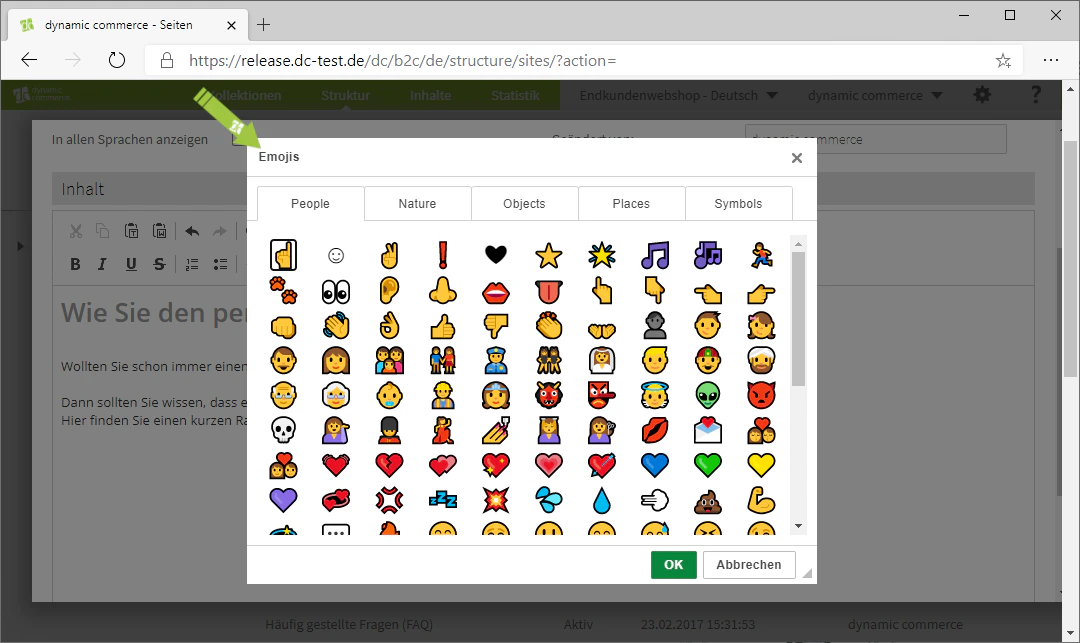
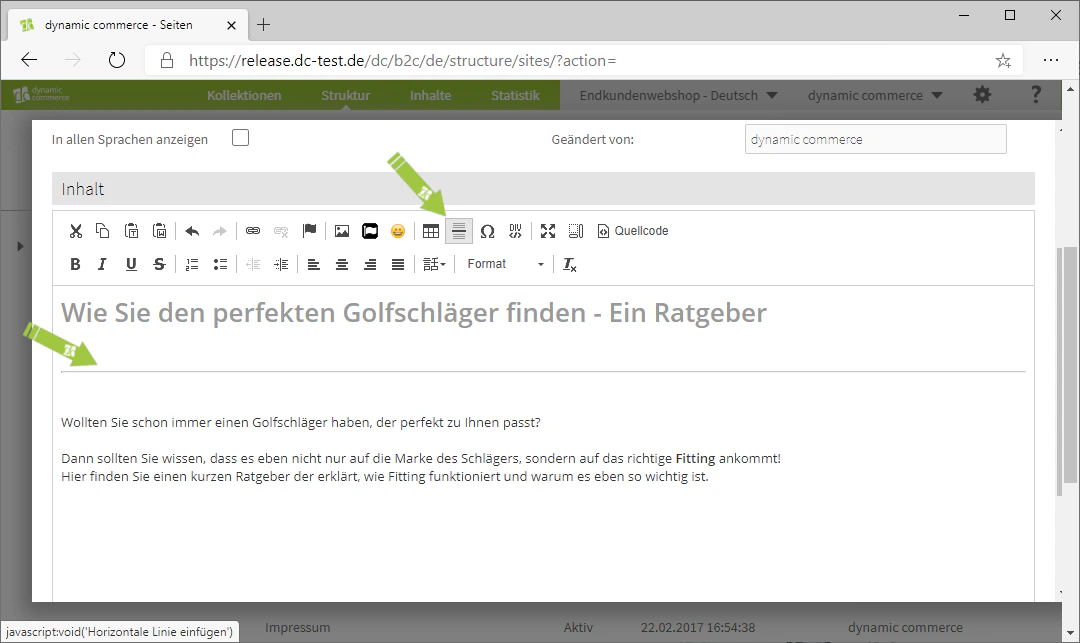
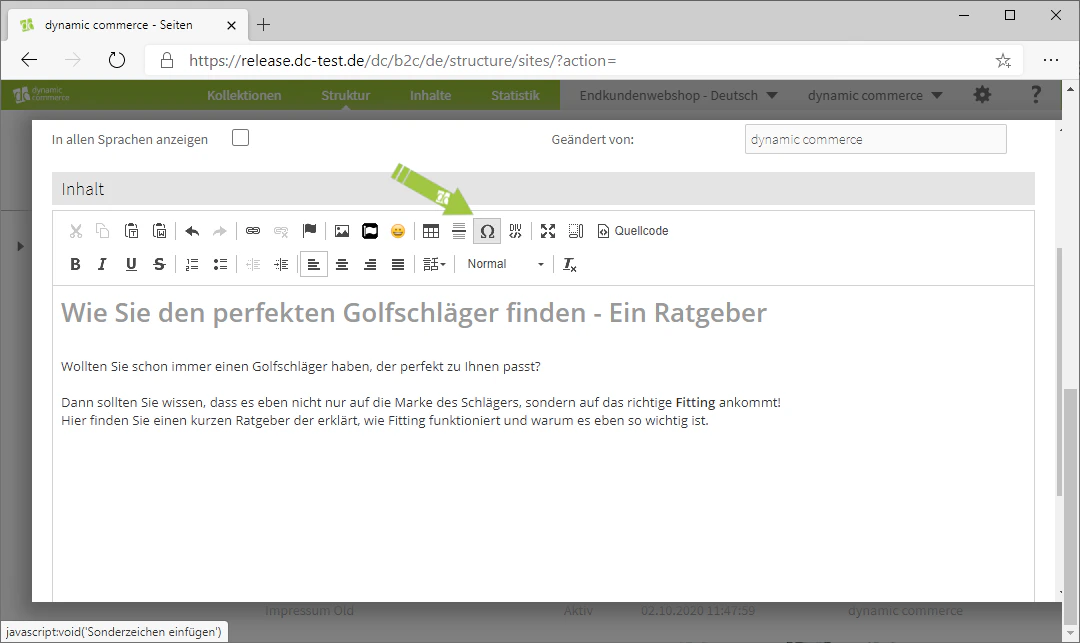
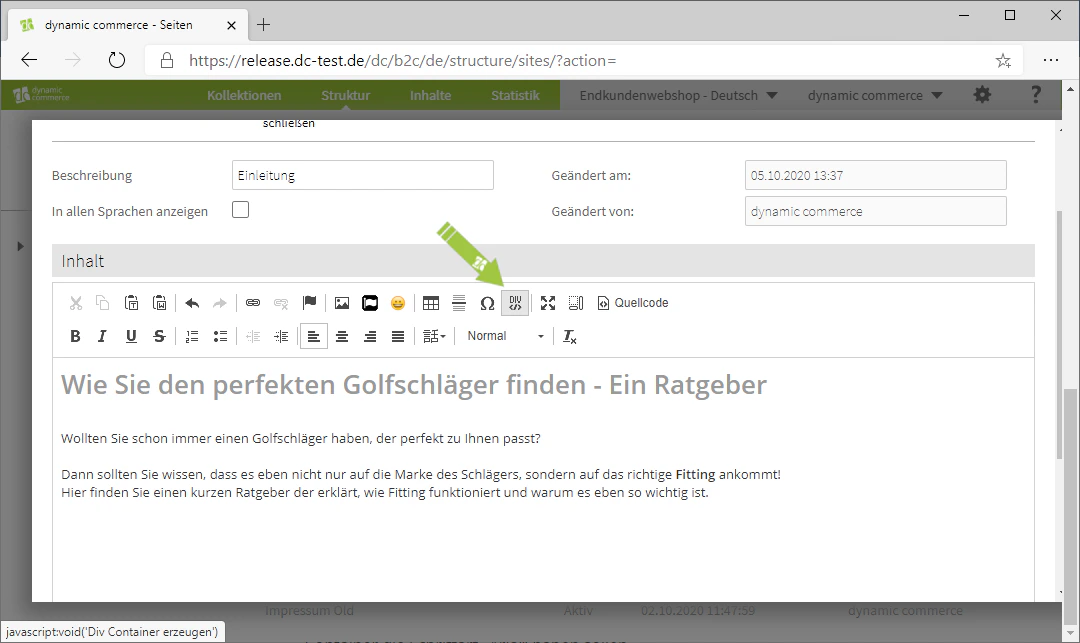
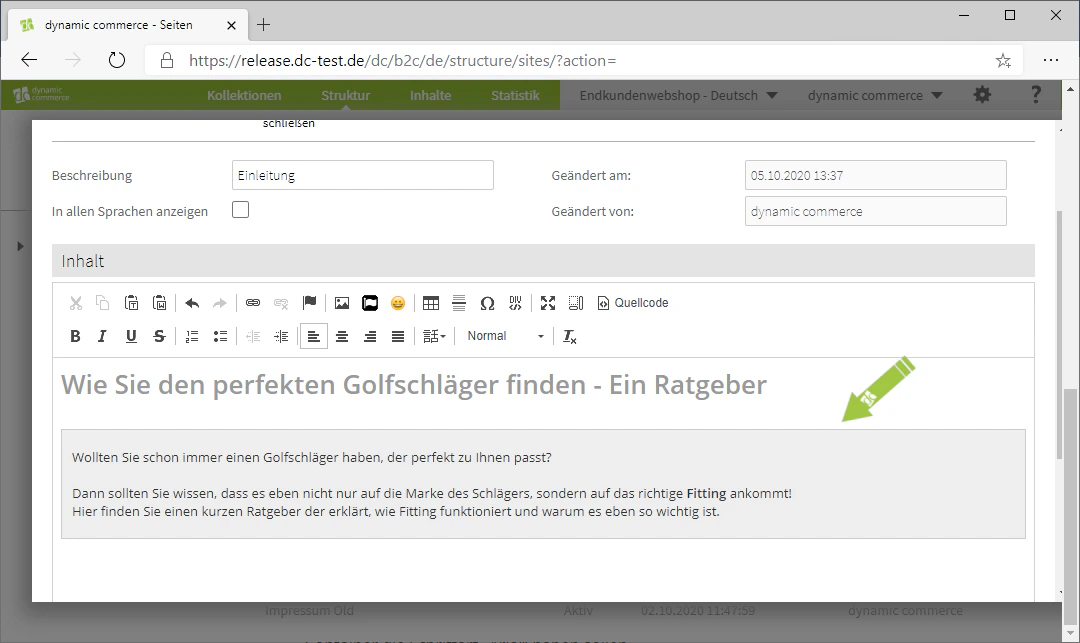
Step 9: Additional Functions
In addition, further functions are available, such as inserting Font Awesome icons, emojis, horizontal lines, special characters (e.g. the omega symbol), and div containers.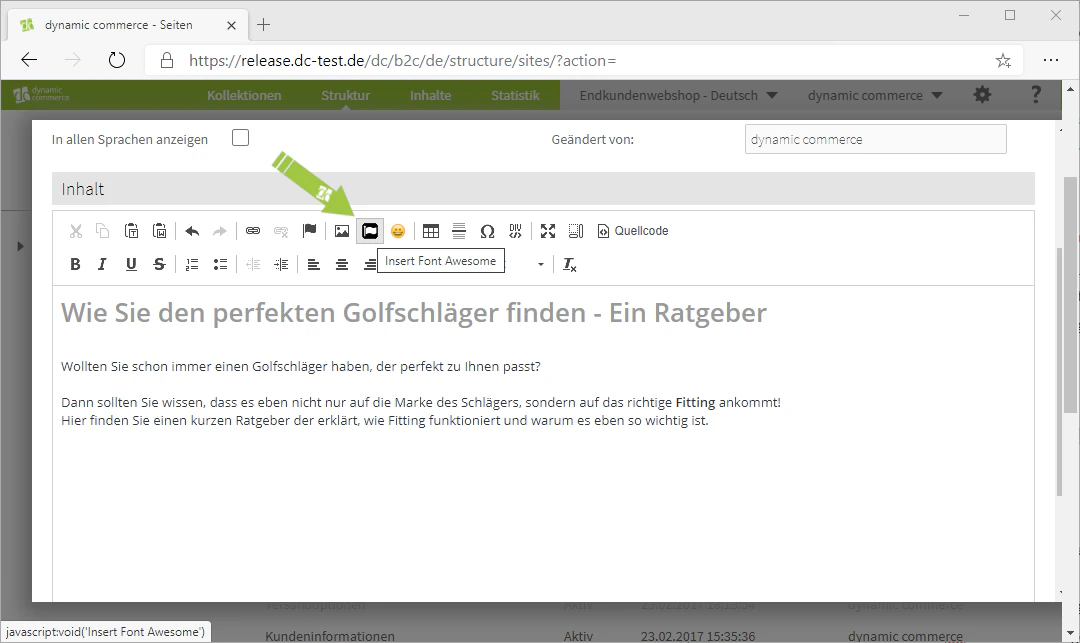

Related Topics
Content Types
Overview of all available modules.
Create and Edit Content
Create content on pages.
Create Collapsible Texts
Create texts with a collapsible heading.