This guide is part of the Content Types. We show you how to create content in general under Creating and Editing Content.
Step 1: Select the Content Type “Scrollbars”
First, select the content type “Scrollbars”. This should open a window with the heading “New Scrollbar”.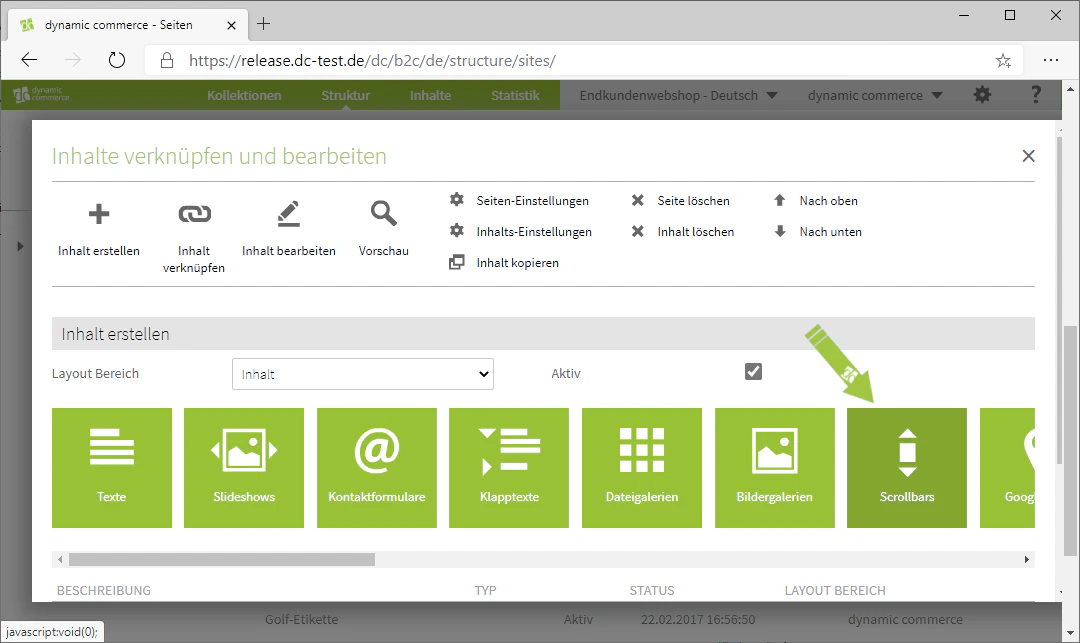
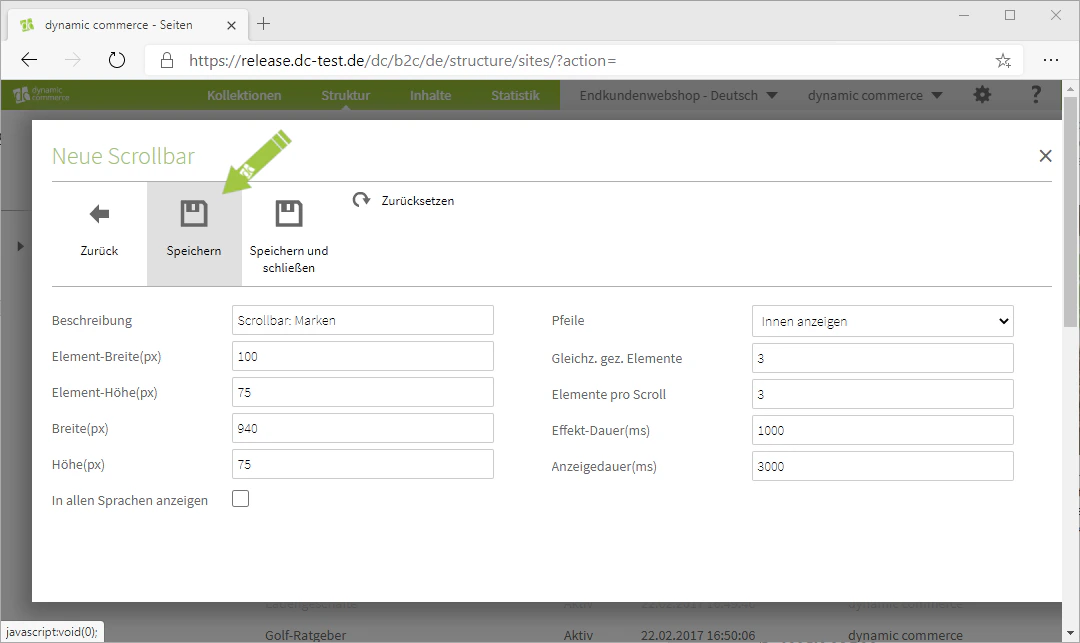
Step 2: Choose a Description and Save
In the window, first choose a description. This is only for organisational purposes and will not be displayed on your website.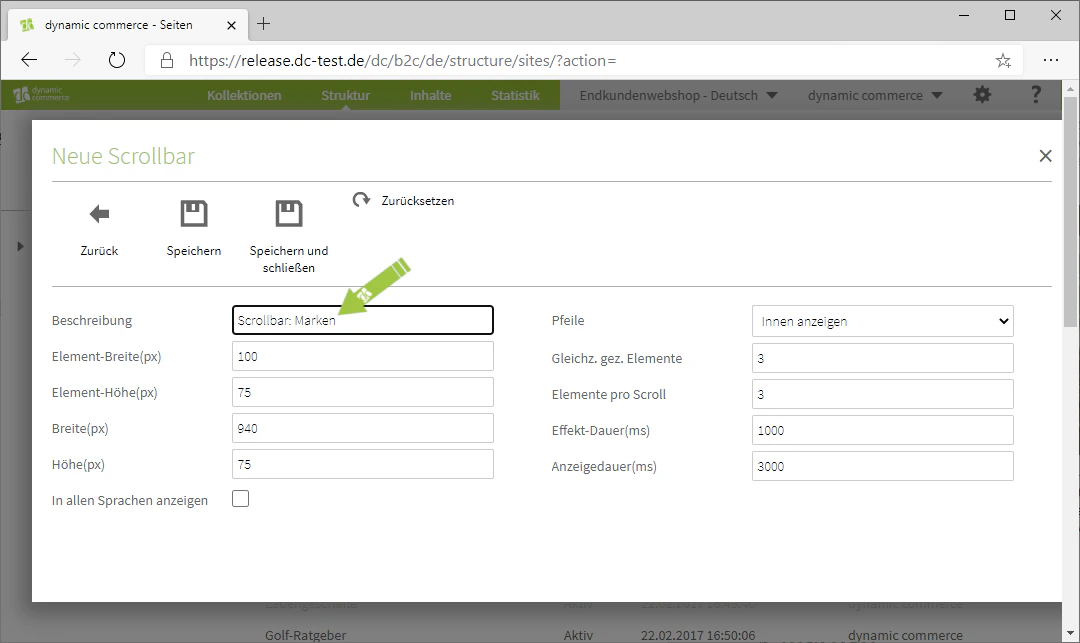
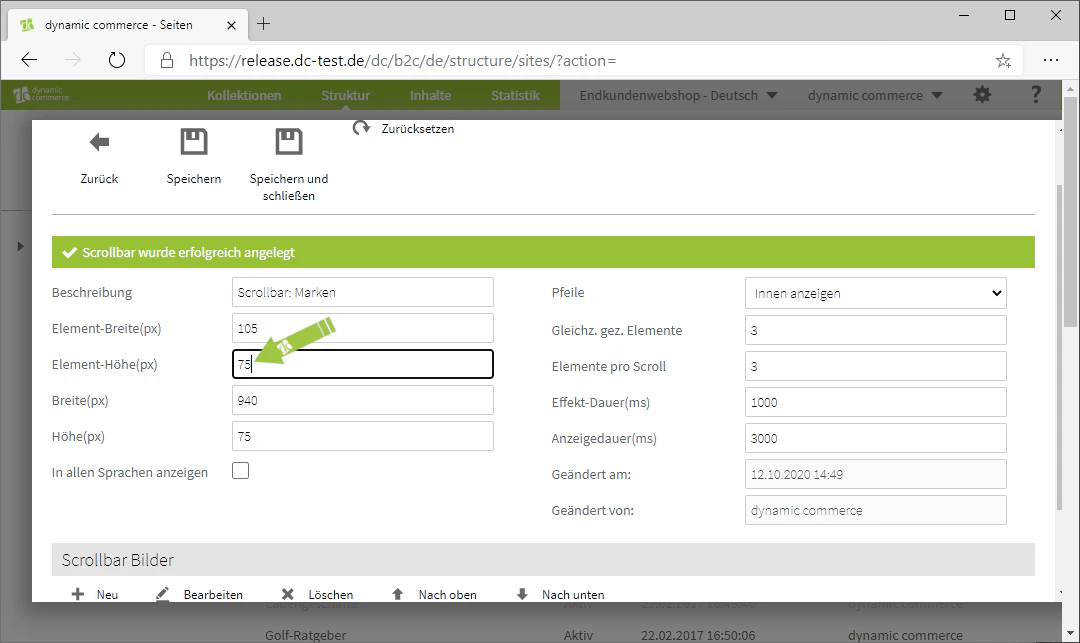
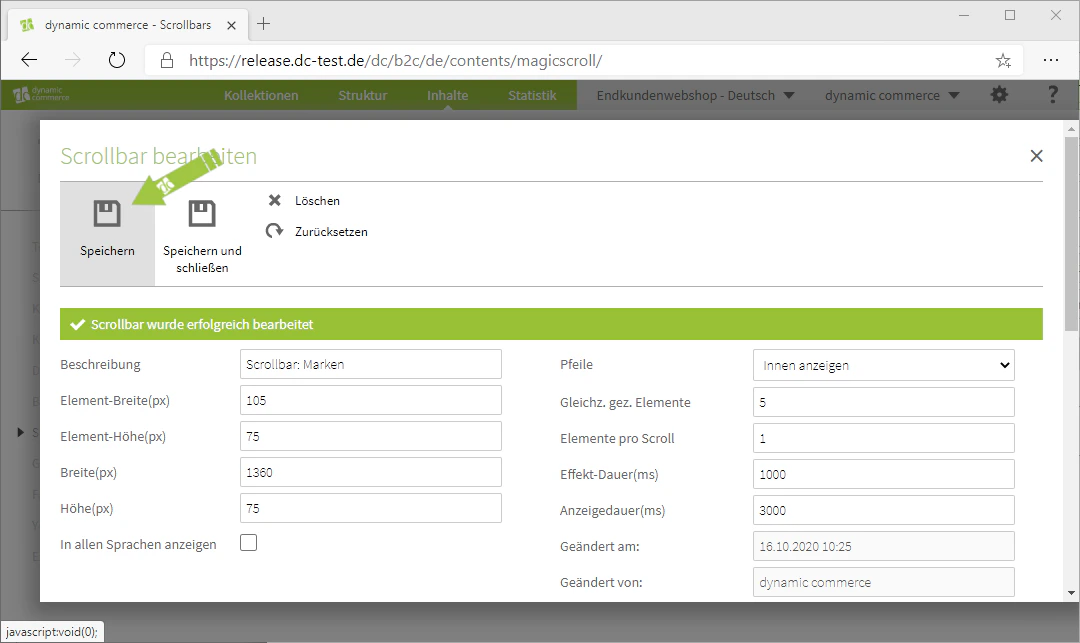
Step 3: Choose Element Width and Height
This affects the size at which the individual images are actually displayed. You should therefore also pay attention to the format or aspect ratio of the original images here.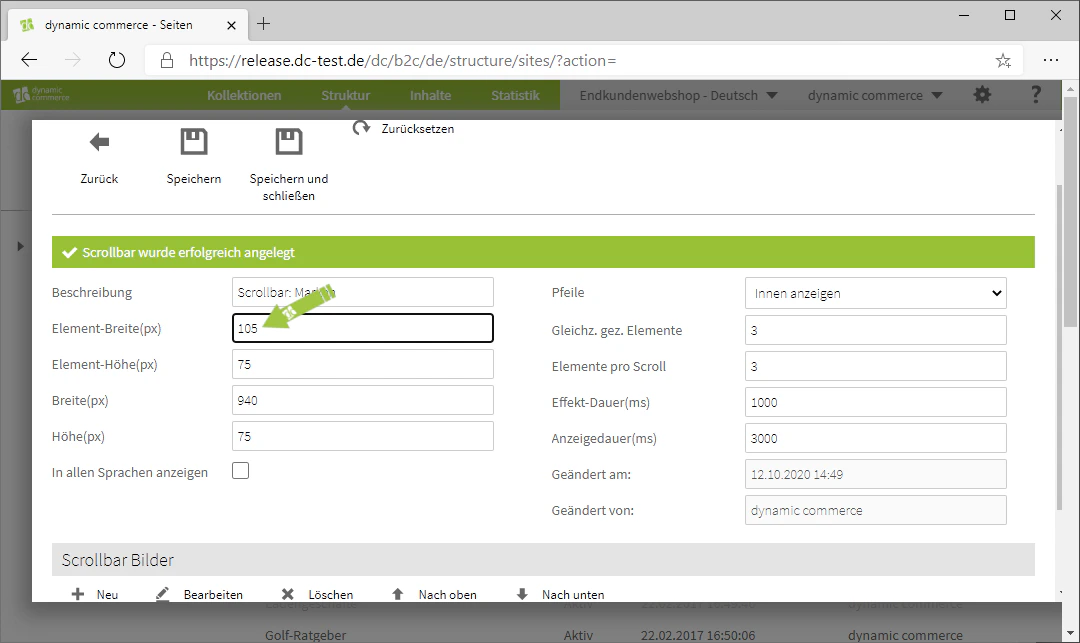
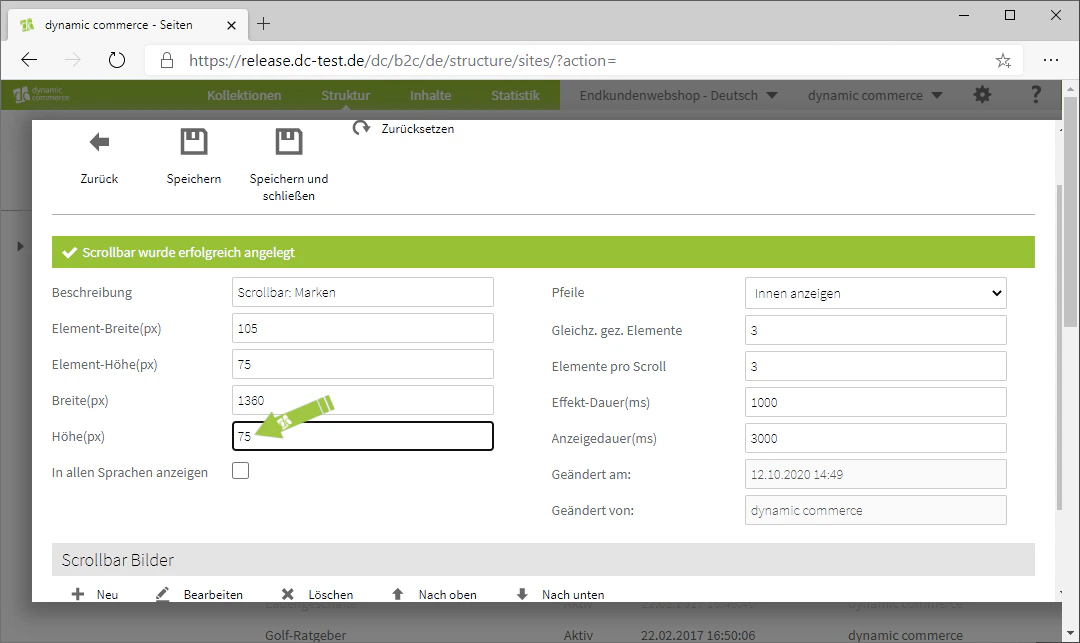
Step 4: Choose Width and Height
If you want multiple elements displayed side by side, you must adjust the width of the scrollbar so that it is at least as wide as the element width multiplied by the number of simultaneously displayed elements.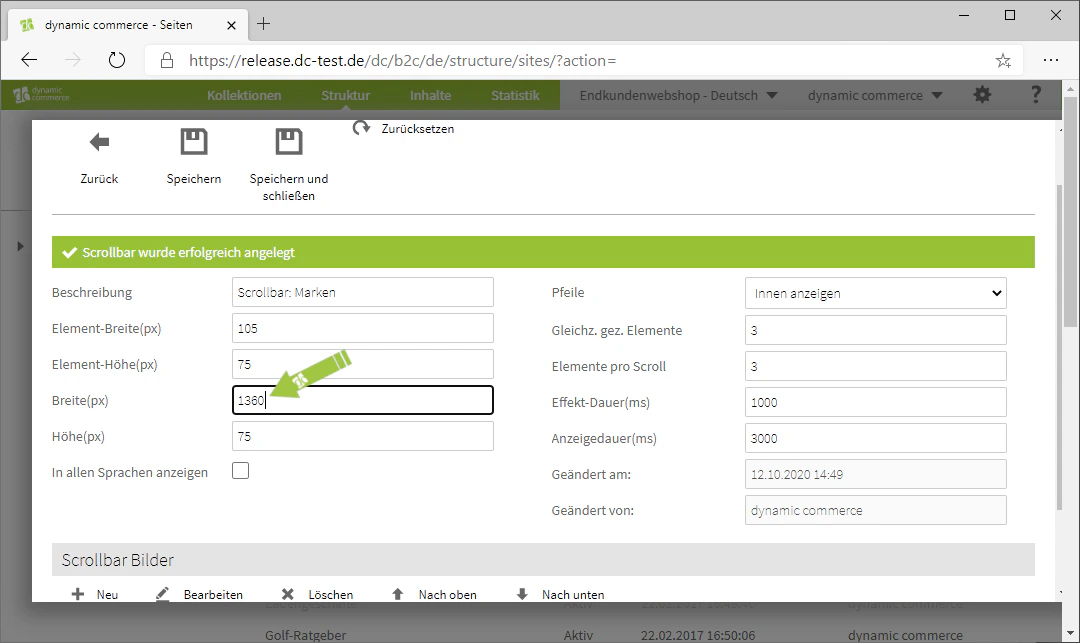
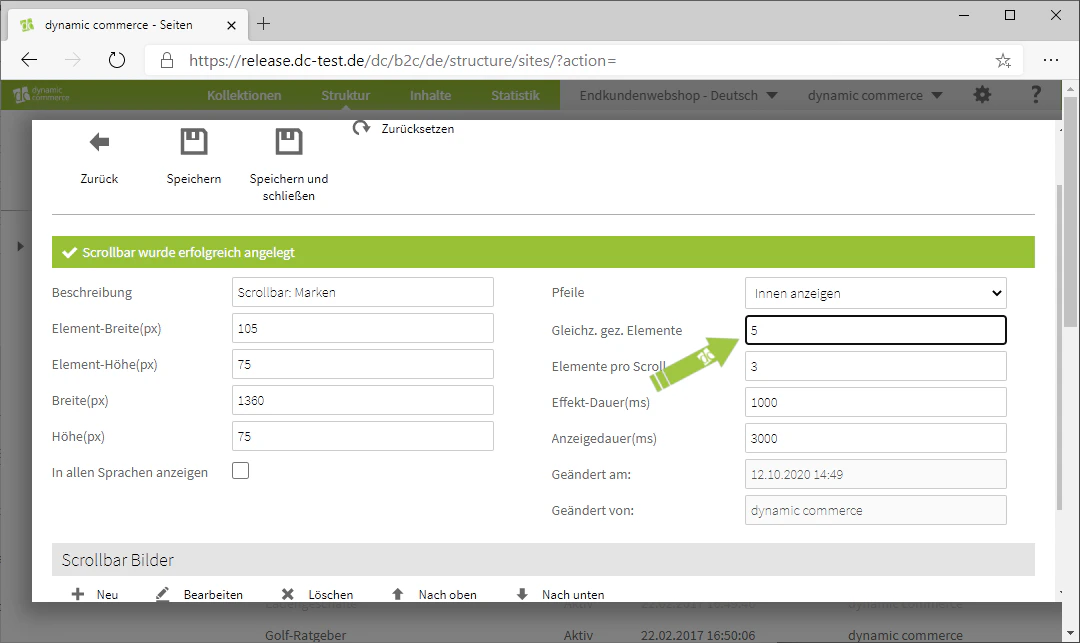
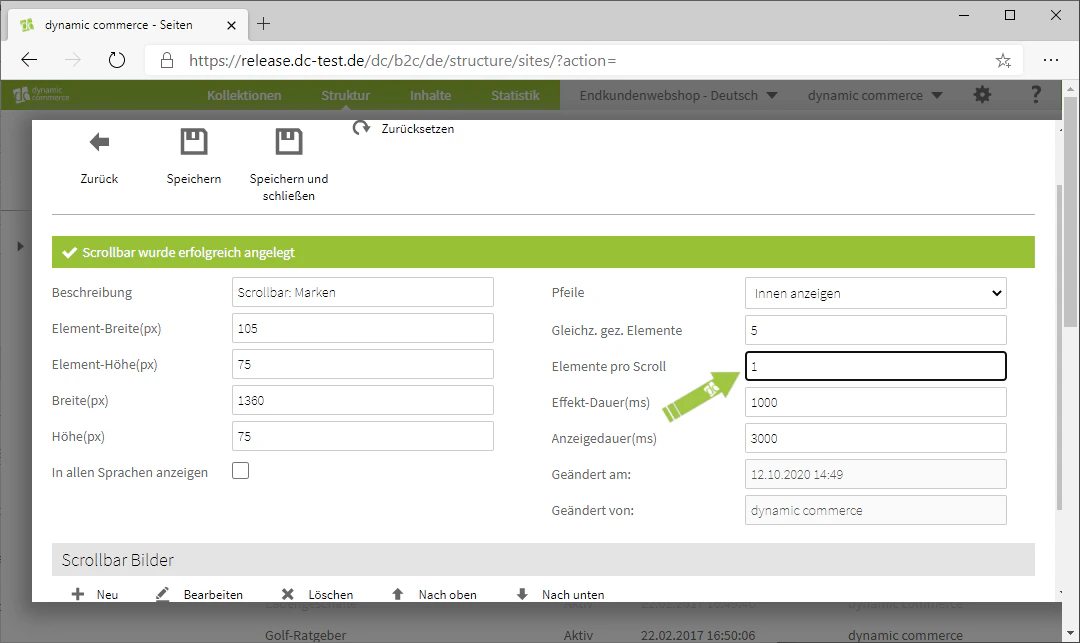
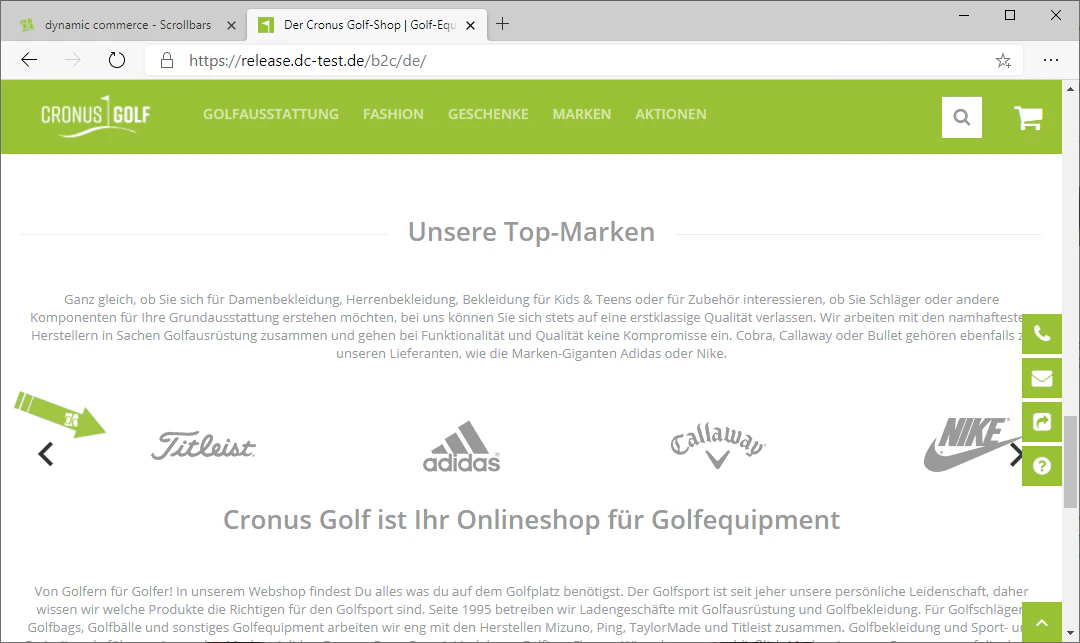
Step 5: Adjust Arrow Position and Element Display
Next, you can decide where and whether arrows should be displayed on the scrollbar, allowing visitors to manually switch to the next images.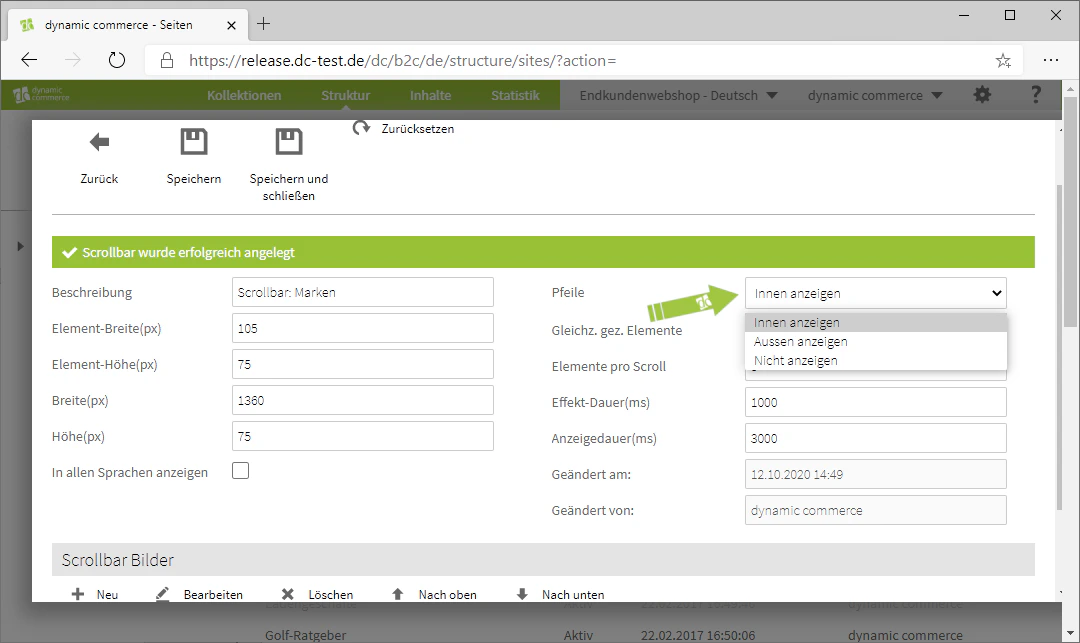
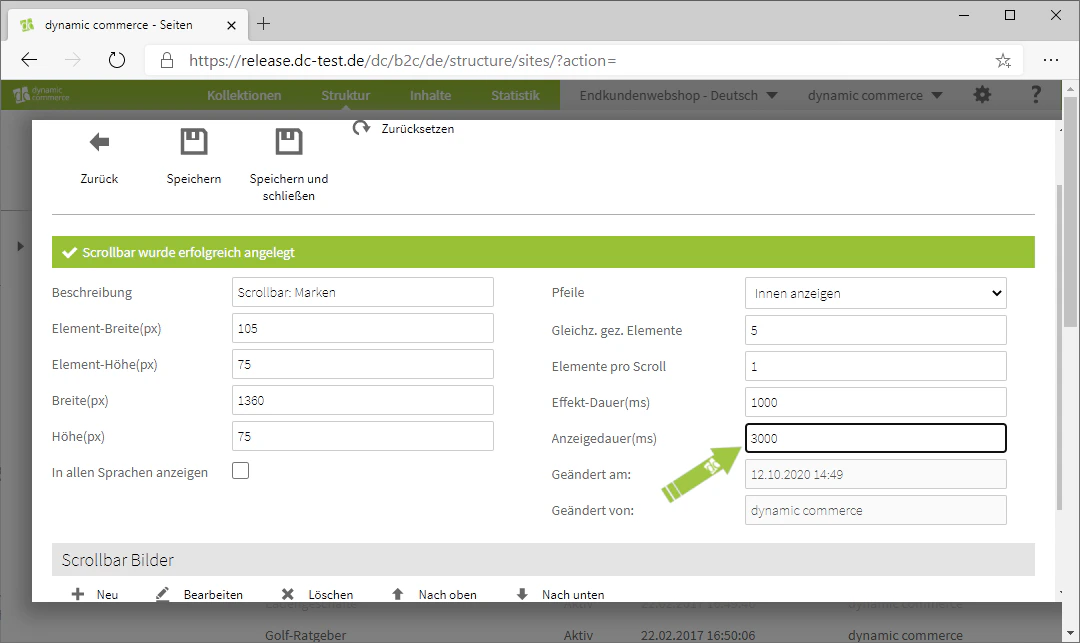
Step 6: Define Display Duration and Effect Duration
The display duration specifies how many milliseconds to wait before the next scroll is triggered. The effect duration specifies how long (in milliseconds) the scroll effect should be displayed.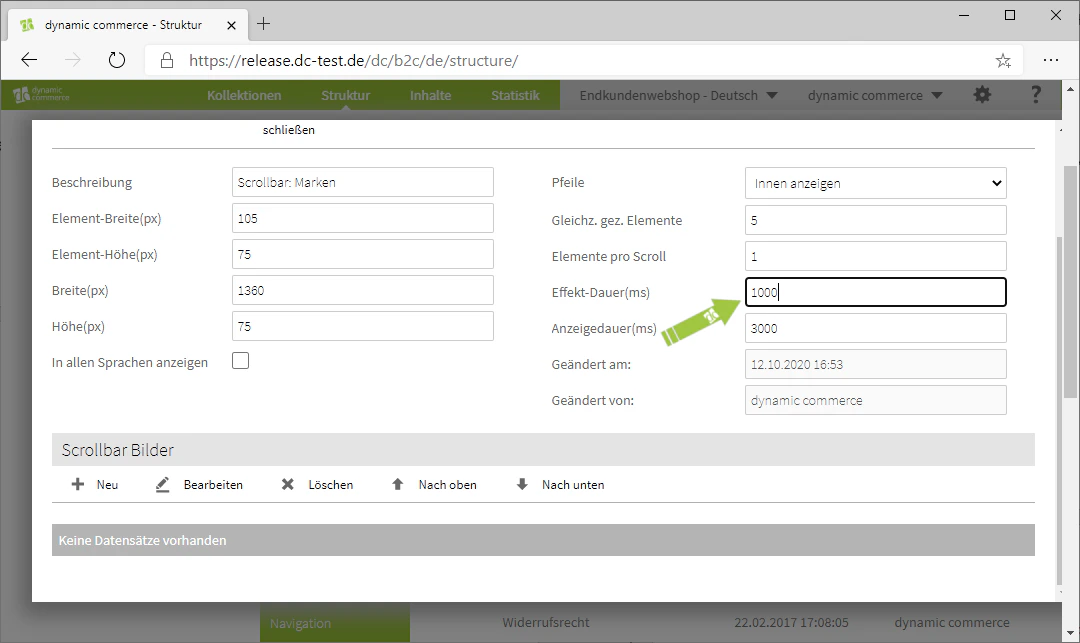
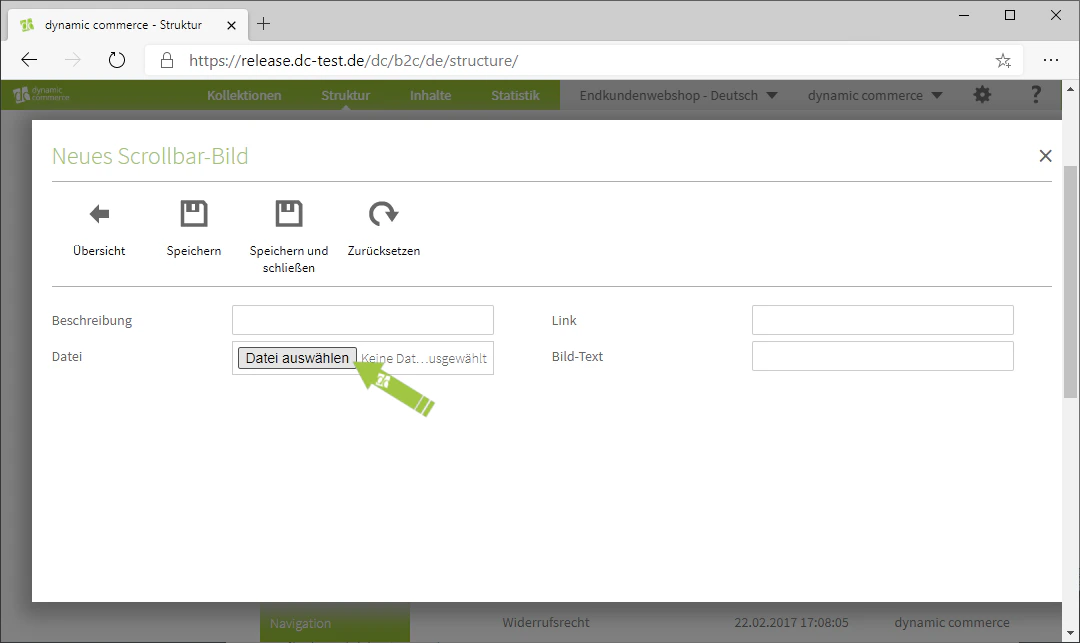
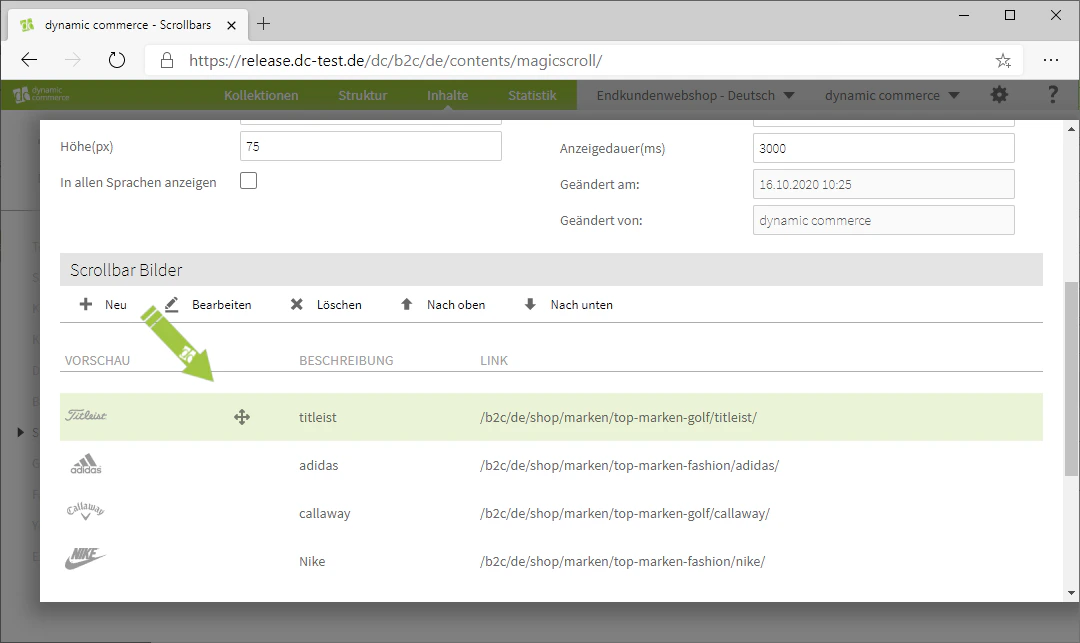
Step 7: Maintain Images
To do this, click the plus icon with the adjacent label “New” under the heading “Scrollbar Images”. A window with the heading “New Scrollbar Image” should then open, in which you can upload the respective image.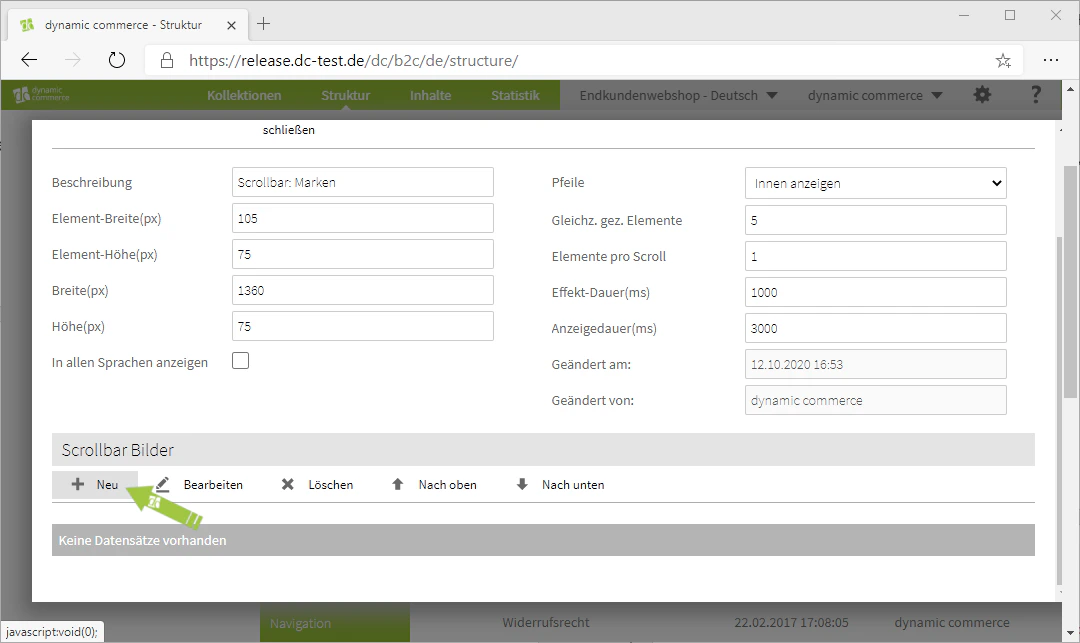

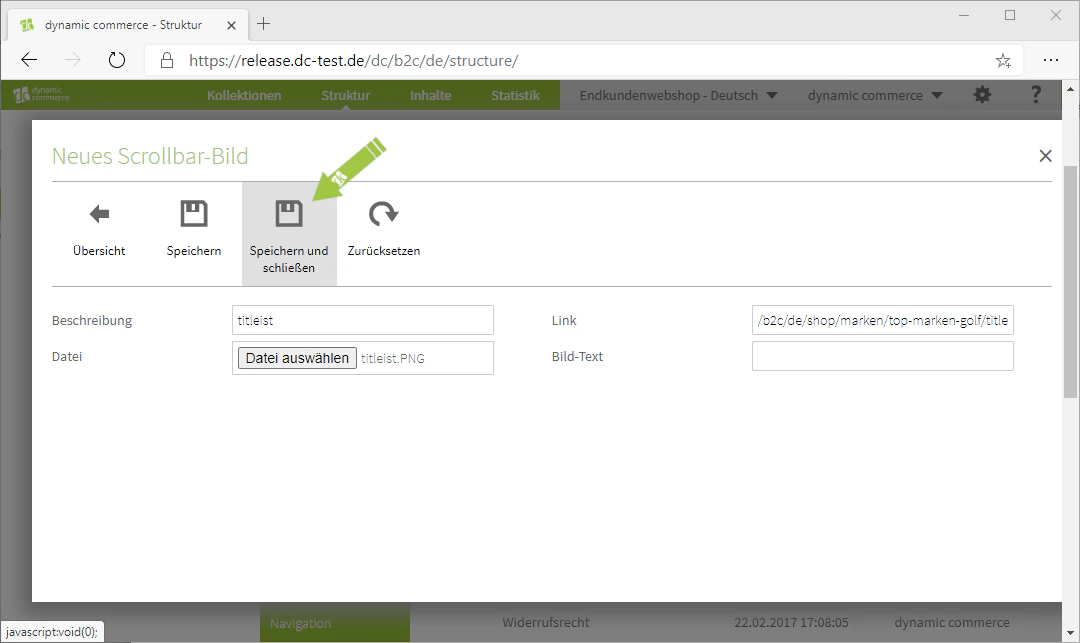
Step 8: Choose Image Description and Text
Next, define a description for your uploaded image. This is only for organisational purposes and will not be displayed on your website.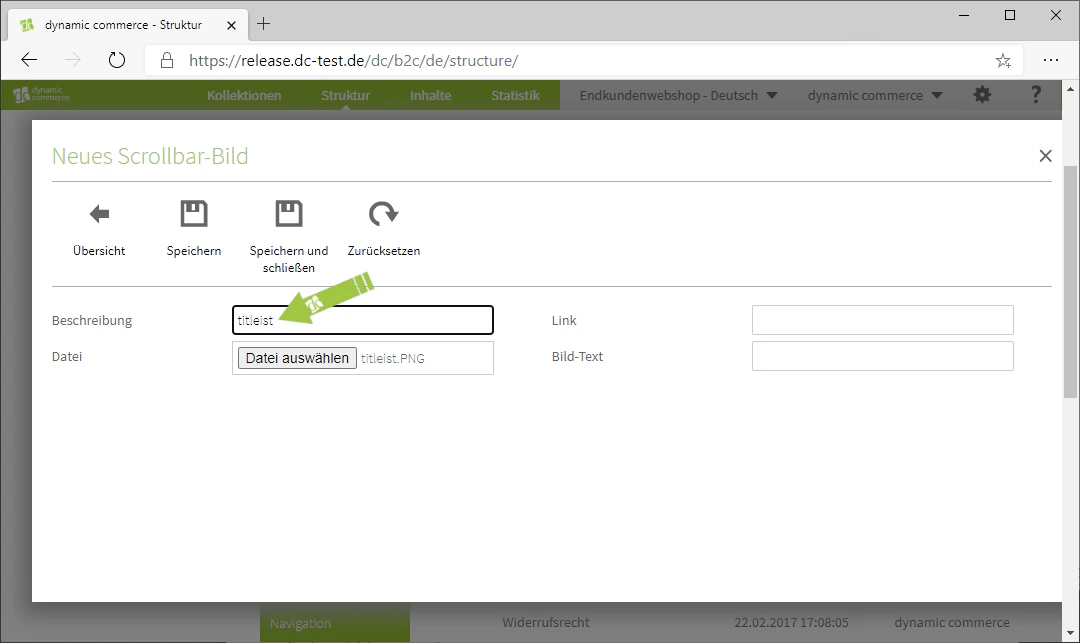
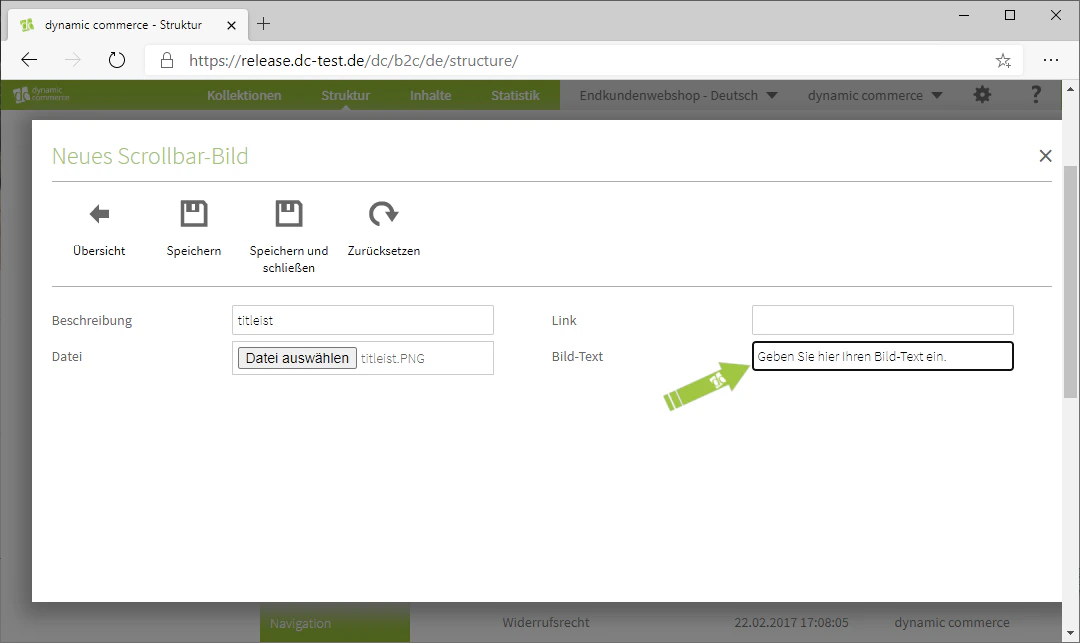
Step 9: Add a Link
In addition, you have the option of adding a link to your image, to which the visitor will be redirected as soon as they click on the corresponding image in the scrollbar.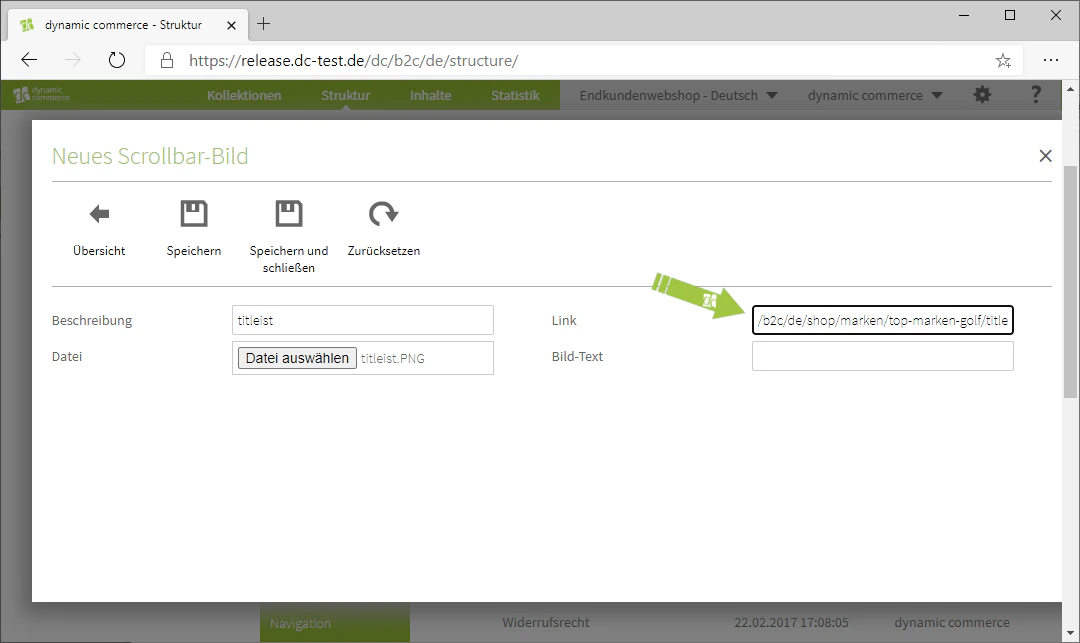
Related Topics
Content Types
Overview of all available modules.
Creating and Editing Content
Create content on pages.
Slideshows
Present images as a slideshow on your page.
Image Galleries
Display multiple images as a gallery with preview.