
1
Step 1: Open Item Category Overview
Navigate to the Item Categories area by entering “Item Categories” in the search.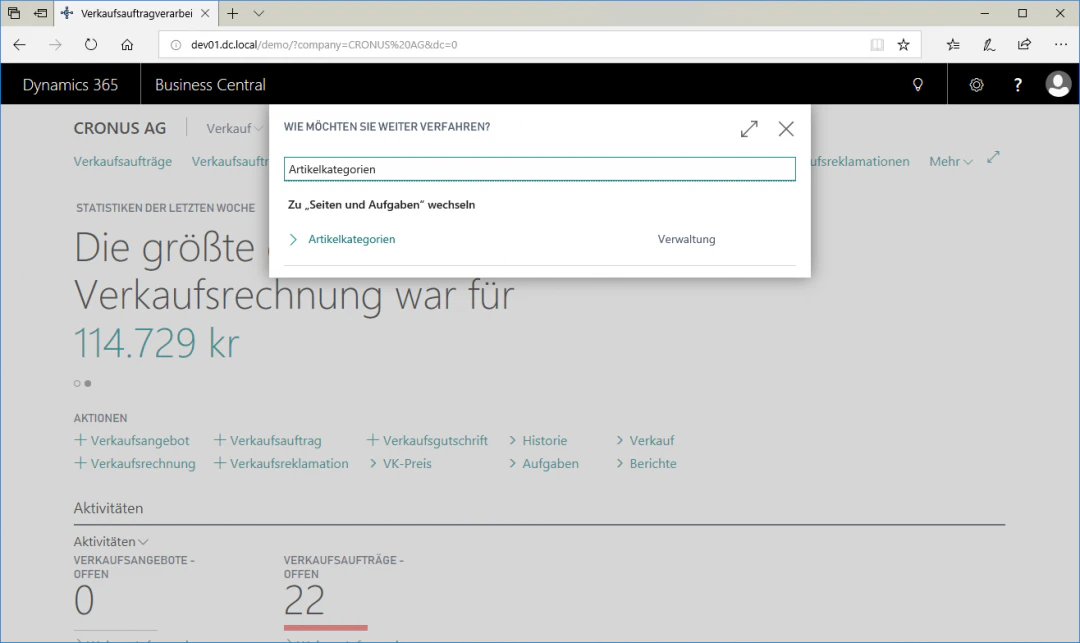
2
Step 2: Create Item Category Level 1
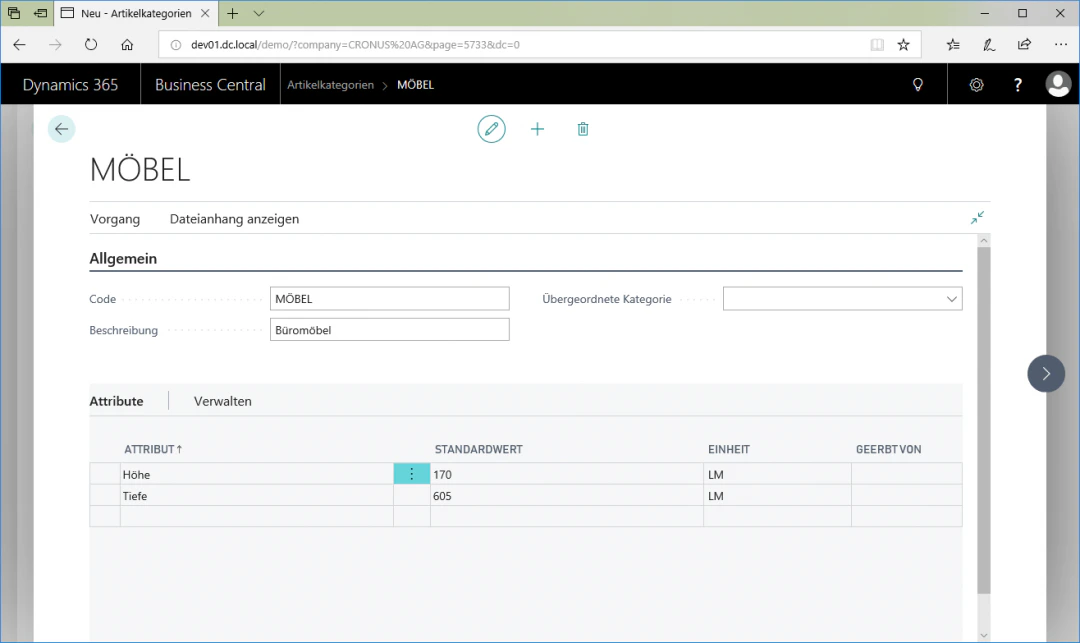
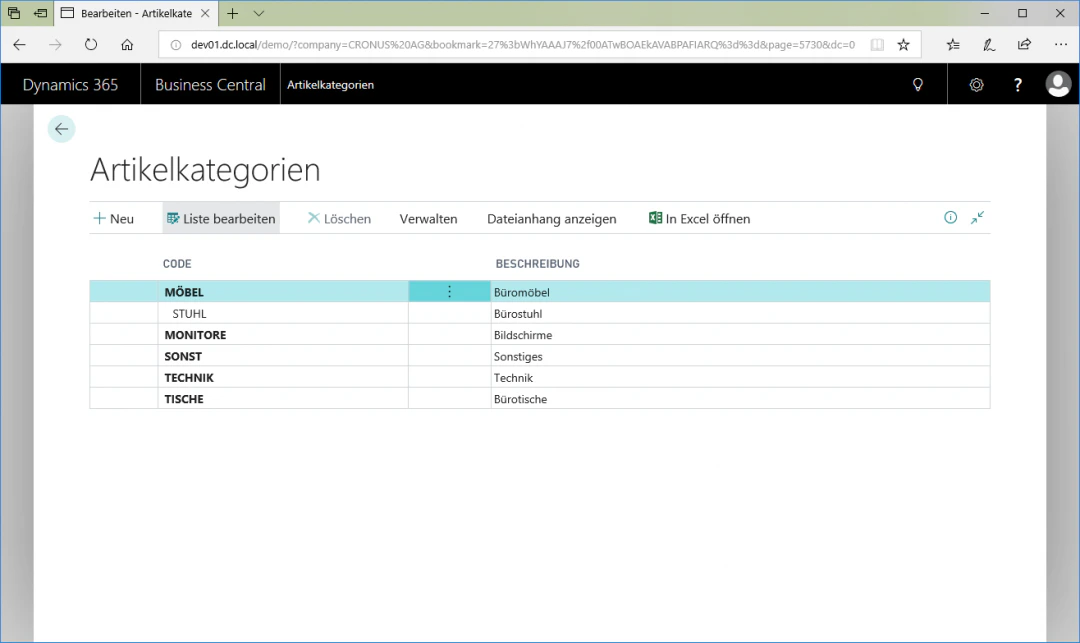
To create a first-level category, click the “New” FastTab. The new entry is inserted as the first row in each case. To enable quick editing of a category, the category overview is already editable in the list. The categories can therefore be edited directly in the list by clicking “Edit List”. In our example, we name the first-level item category “Furniture”. Here it is also advisable to use “Office Furniture” as the description and to create the attributes “Height” and “Depth”. You can create the attributes by clicking in an empty row in the “Attributes” menu item and selecting the corresponding attributes. The height should have the default value “170” and the depth the default value “605”.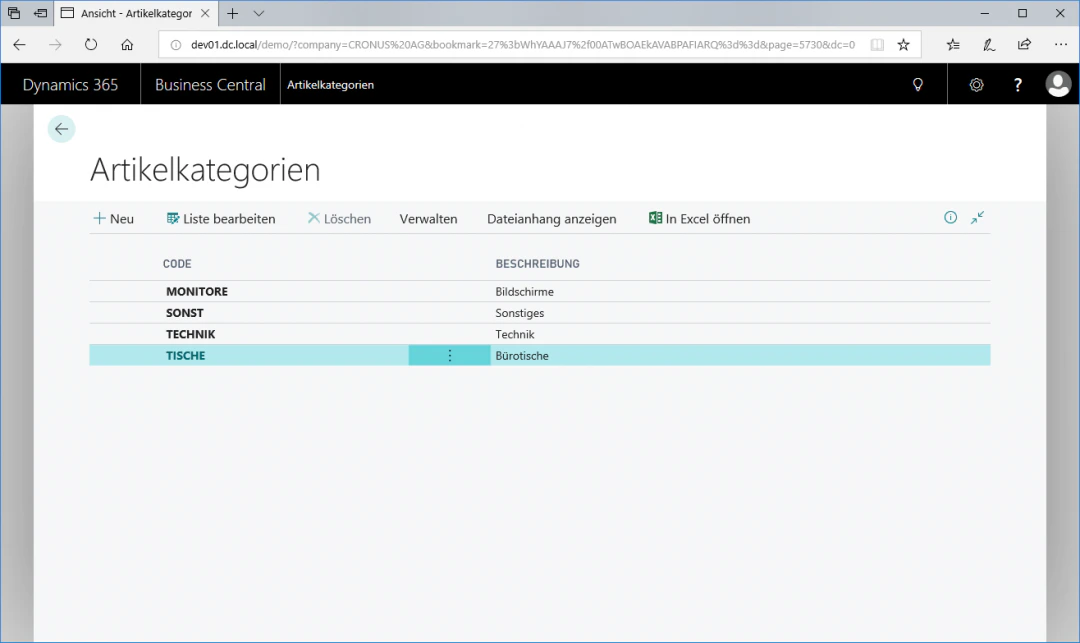
3
Step 3: Create Item Category Level 2
To create a second-level category, select the “New” FastTab again. The new entry is inserted under the respectively selected parent item category. In our example, we name the category “Chair”. In addition, we use “Office Chair” as the description and assign the category to the parent category “Furniture”. As a result, the new item category “Chair” inherits all attributes of the parent item category.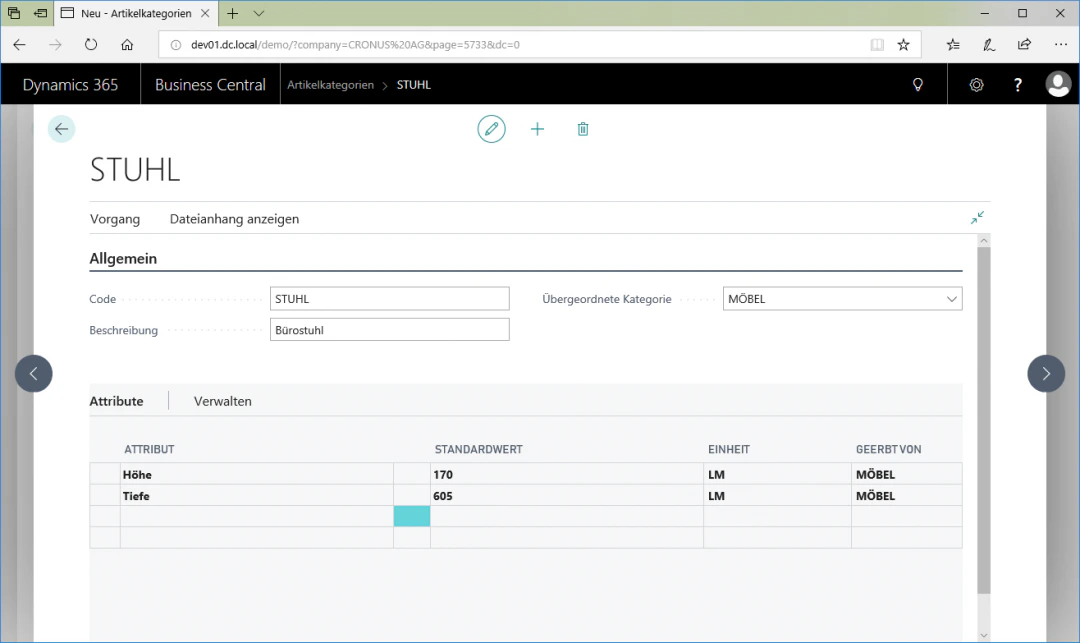
4
Step 4: Update Item Categories
To synchronize the categories with the web shop system, click the “Update” FastTab in the “Home” ribbon. This updates all categories that have been changed since the last update.All changed item categories are also automatically updated with the next full data update.Related Topics
Set Up Web Shop Categories
Build the category tree for the web shop.
Set Up Web Shop Items
Maintain items for the web shop.