Step 1: Open the Webshop Item Overview
Navigate to the Items section by entering “Items” in the search.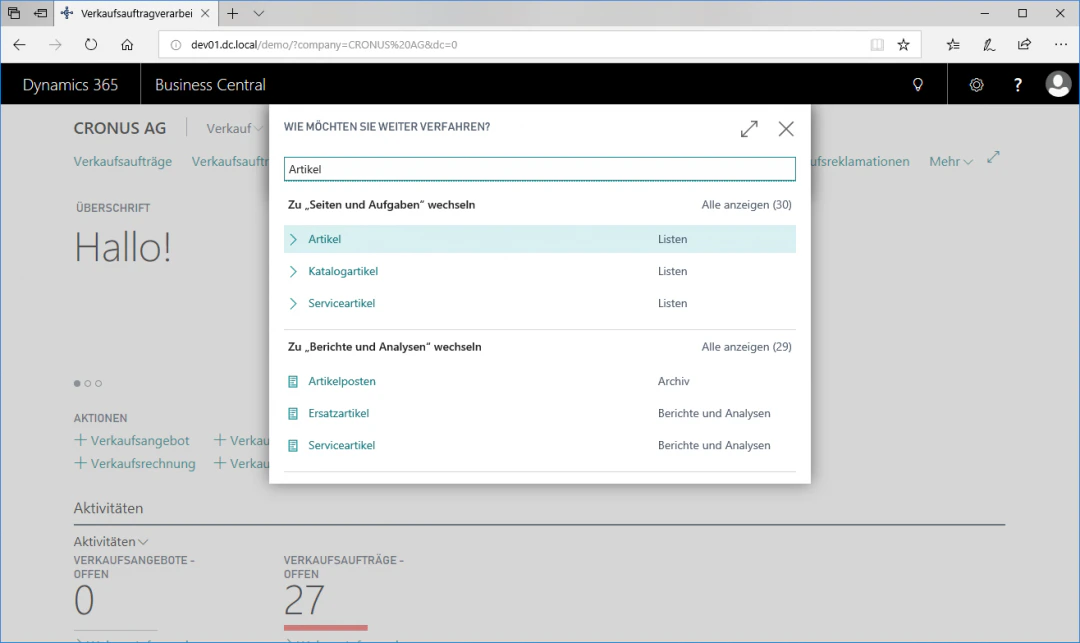
Step 2: Open the Webshop Item Card
Select the row with the desired item you want to personalize, in this case the touring bicycle 1000.Click the FastTab “Webshop Item” in the “Process” ribbon to open the webshop item card.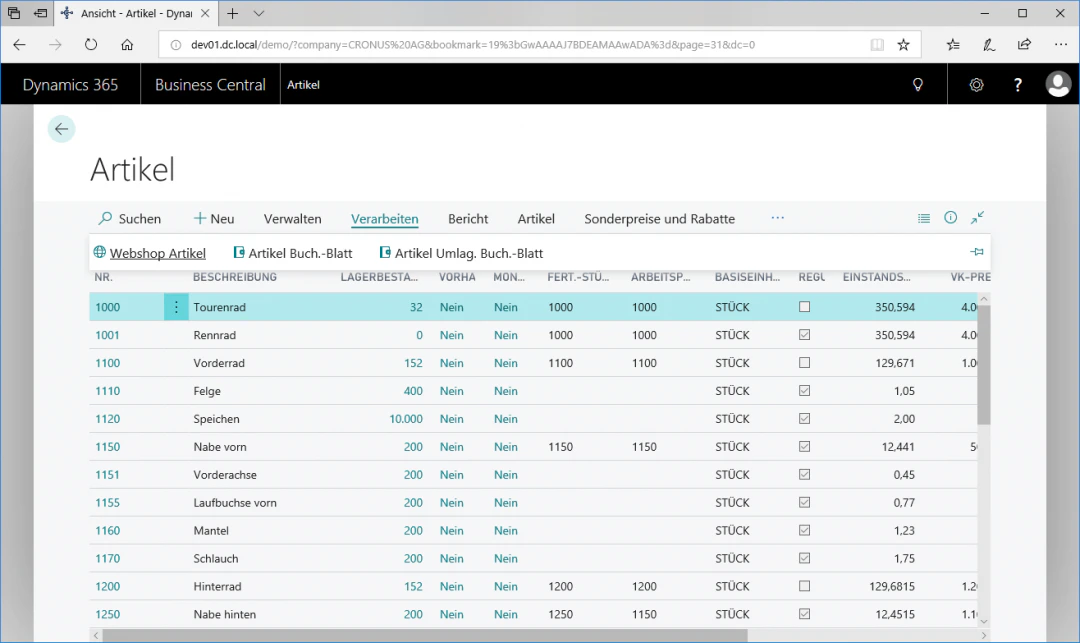
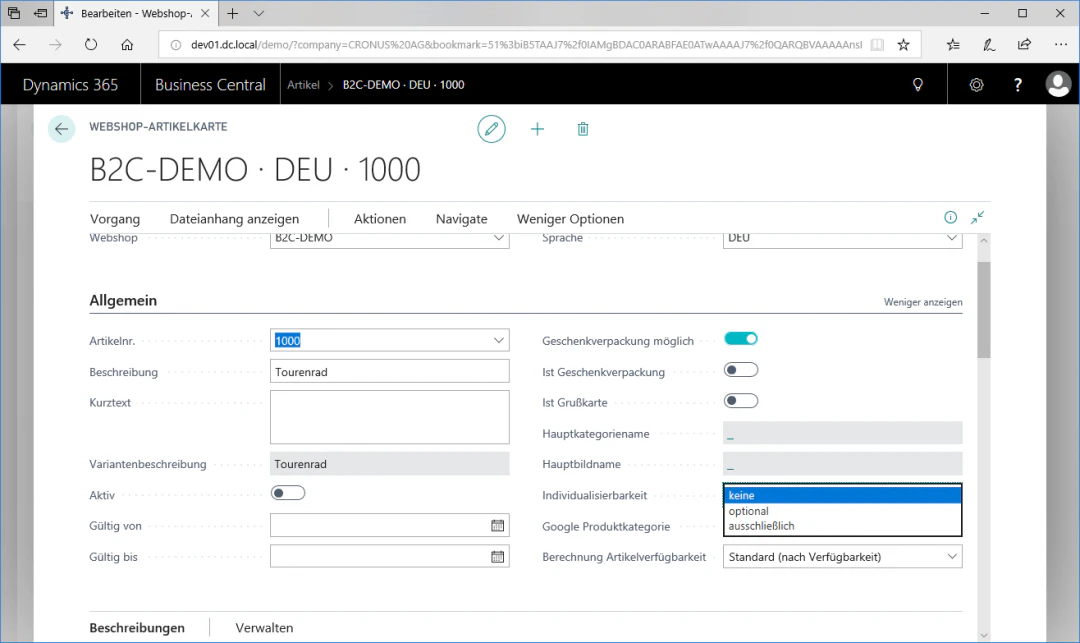
Step 3: Define Personalizability
In the “General” menu item, you can now use the “Personalizability” field to specify whether and how an item should be personalized.The available options are “none”, “optional”, and “exclusively”, and they mean the following:- “none”: the item can only be ordered without personalization
- “optional”: the item can be ordered with or without personalization
- “exclusively”: the item can only be ordered with personalization
Step 4: Open the Personalization Menu
If you have decided to personalize your item, you can access the webshop personalization menu by navigating via the “Navigate” ribbon to the “Additional Functions” FastTab and then clicking the “Personalizations” FastTab.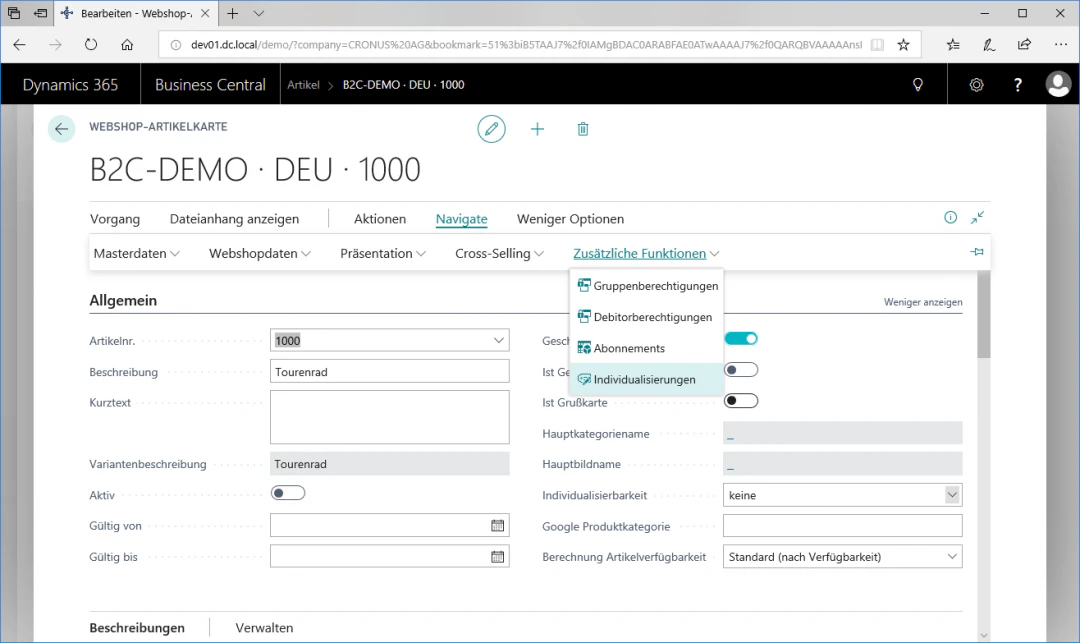
Step 5: Configure the Personalization
To add a personalized text to your item, select the desired type in the “Type” column. You can choose between Text, Image, and Free-form Text. Finally, you can enter your desired text in the “Description” column.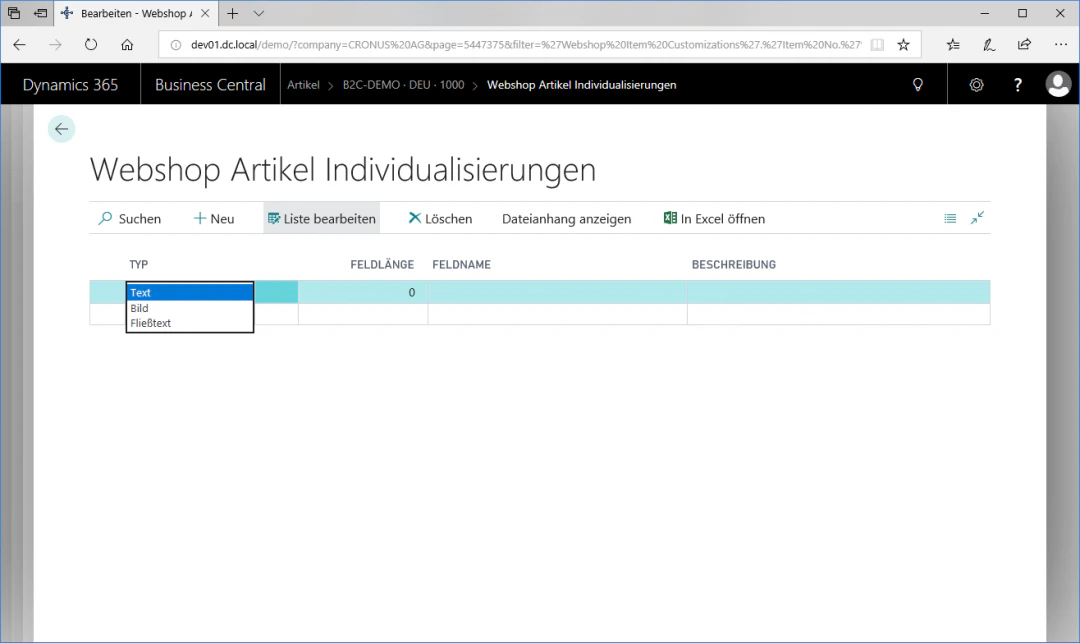
Related Topics
Set Up Webshop Items
Maintain items for the webshop.
Set Up Digital Products
Set up an item as a digital product.