In the shipping options, you will later maintain various shipping conditions per shipping zone. We show you how to do this under Shipping Options.
Step 1: Navigate to the Shipping Zones
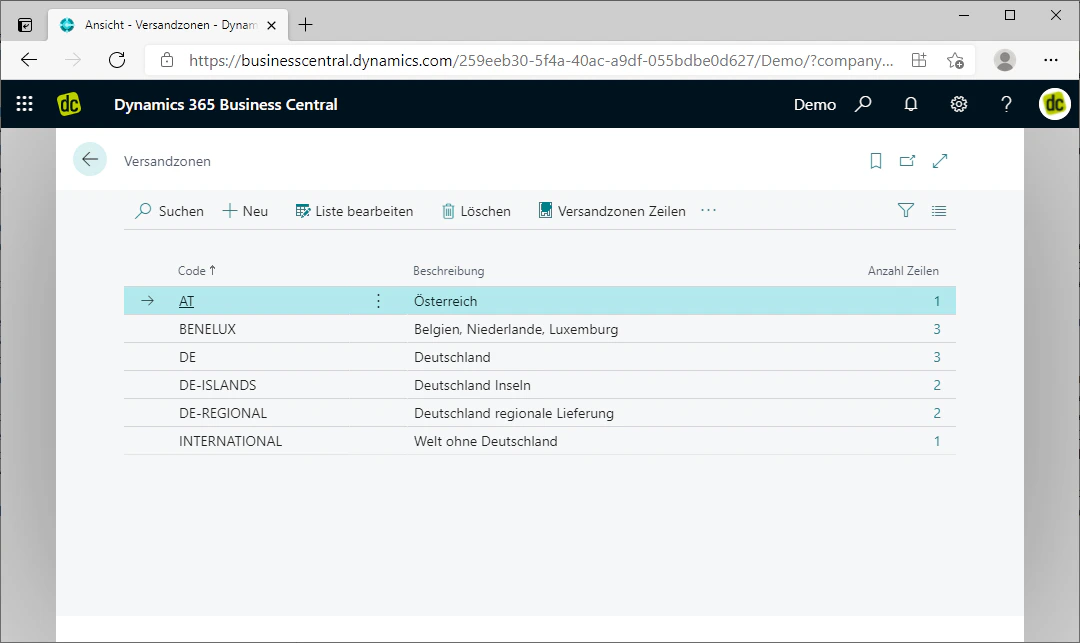
First, navigate to the shipping zones using the search by entering “Shipping Zones”. The list of the same name should appear as a search result.When you click on the list, it should open in a new window. All previously maintained shipping zones are also displayed there and can be edited.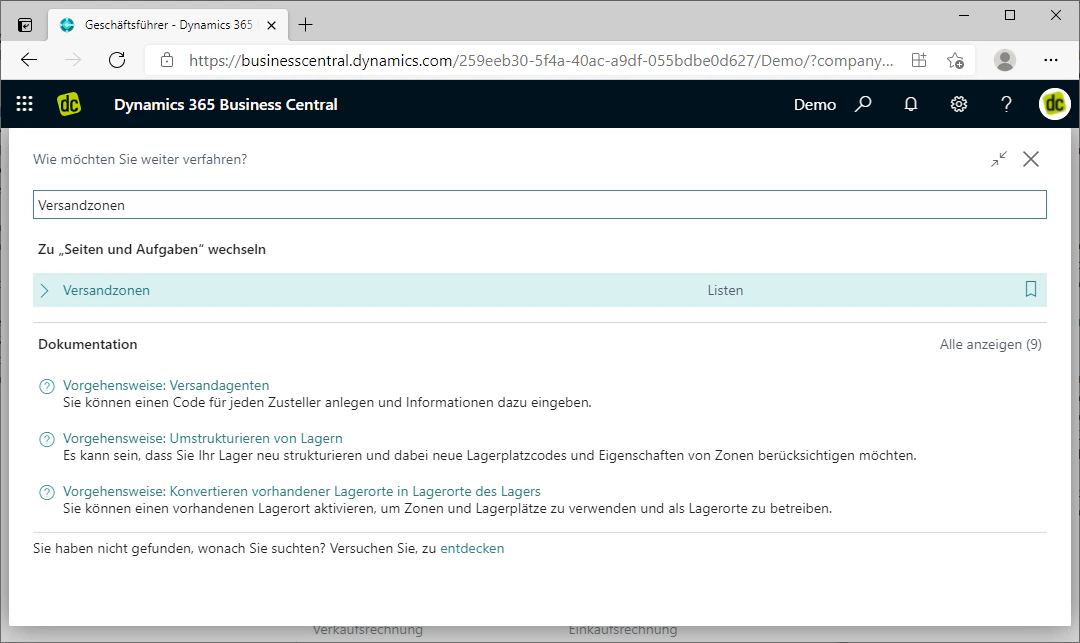
Step 2: Create a Shipping Zone
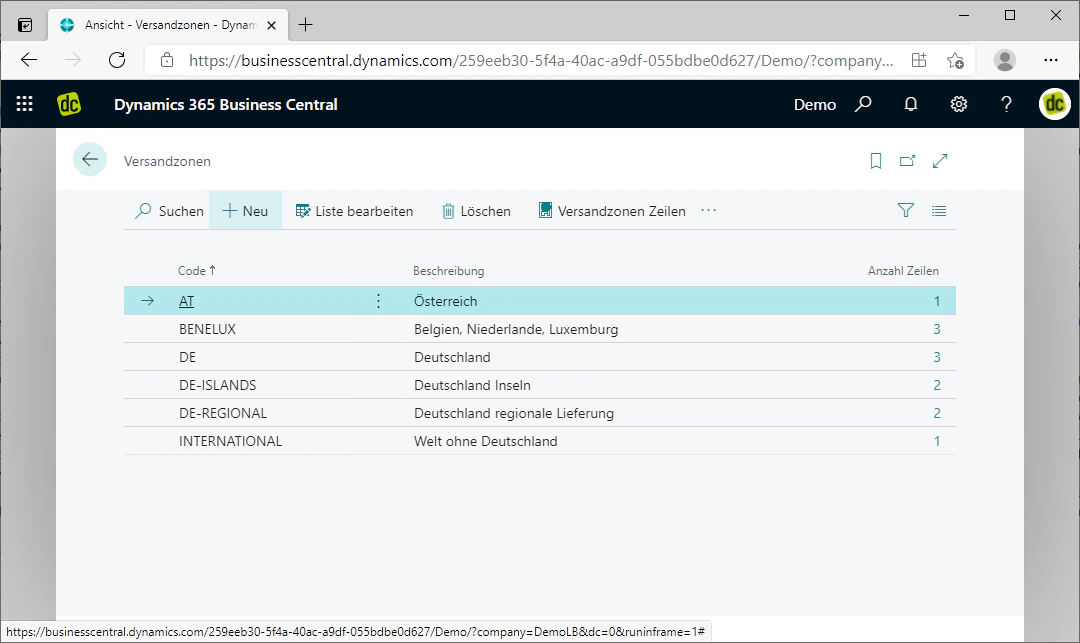
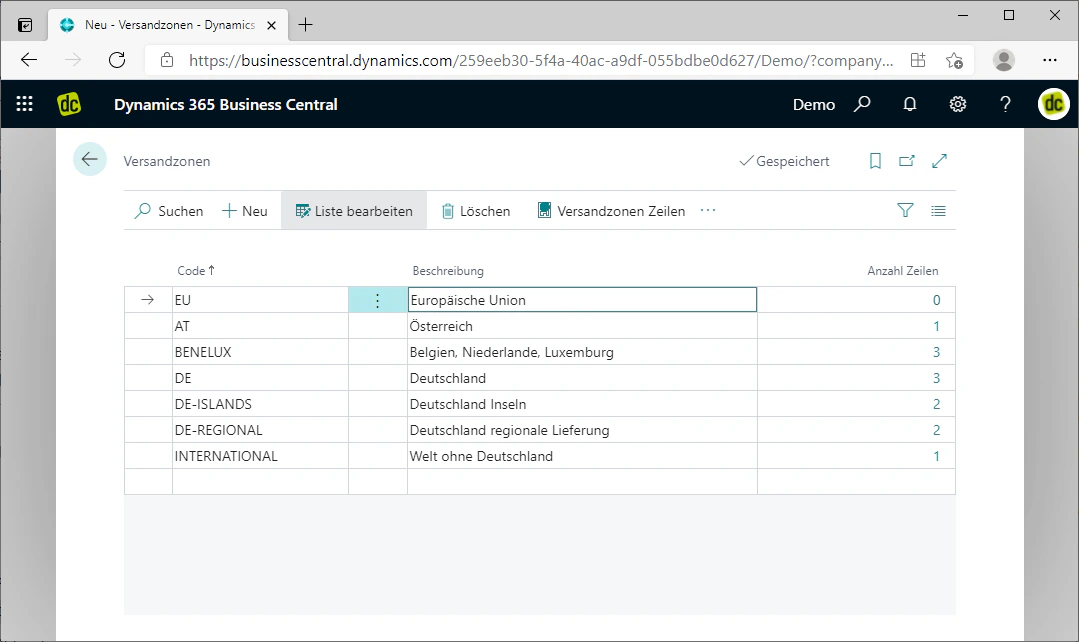
To create a new shipping zone, click on the “New” FastTab in the menu bar.This inserts a new row in the list above the currently selected row, in which you can maintain the code and the description.In our example, we are creating a shipping zone for the European Union. We therefore choose “EU” as the code and “European Union” as the description.As soon as you press Enter or click outside the row you just created, the changes to the list are saved automatically. The shipping zone itself is now created.
Step 3: Add Lines to the Shipping Zone
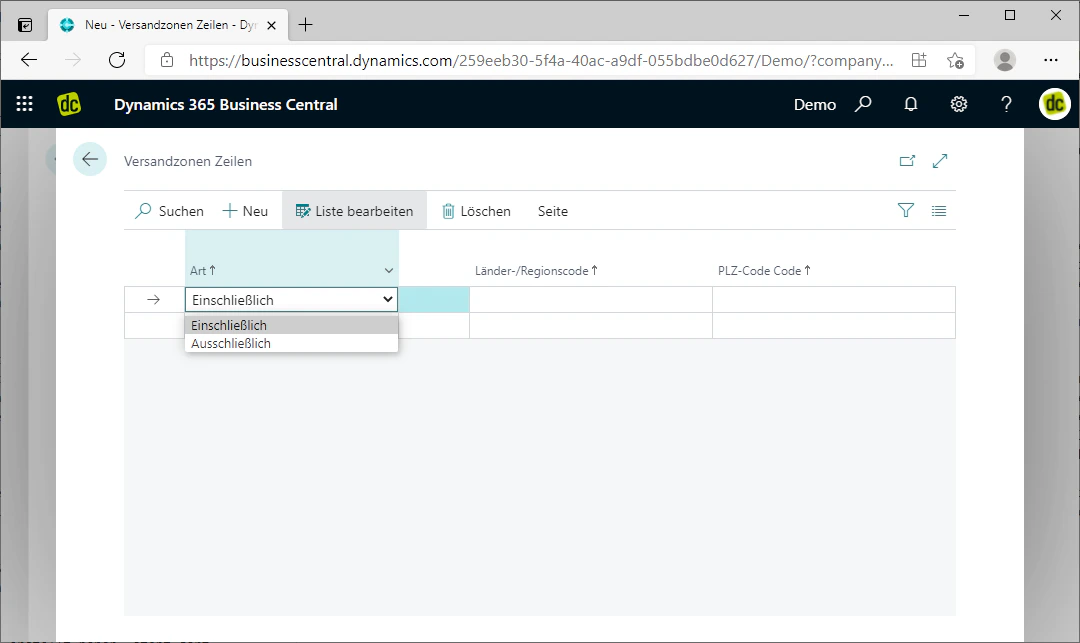
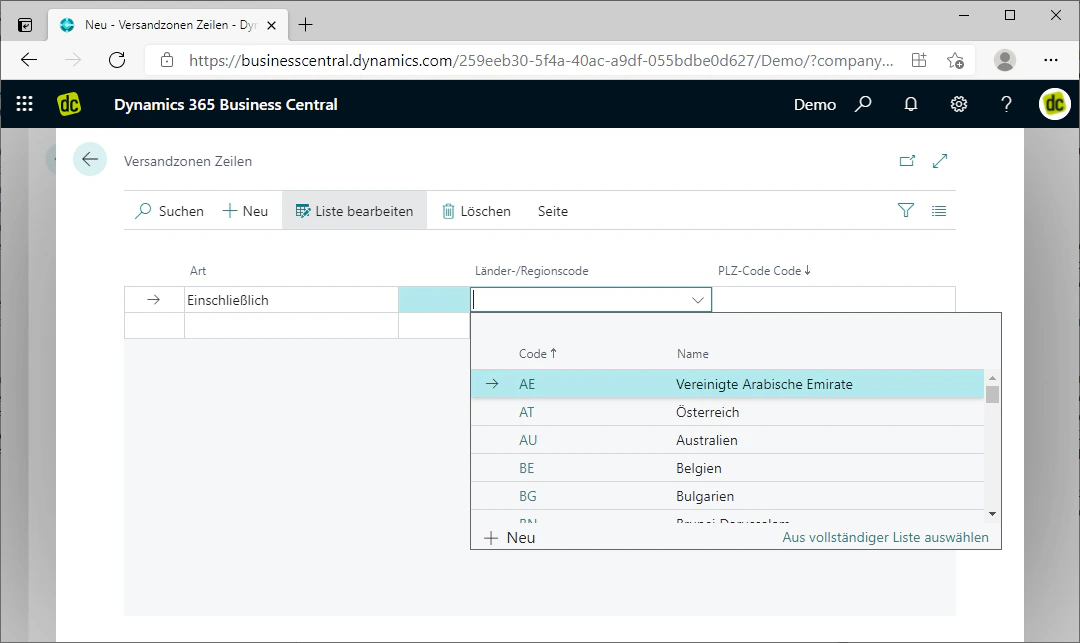
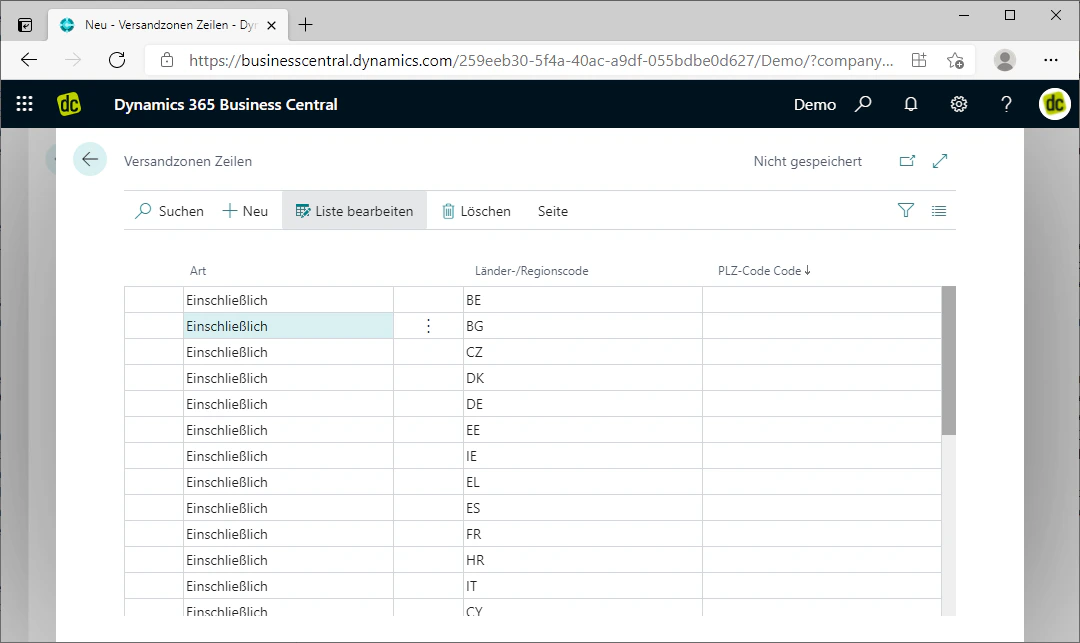
To restrict the shipping zone geographically, lines must be assigned to it.You can assign these lines by clicking on the number in the “Number of Lines” column for the respective shipping zone. This number indicates how many lines have already been assigned. Since we have just created a new zone, it naturally shows “0”.A new window with the heading “Shipping Zone Lines” should open. There you will again find a list of the already created lines, which can also be edited. By clicking on the “New” FastTab, you can insert new lines.In the list, you first maintain the type of line. There you have the option to include or exclude the country or postal code that you specify afterwards.You can then define a country or a postal code. If you want to specify a country, simply click in the respective field in the “Country/Region Code” column. This opens a selection of the maintained country codes. If you want to specify a postal code, simply enter it in the respective field in the “Post Code” column.In our example, we want to create a zone for the European Union, so we create lines that each include the European countries.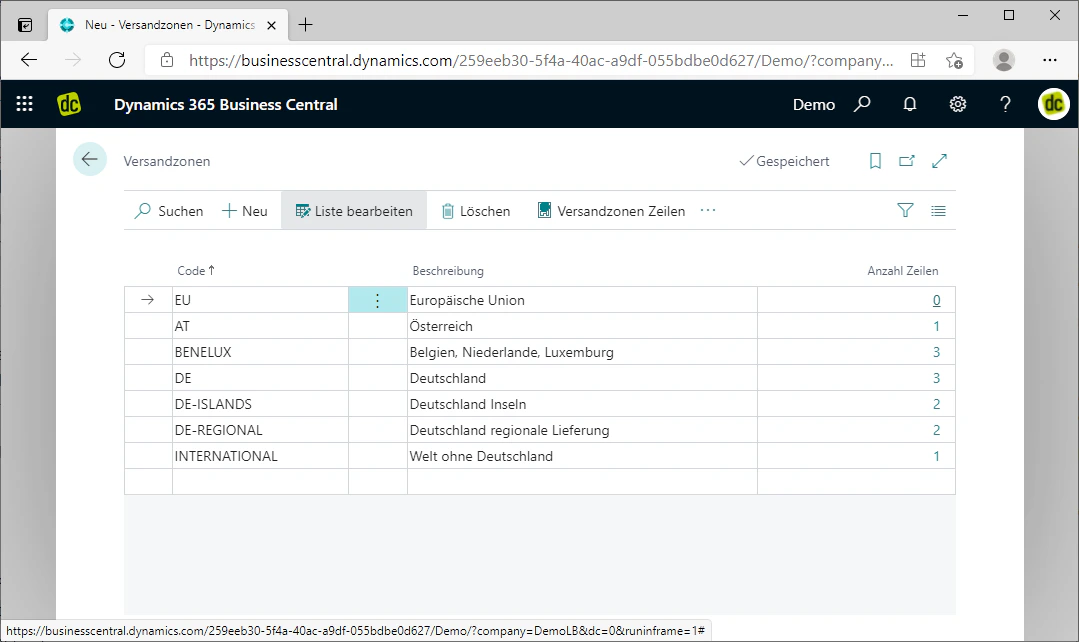
Related Topics
Shipping Options
Link shipping options with the shipping zone created here.
Personal Delivery
Set up a personal delivery for a specific postal code area.