For this guide, shipping classes should already be configured. We show you how to do this under Shipping Classes.
Step 1: Navigate to the Item
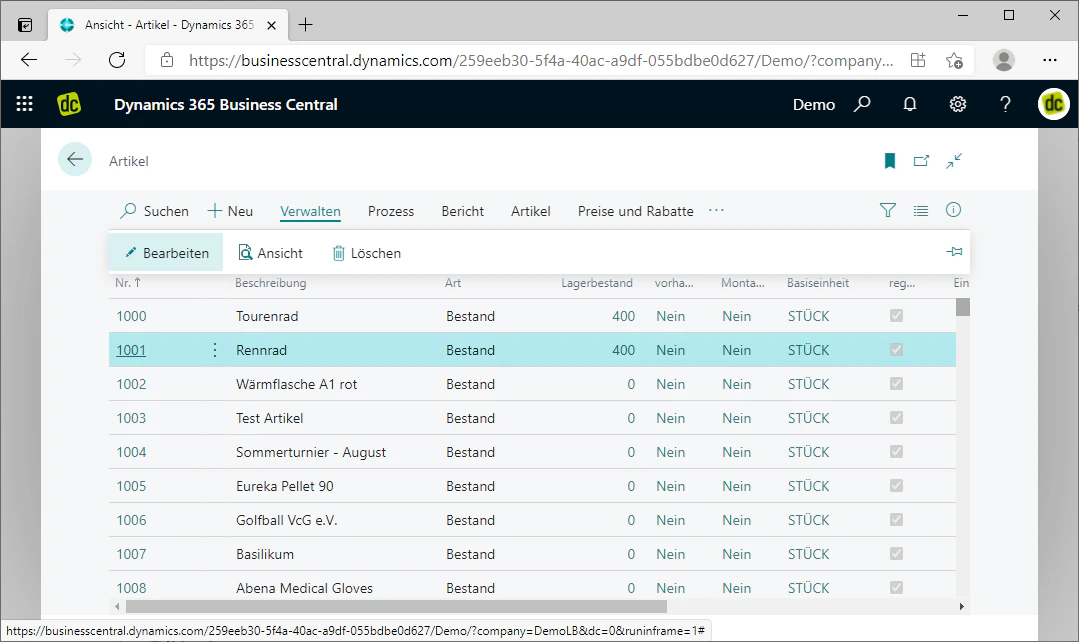
First, navigate to an item of your choice. You can access items by entering “Items” in the search bar and clicking on the list of the same name.This opens an overview of the already configured items, from which you can select the desired item by clicking on it.You then edit it using the “Edit” fast tab, which is located in the “Manage” menu. This should open the item card.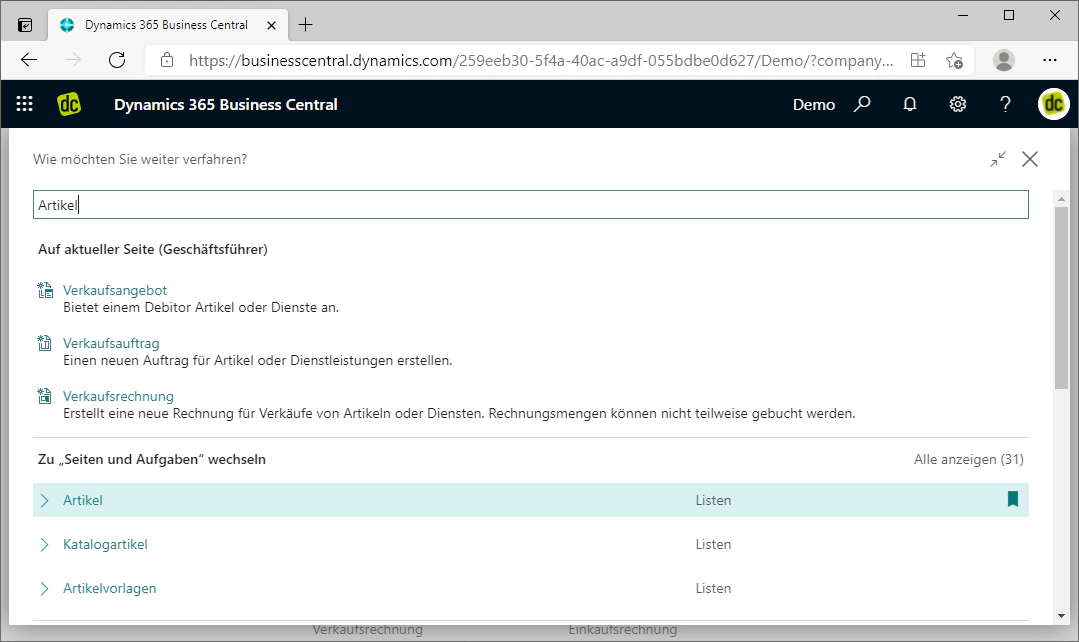
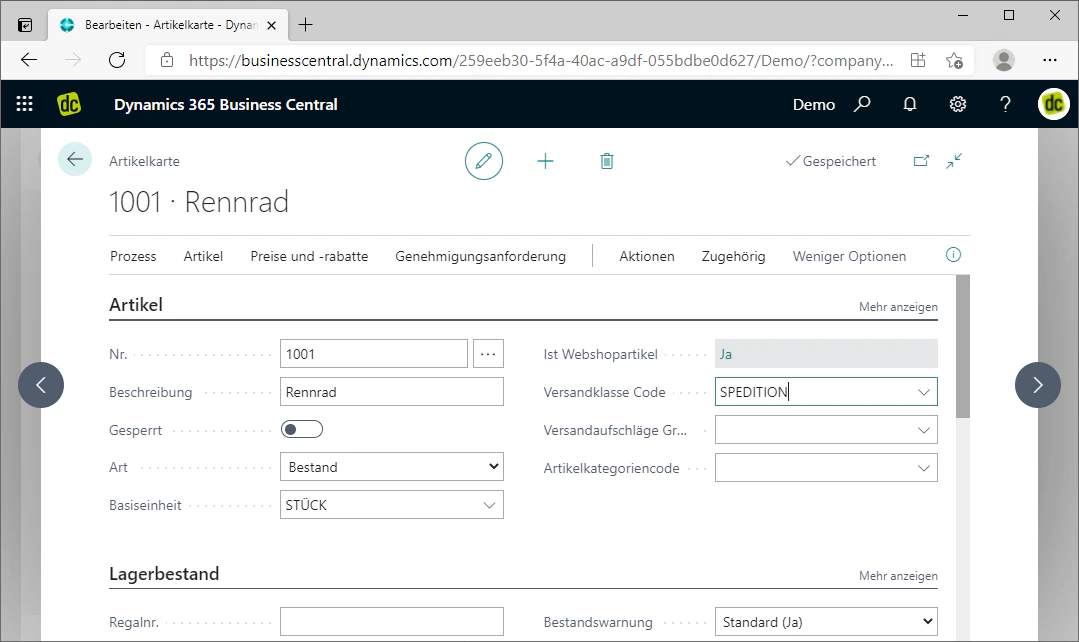
Step 2: Assign a Shipping Class
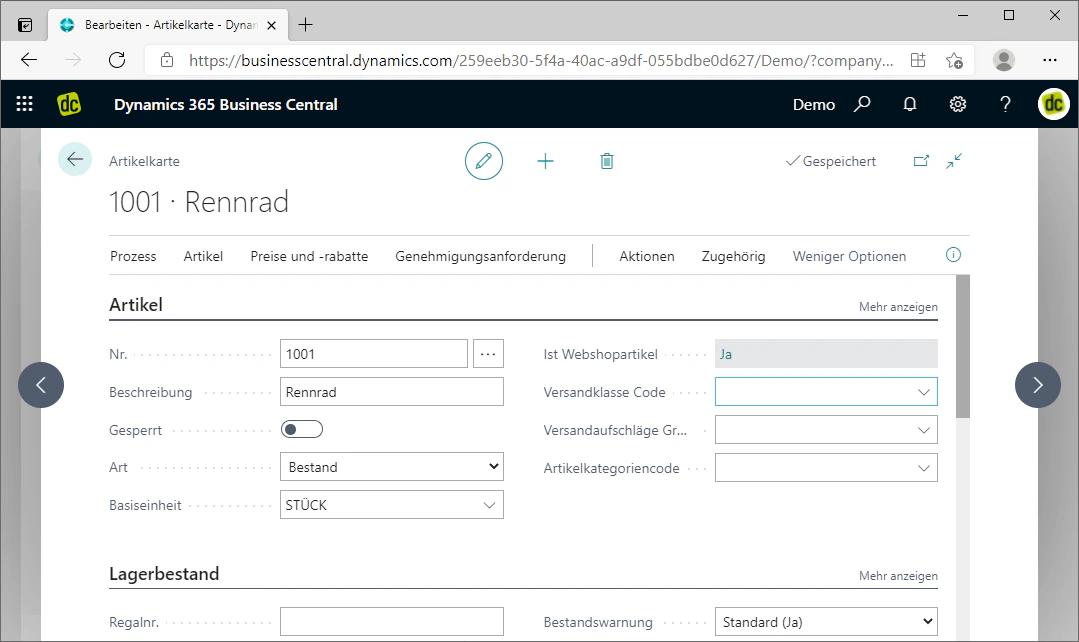
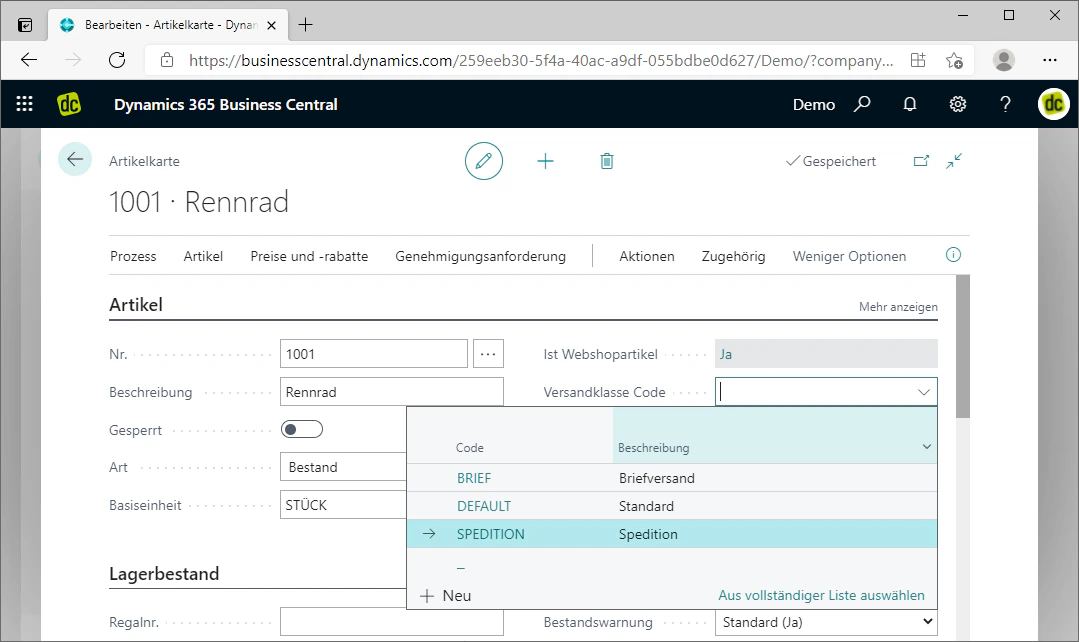
In this item card, you will find the “Shipping Class Code” field directly in the “Item” menu.Clicking on this field opens an overview of the already configured shipping classes, from which you can select the appropriate shipping class by clicking on it.In our example, we assign the shipping class “Freight Carrier” to the racing bike.The shipping class has now been assigned to the item.
Related Topics
Shipping Classes
Create shipping classes that you can assign to an item here.
Shipping Options
Link shipping options with shipping classes to define filter rules.