How we created this and which value types are available to you when creating coupon lines is explained under Create Coupon Codes.
Step 1: Generate Coupon Lines
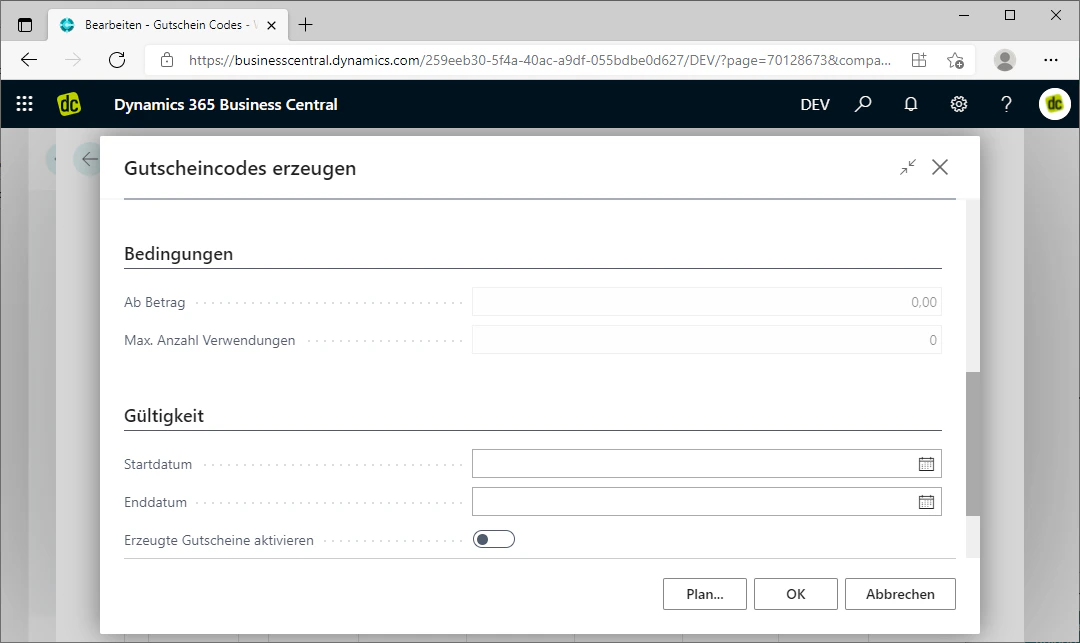
When you have opened a coupon code, you will find the FastTab “Generate Coupon Lines” in the menu bar at the top.If you click on it, a window with the heading “Generate Coupon Codes” will open.There, the settings for the coupon lines to be generated later are configured.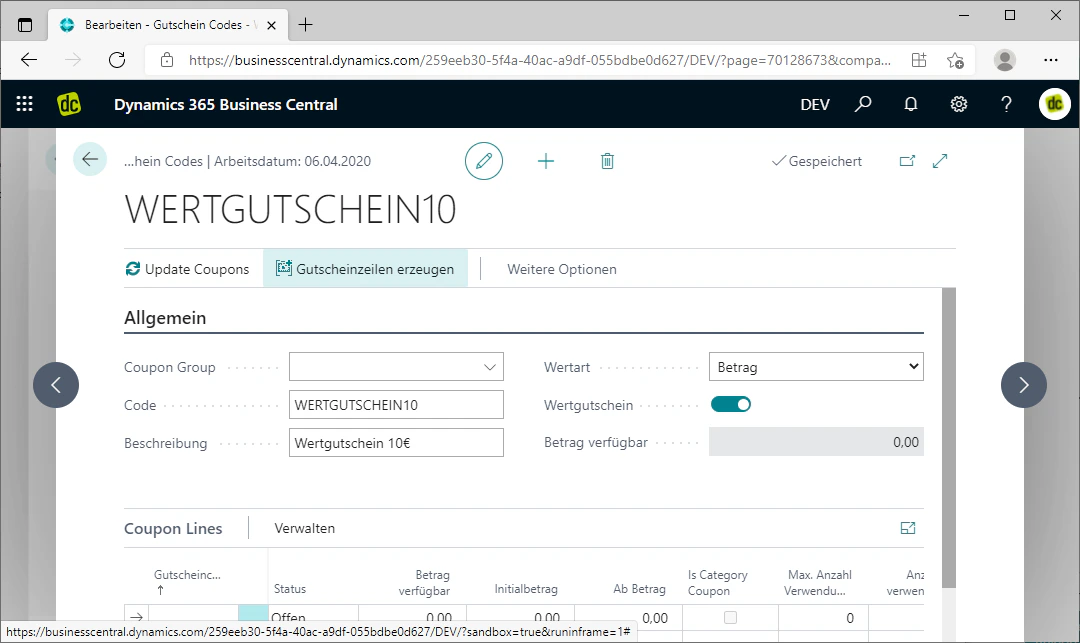
Step 2: Configure Settings
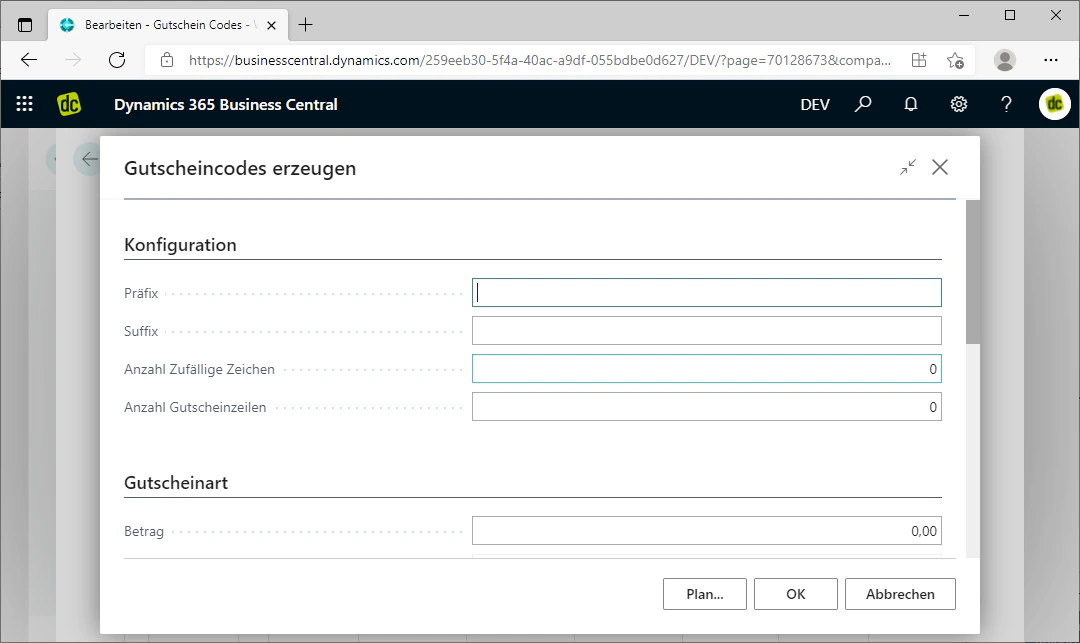
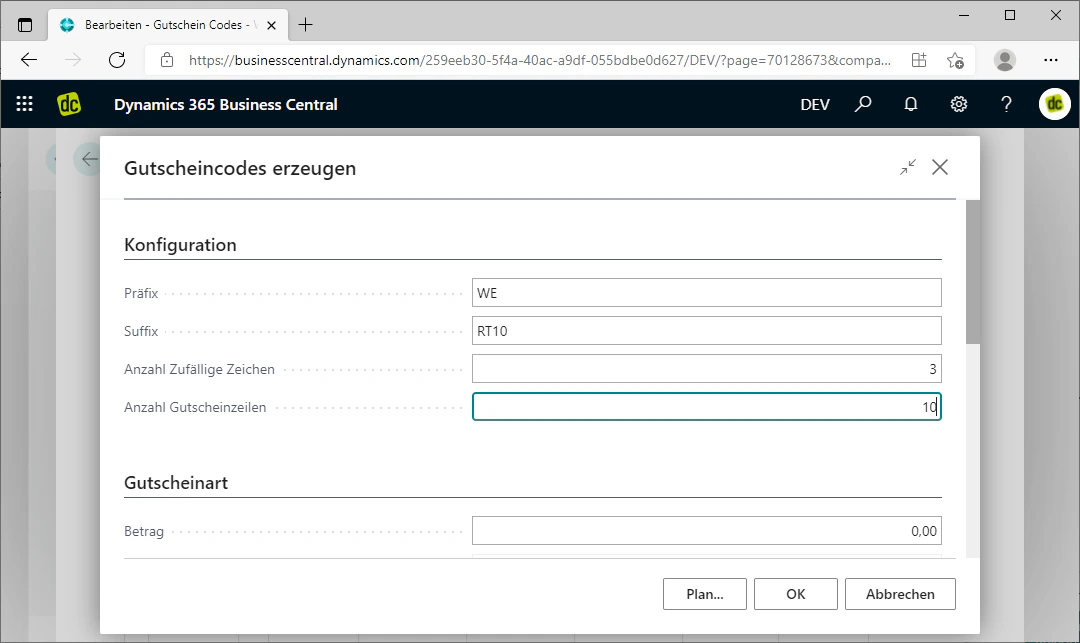
First, you need to define the configuration settings for the coupon lines.In the “Prefix” field, you can choose a prefix — i.e., certain letters or numbers that appear at the beginning of the coupon codes.In the “Suffix” field, you can choose a suffix that appears at the end of the coupon code.Using the “Number of Random Characters” field, you can specify how many randomly generated digits should be inserted between the prefix and the suffix.Additionally, in the “Number of Coupon Lines” field, you can determine how many coupon lines should be generated.In our example, we choose the following settings for the configuration:- Prefix: WE
- Suffix: RT10
- Number of Random Characters: 3
- Number of Coupon Lines: 10
Step 3: Configure Coupon Type Settings
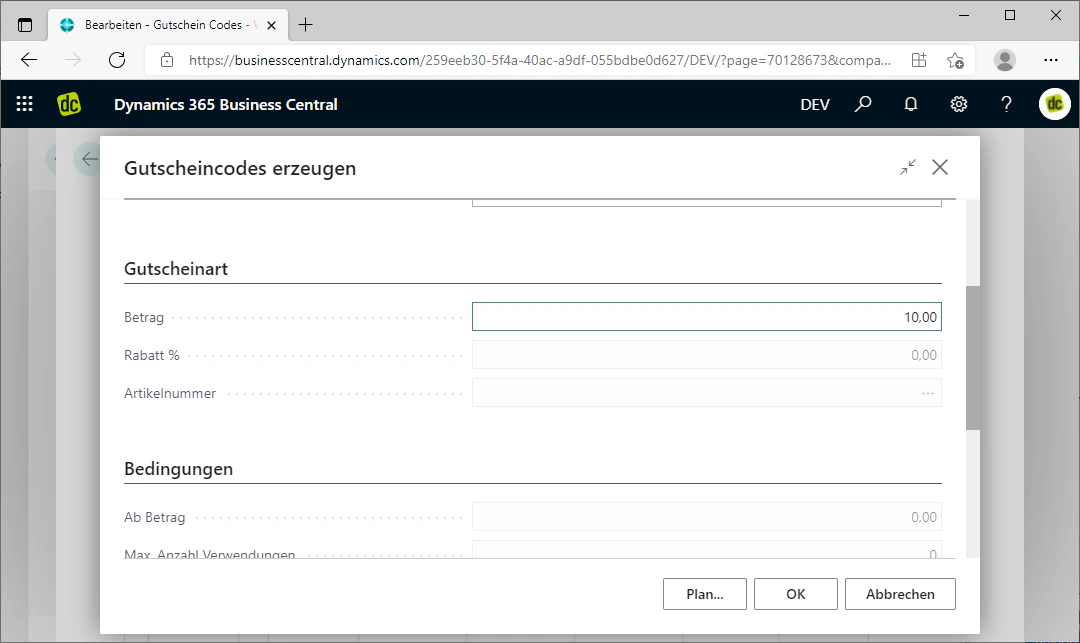
Now configure the settings for the coupon type. Depending on which value type you specified when creating the coupon code in the list of the same name, you can now define the coupon type settings.Fields that do not apply to your previously selected value type are greyed out and cannot be filled in.
Step 4: Set Conditions
You can now define certain conditions for the use of the coupon codes in the “Conditions” menu.However, this only works if these conditions are compatible with the previously defined coupon type.In the “Minimum Amount” field, you can specify a minimum order value from which the coupon code can be used. This effectively represents a minimum order value for the generated coupon lines.The maximum number of uses can be restricted in the “Max. Number of Uses” field. This limits how many times a coupon code can be used to the number entered there.Since in our example we want to create a value voucher, these fields are greyed out and cannot be used. This is because value vouchers are more of a means of payment, which is why conditions are not provided for them.
Step 5: Configure Validity Settings
Finally, you should adjust the validity of the vouchers.Using the “Start Date” field, you can specify the date from which the coupon code is valid. Conversely, in the “End Date” field, you can specify the date until which the coupon code may be used.This allows you to, for example, restrict promotional periods.With the “Activate Generated Vouchers” checkbox, you can specify whether the generated vouchers should be activated directly for the web shop.If this is activated, the vouchers will be activated immediately. If it is not activated, the generated coupon lines will be set to the status “open” and can be activated manually at a later time.In our example, however, we leave these fields empty, as we do not want to set an expiry date for the value vouchers. We also do not activate the checkbox yet, as the vouchers are to be activated manually when issued to the customer.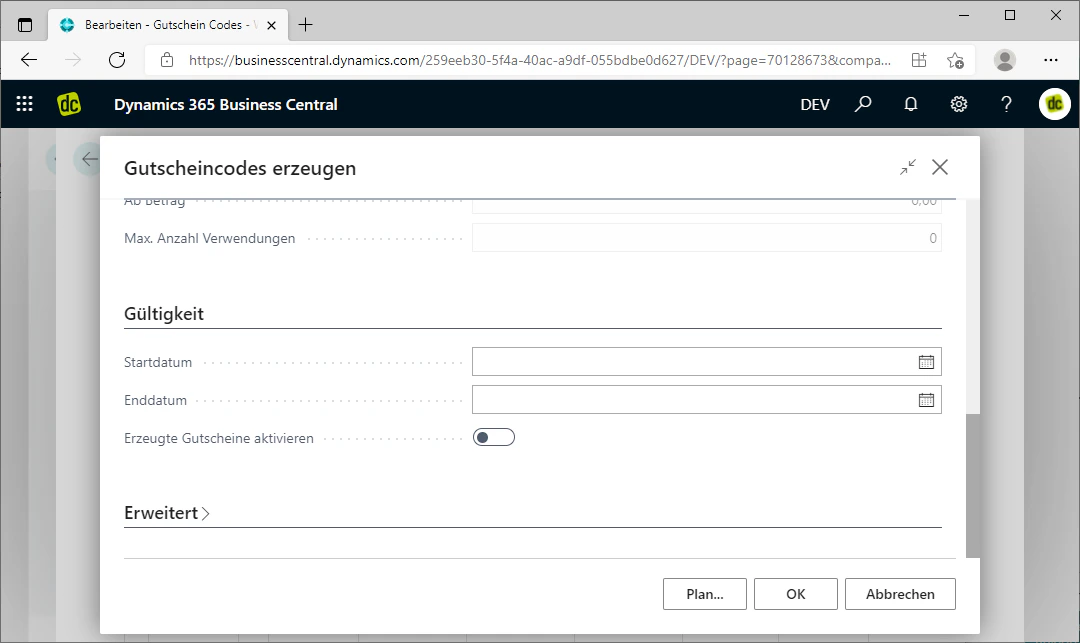
Step 6: Generate and Review Coupon Lines
After you have configured all settings according to your requirements, generate the vouchers by clicking “OK” at the bottom.This will create the coupon lines and automatically close the window.After the window closes, you will return to the created coupon code and can review the generated coupon lines and, if necessary, release them manually.
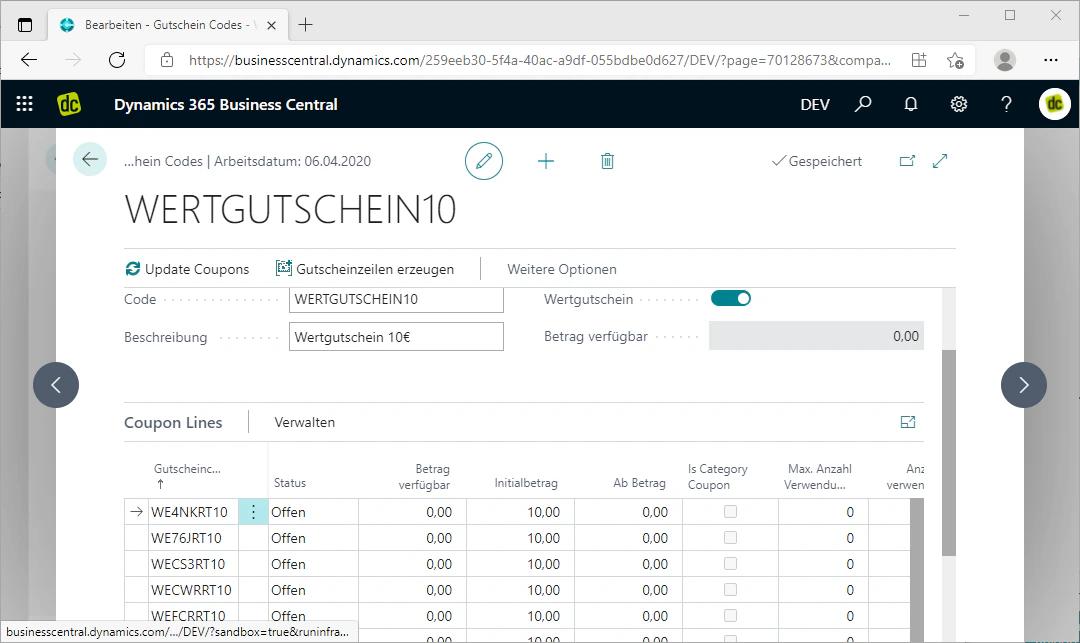
The coupon lines have been generated. How the “Coupon Lines” table works is shown under Coupon Lines Overview.
Related Topics
Coupon Lines Overview
View and manage the status, amount, and usage of generated coupon lines.
Orders
Redeem a coupon code in a sales quote or sales order.