Step 1: Navigate to the Setup
You can access the Coupon Codes setup by entering “Coupon Codes Setup” in the search bar and clicking on the corresponding search result.A new tab with the heading “Coupon Codes Setup” should then open.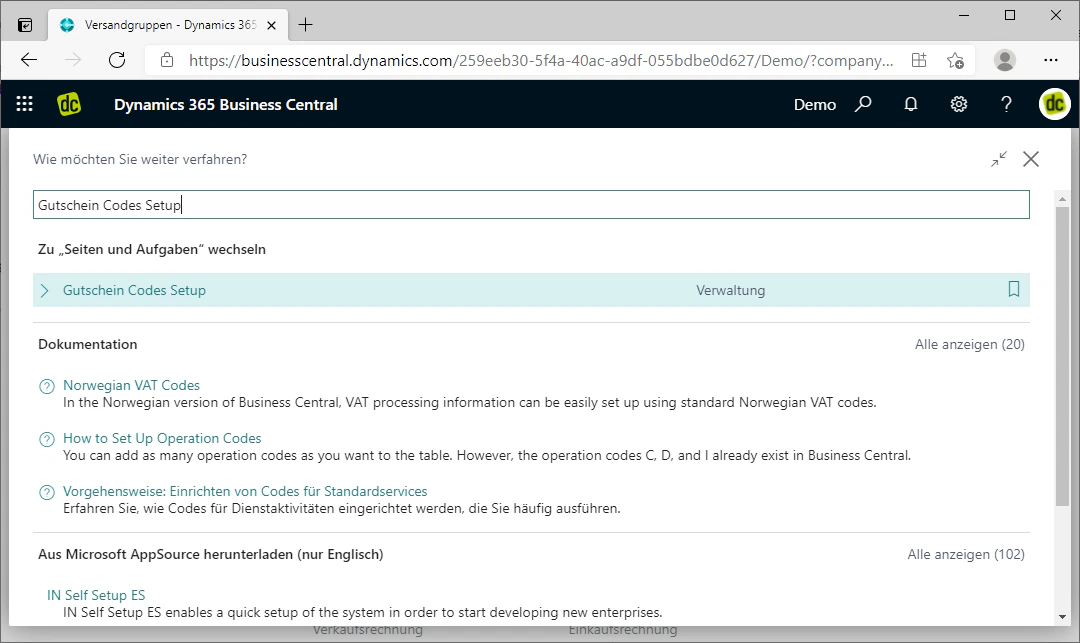
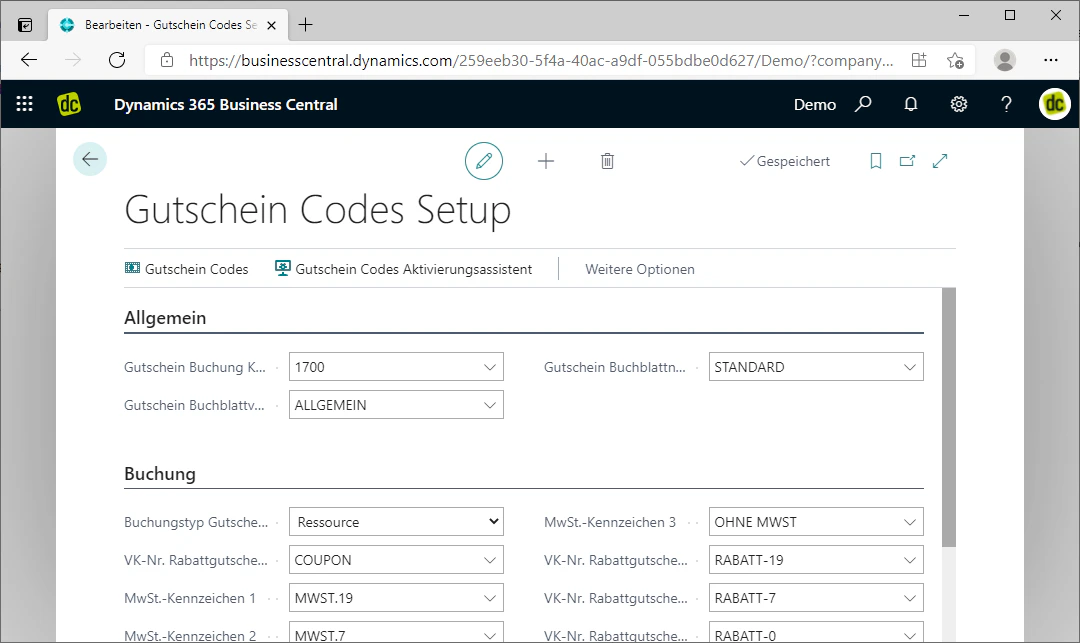
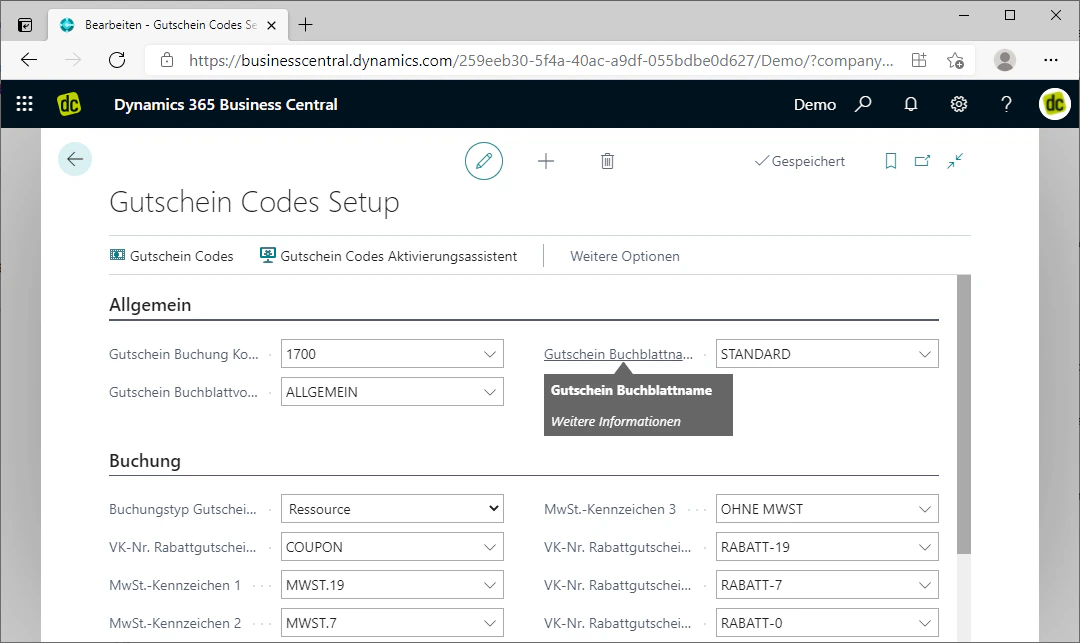
Step 2: Configure General Settings
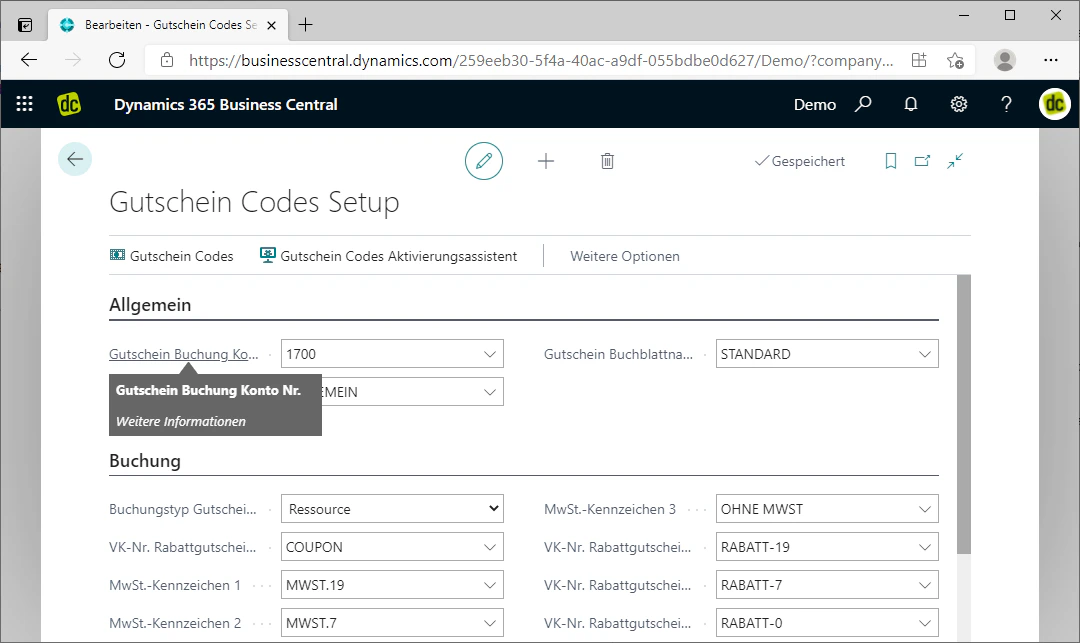
First, the general settings must be configured.The following fields in the “General” menu must be filled in or edited:- Voucher Posting Account No.: Here you select the account to which the value vouchers are posted. In our example, this is account “1700”.
- Voucher Journal Template: Here you can select a journal template for the value vouchers. In our example, we have selected the template “General”.
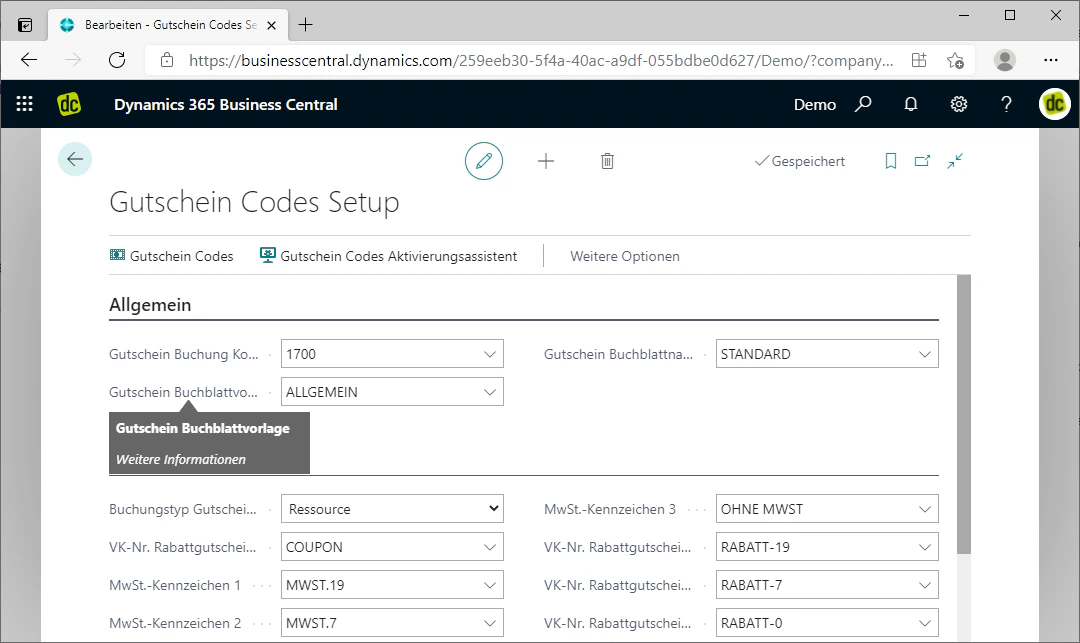
- Voucher Journal Batch Name: Here you can select the journal batch name with which the value voucher is posted. In our example, this is the journal batch name “Standard”.
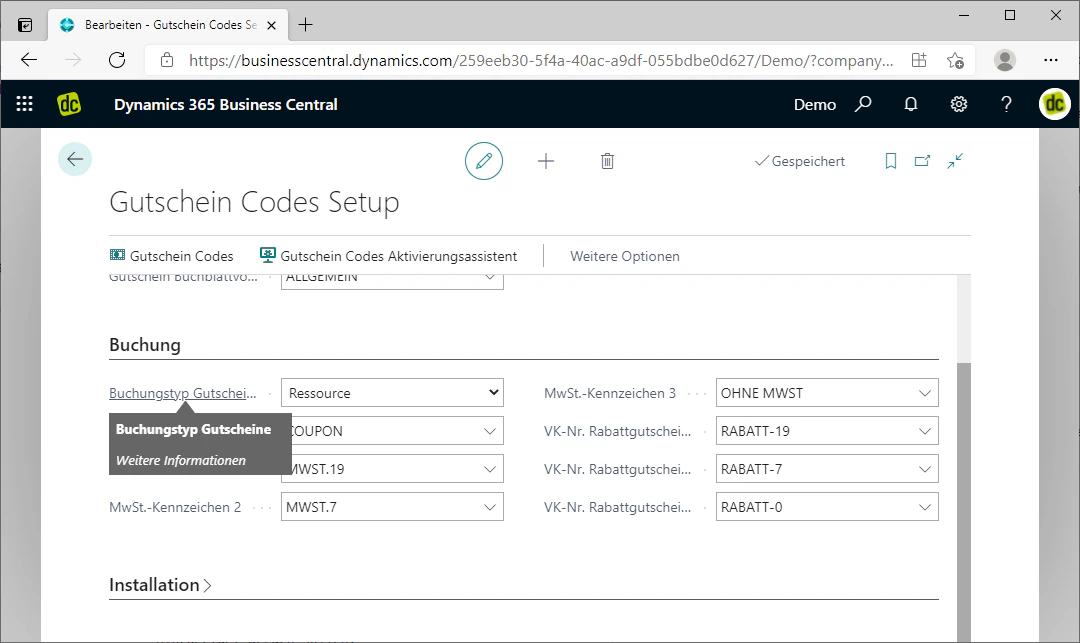
Step 3: Configure Posting Settings
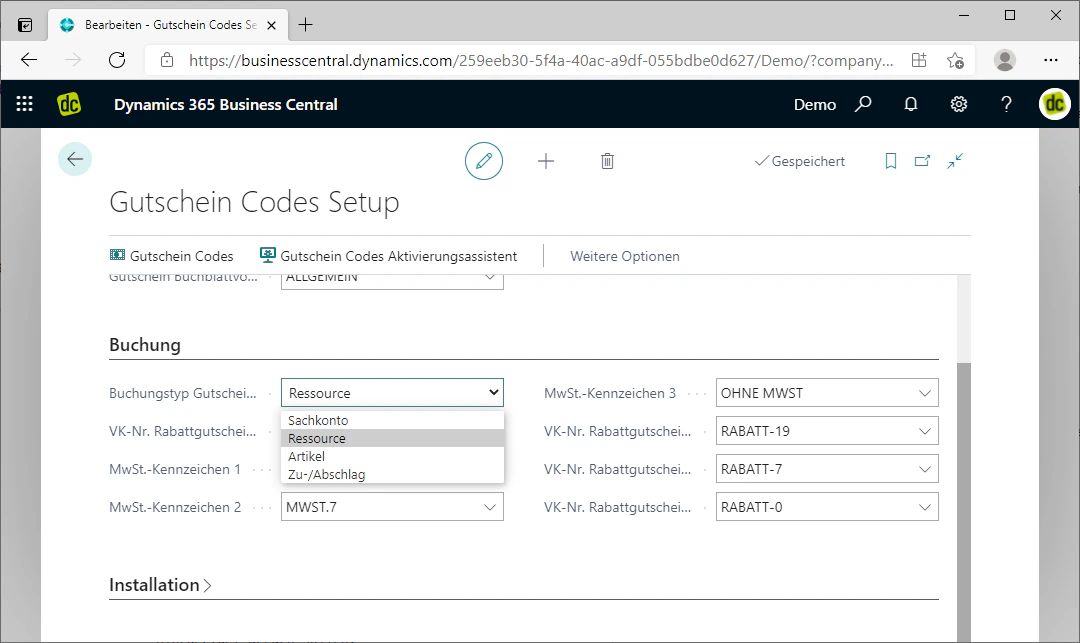
Next, the posting settings must be configured.First, use the “Posting Type Coupons” field to define the posting type for the coupons. This affects the posting type used to determine how coupons are to be added to orders.The following options are available for posting types:- G/L Account
- Resource
- Item
- Charge
This sales number should be selected based on the posting type that will subsequently be inserted into the order.
Step 4: Define VAT Identifiers
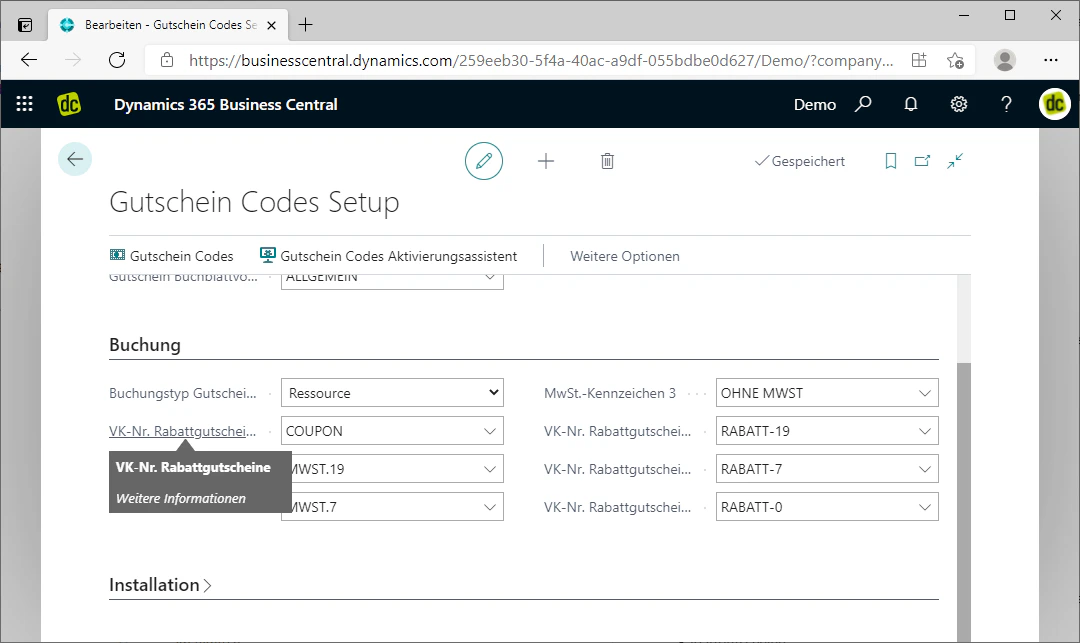
Finally, you can define various VAT identifiers.In the fields “VAT Identifier 1”, “VAT Identifier 2”, and “VAT Identifier 3”, you can define three VAT product groups for the different VAT types in a given country.The coupon in the order is split based on these VAT types.It is also possible to define different sales numbers, based on the posting type, for the three VAT types.You can simply assign these in the fields “Sales No. Discount Coupons VAT Identifier 1”, “Sales No. Discount Coupons VAT Identifier 2”, and “Sales No. Discount Coupons VAT Identifier 3” for the individual VAT identifiers.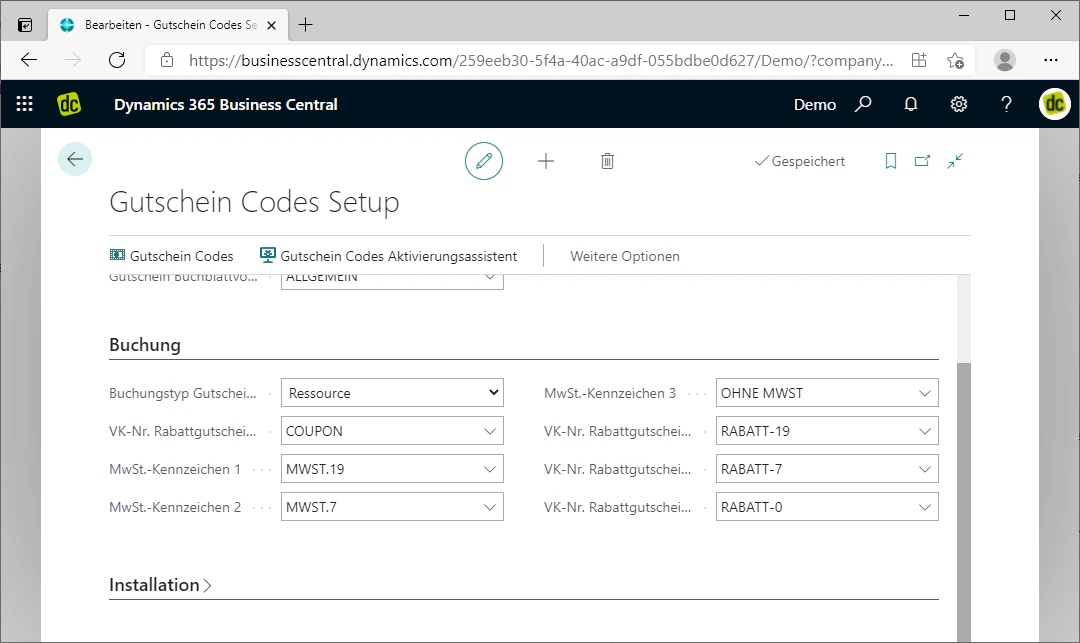
The extension is now ready for use. In the next step, you can create a coupon code.
Related Topics
Create Coupon Codes
Create a new coupon code and define the value type.
Generate Coupon Lines
Generate coupon lines automatically with prefix, suffix, and conditions.