> ## Documentation Index
> Fetch the complete documentation index at: https://docs.dc.ag/llms.txt
> Use this file to discover all available pages before exploring further.
# dynamic content - Create Newsletter Forms
> Set up newsletter sign-up forms via CleverReach on your pages.
In the following, we show you how to create a newsletter form through which visitors can sign up directly for your newsletter.
Our newsletter registration is connected to the email marketing provider CleverReach. You can then create and send newsletters through this provider.
This guide is part of the [Content Types](/docs/en/dynamic-content/user-guide/inhaltsarten). We show you how to create content in general under [Create and Edit Content](/docs/en/dynamic-content/user-guide/inhalte-erstellen).
Please note that we only explain here how the newsletter module works. This assumes that you have already created a page on which the content can be displayed, and that you are already in the content creation window.
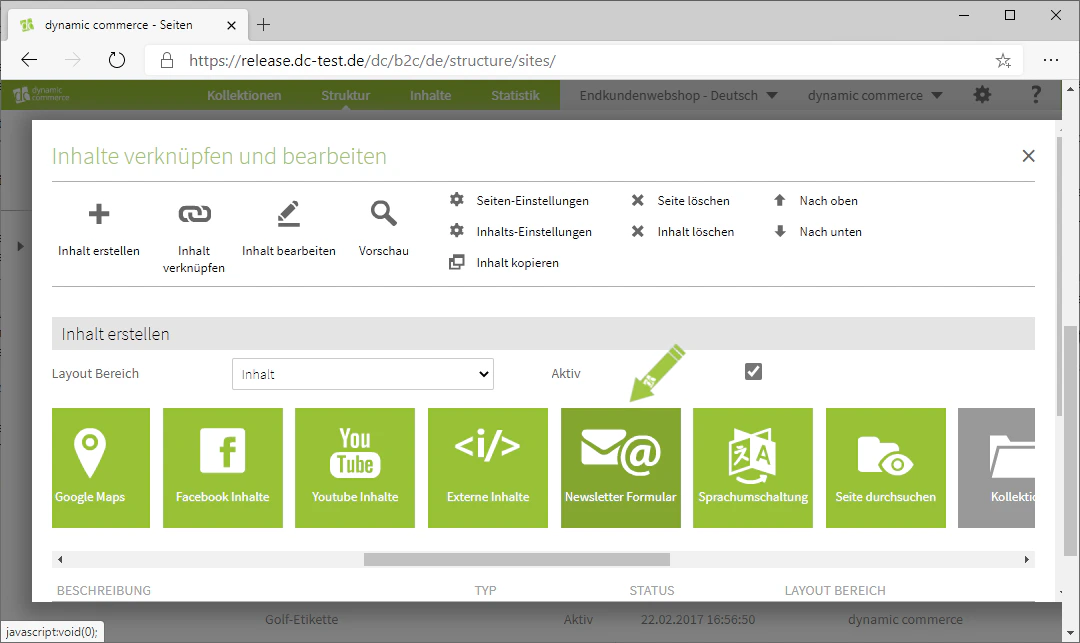
## Step 1: Select the Content Type "Newsletter Form"
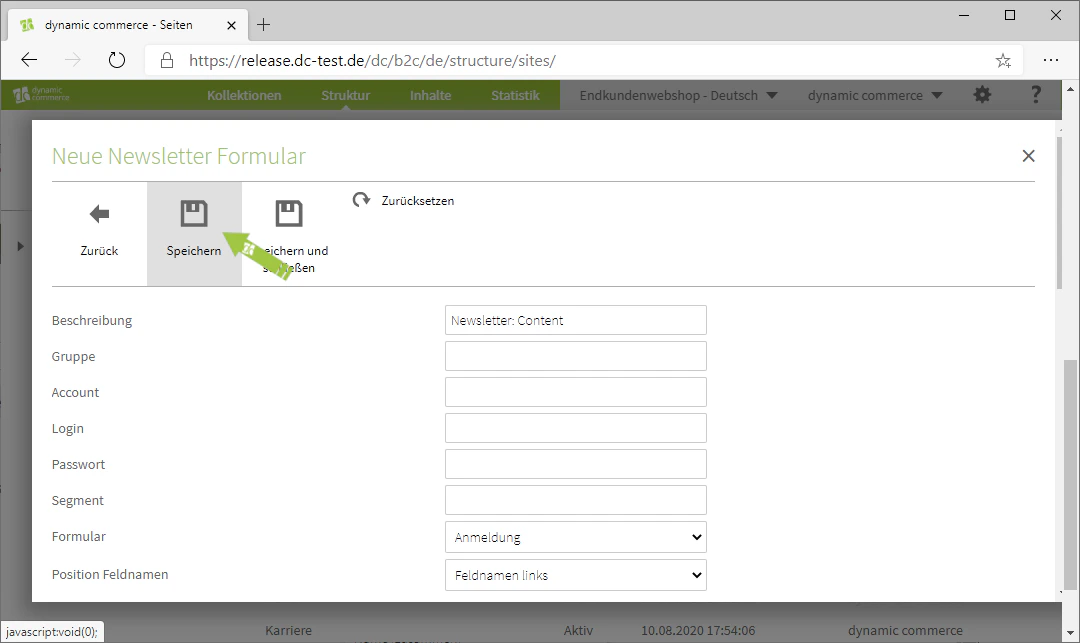
First, select the "Newsletter Form" module when creating new content on one of your pages. A window with the title "New Newsletter Form" will then open, in which you can enter your CleverReach credentials and the form settings.
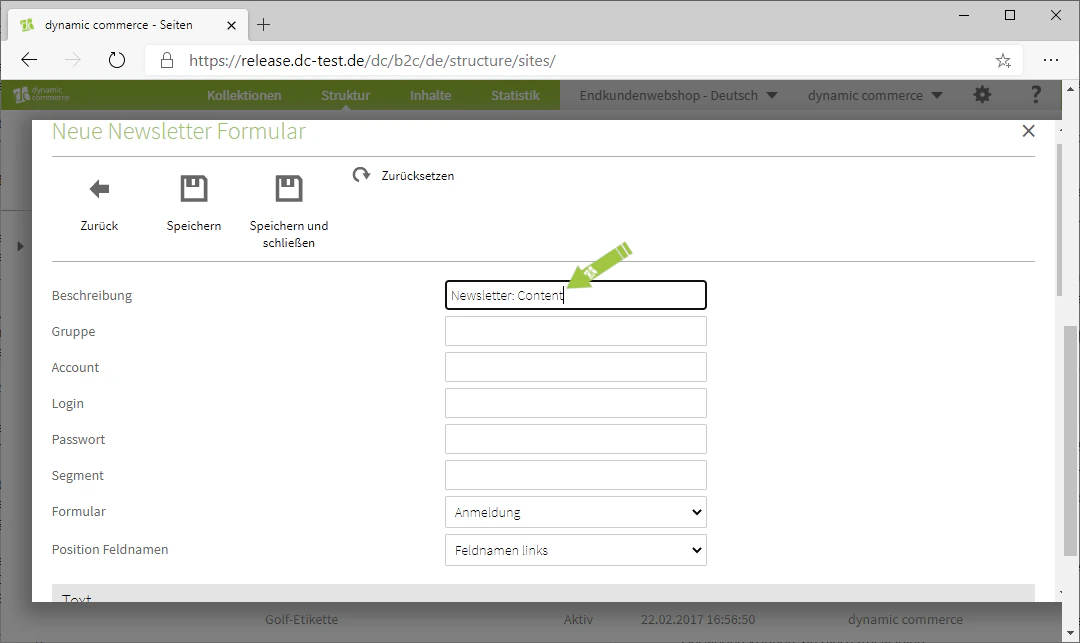
 ## Step 2: Choose a Description
Now, in the window that just opened, first select a description. By default, "Newsletter Form" should already be pre-filled, which you can of course change.
The description is only for organisational purposes and will not be displayed on the selected page.
## Step 2: Choose a Description
Now, in the window that just opened, first select a description. By default, "Newsletter Form" should already be pre-filled, which you can of course change.
The description is only for organisational purposes and will not be displayed on the selected page.
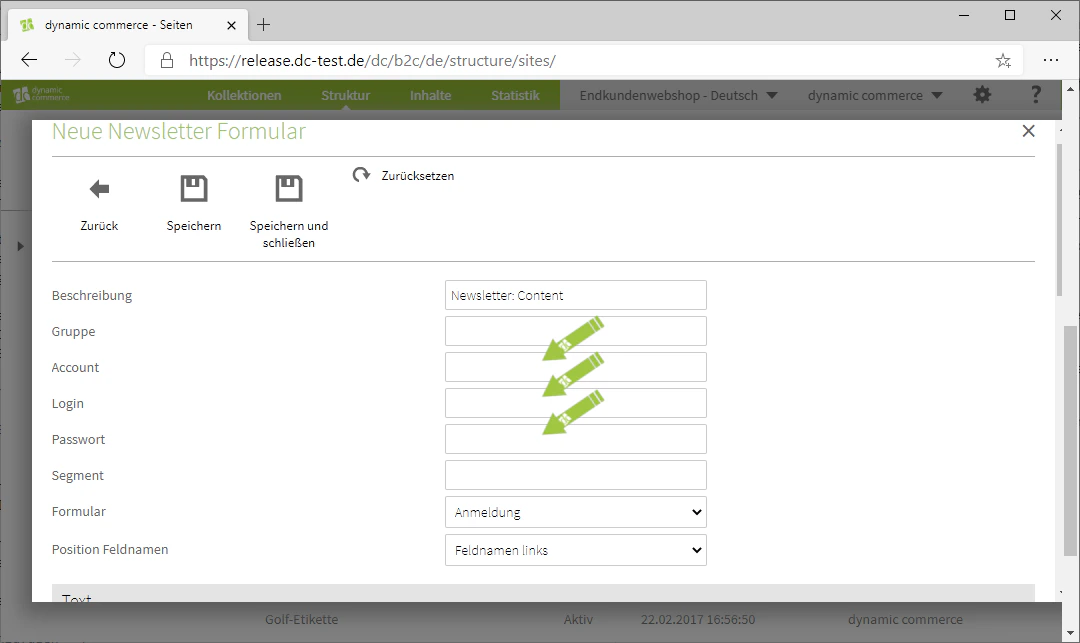
 ## Step 3: Enter Credentials
Next, enter your CleverReach credentials. The "Account" field requires your customer number there. In "Login", enter the associated username, and in "Password", enter your password.
## Step 3: Enter Credentials
Next, enter your CleverReach credentials. The "Account" field requires your customer number there. In "Login", enter the associated username, and in "Password", enter your password.
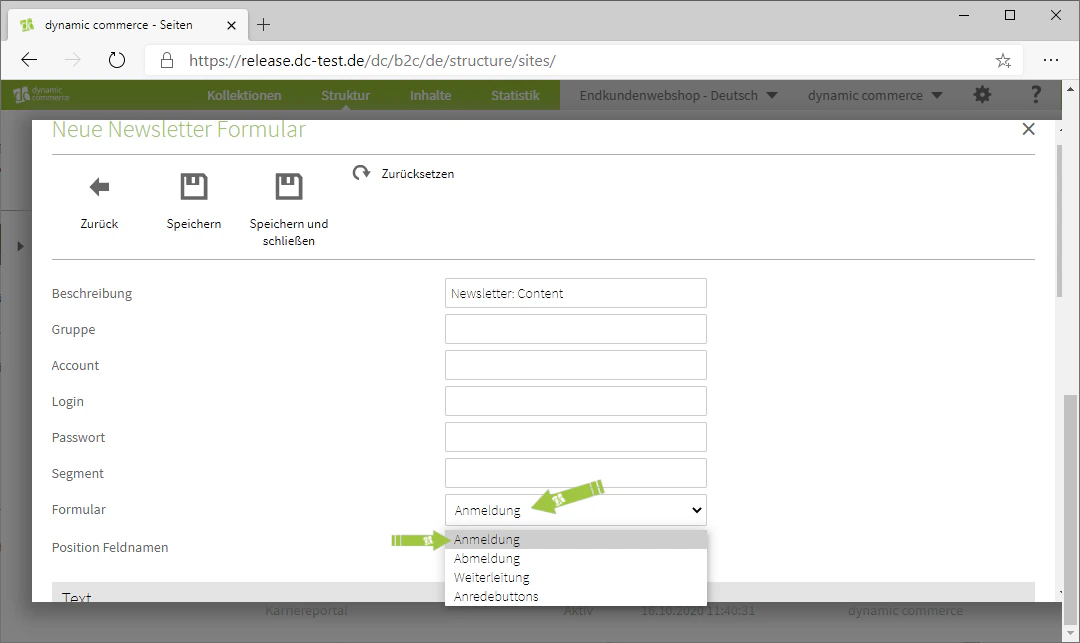
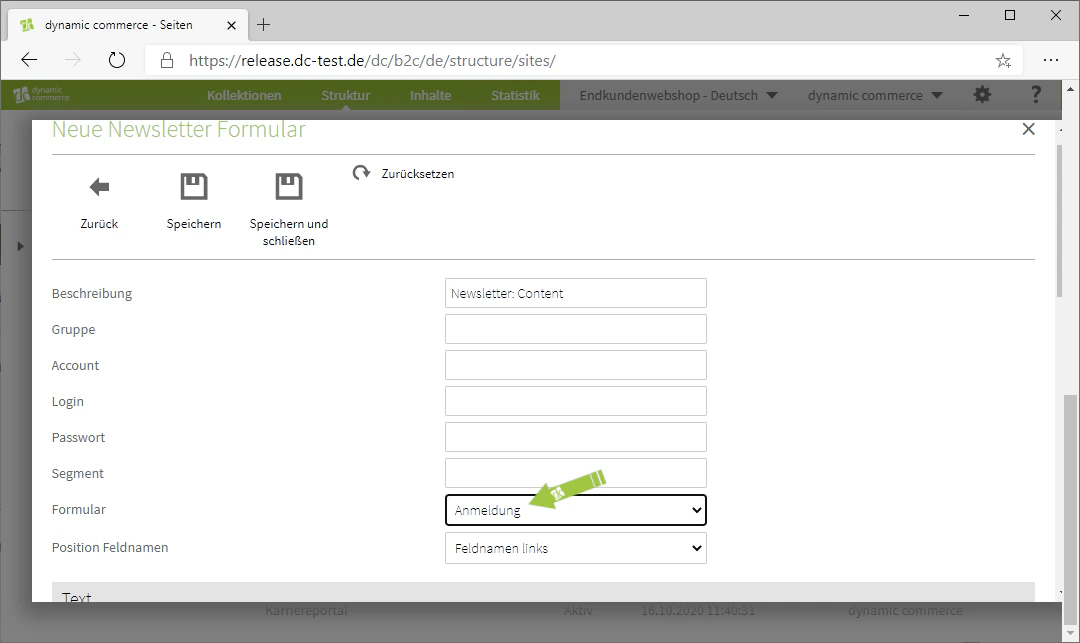
 ## Step 4: Choose the Form Type
Next, select which form type you would like to use. This is done via the "Form" drop-down.
You can choose between a sign-up, an unsubscribe, a redirect, or a pure salutation button.
## Step 4: Choose the Form Type
Next, select which form type you would like to use. This is done via the "Form" drop-down.
You can choose between a sign-up, an unsubscribe, a redirect, or a pure salutation button.
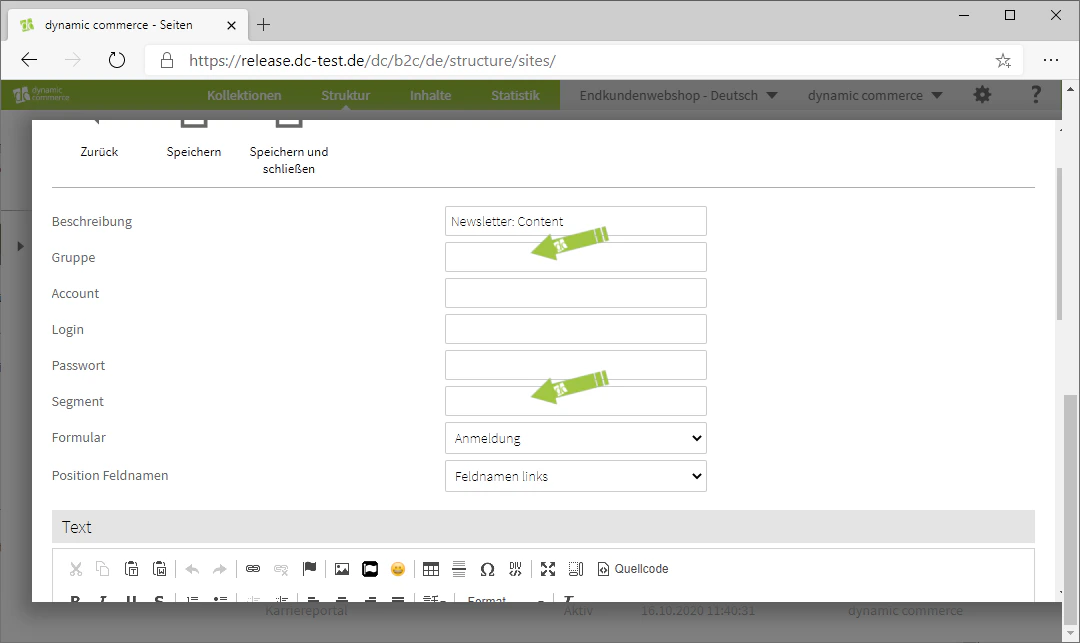
 ## Step 5: Define Group and Segment
You can now also assign the form to a group and a segment.
This means that visitors who sign up via this form will automatically receive the selected group or segment.
## Step 5: Define Group and Segment
You can now also assign the form to a group and a segment.
This means that visitors who sign up via this form will automatically receive the selected group or segment.
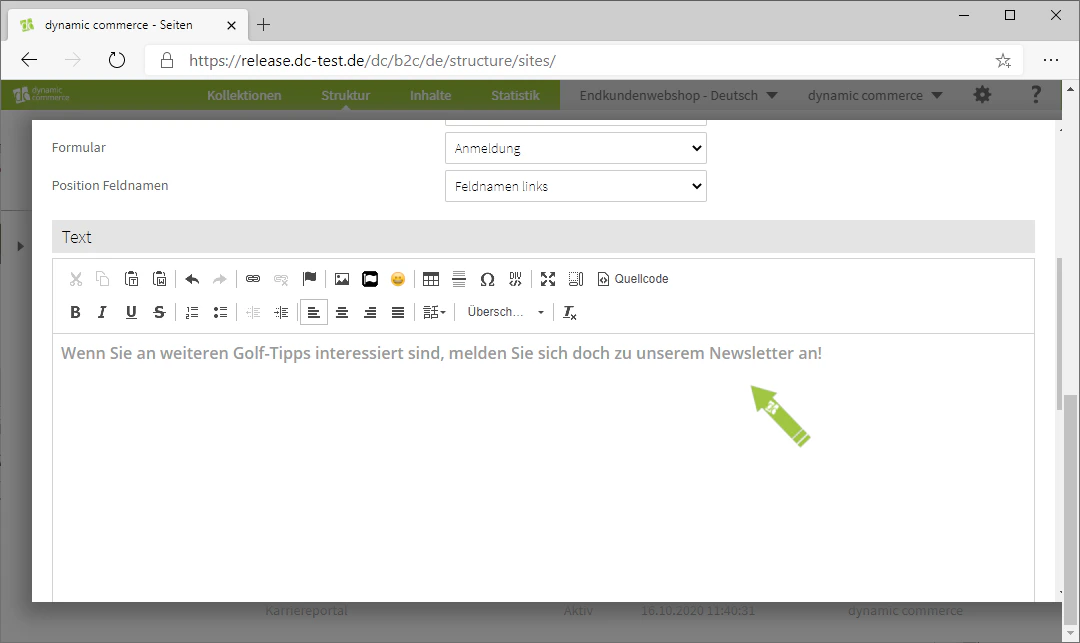
 ## Step 6: Enter Text
You can then maintain a text in the text editor under the heading "Text", which will be displayed on the newsletter form.
Adapt the text individually to the context of the respective page on which the newsletter form is embedded.
## Step 6: Enter Text
You can then maintain a text in the text editor under the heading "Text", which will be displayed on the newsletter form.
Adapt the text individually to the context of the respective page on which the newsletter form is embedded.
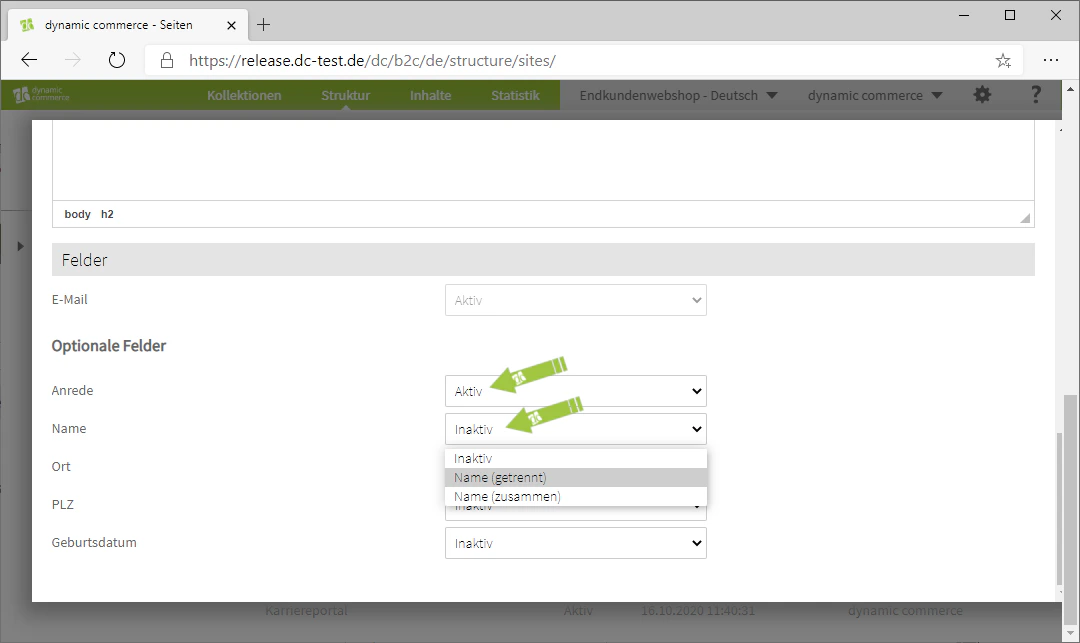
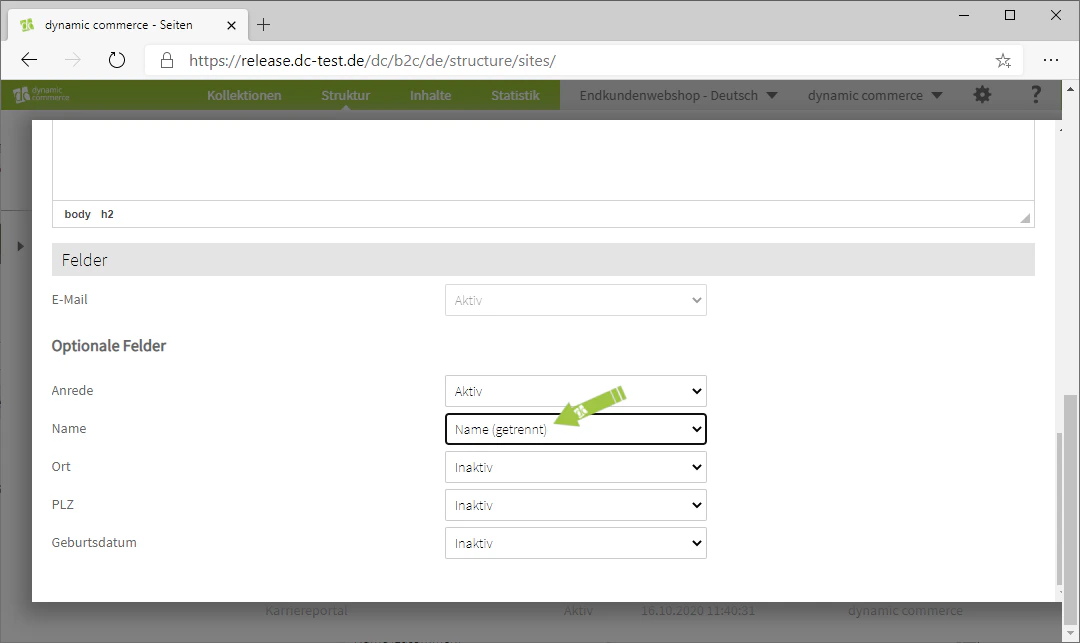
 ## Step 7: Choose Fields
Finally, you can select which fields visitors must fill in to be able to sign up for the newsletter.
The "Email" field is always active, as newsletters are sent by email and it is therefore required.
For the "Name" field, you also have the option of using a combined input field or two separate fields for first and last name.
## Step 7: Choose Fields
Finally, you can select which fields visitors must fill in to be able to sign up for the newsletter.
The "Email" field is always active, as newsletters are sent by email and it is therefore required.
For the "Name" field, you also have the option of using a combined input field or two separate fields for first and last name.
 ## Related Topics
Overview of all available modules.
Create content on pages.
Embed contact forms on your pages.
Create text content on pages.
## Related Topics
Overview of all available modules.
Create content on pages.
Embed contact forms on your pages.
Create text content on pages.