> ## Documentation Index
> Fetch the complete documentation index at: https://docs.dc.ag/llms.txt
> Use this file to discover all available pages before exploring further.

# dynamic content - Create Google Maps Links

> Embed a Google Maps map section with a marker on your page.

In the following, we show you how to create a Google Maps link for your page. This will then display a map section with an icon at the desired location or address on your page.

<Note>
  This guide is part of the [Content Types](/docs/en/dynamic-content/user-guide/inhaltsarten). We show you how to create content in general under [Create and Edit Content](/docs/en/dynamic-content/user-guide/inhalte-erstellen).
</Note>

<Steps>
  <Step>
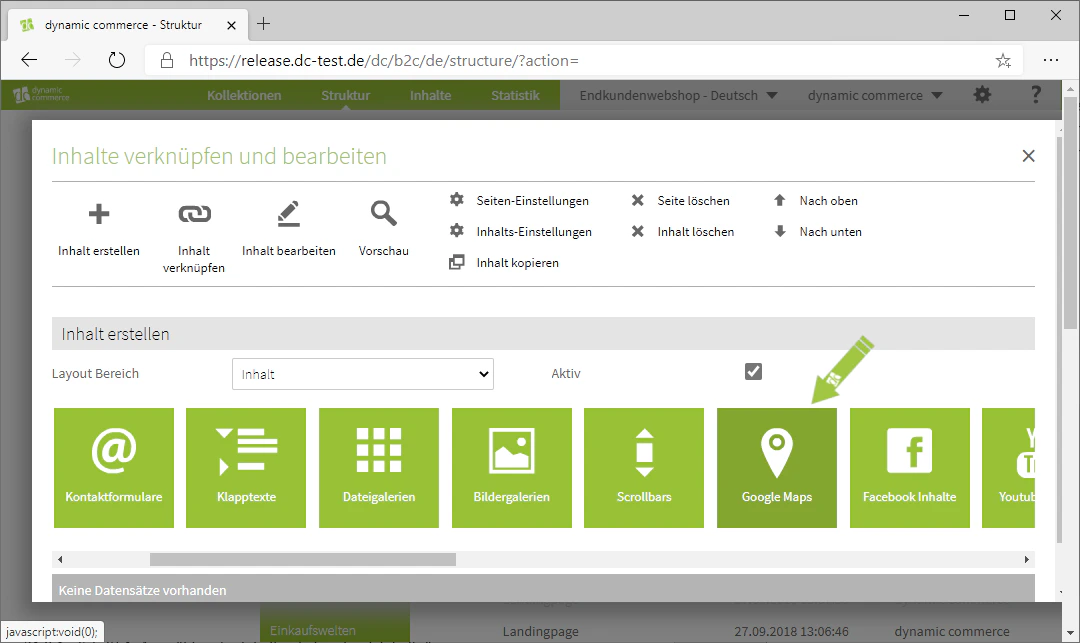
    ## Step 1: Select the Content Type

    First, select the content type "Google Maps" when creating a content item. A window with the heading "New Google Maps Map" should then open.

    <Frame>
      <img src="https://mintcdn.com/dcag/NHJ2s69sWhUfX2Ig/images/dynamic-content/inhaltsarten/google-maps/auswahl-inhaltsart.png?fit=max&auto=format&n=NHJ2s69sWhUfX2Ig&q=85&s=2e0fd08ffe09c4389698b490c9546b4d" alt="Select the content type Google Maps" width="1080" height="643" data-path="images/dynamic-content/inhaltsarten/google-maps/auswahl-inhaltsart.png" />
    </Frame>
  </Step>

  <Step>
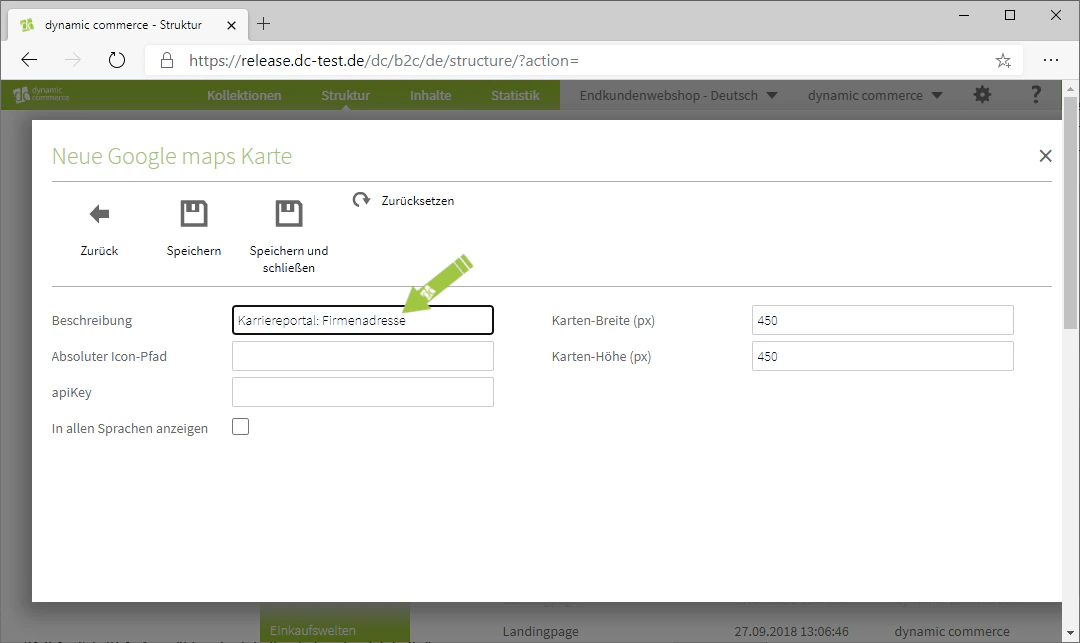
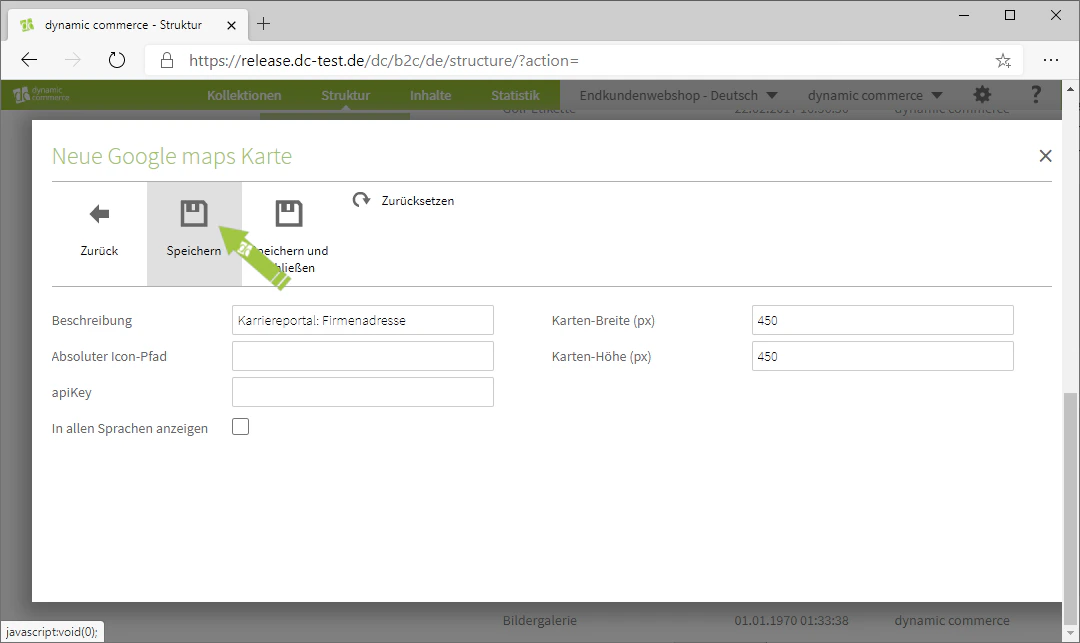
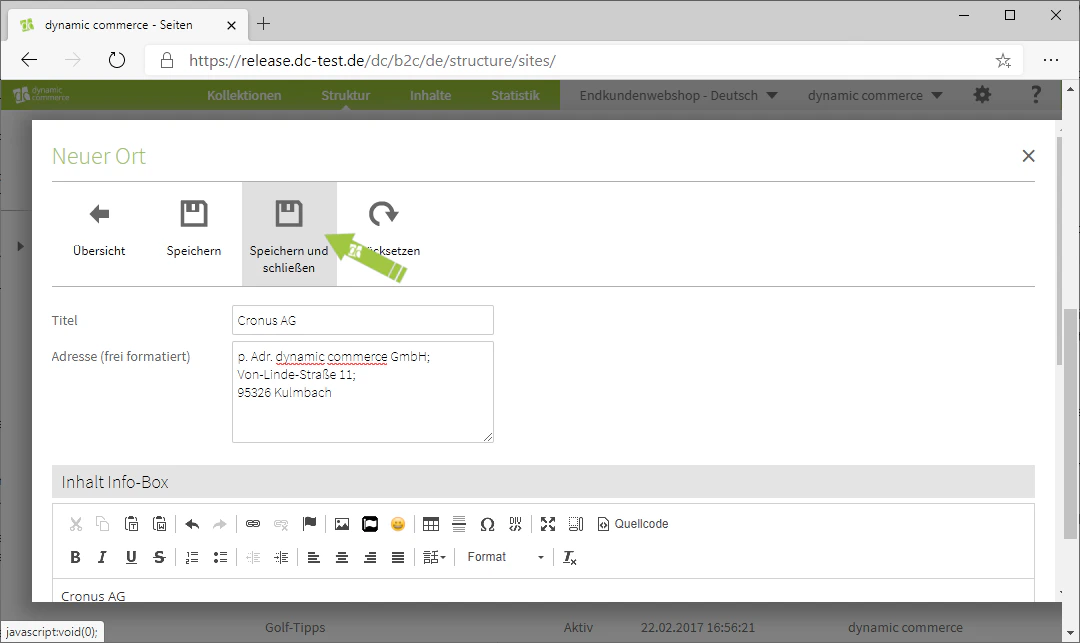
    ## Step 2: Choose a Description and Save

    Start by defining a description for the map. This is only for organisational purposes and will not be displayed on the selected page.

    <Columns cols={2}>
      <Column>
        <Frame>
          <img src="https://mintcdn.com/dcag/NHJ2s69sWhUfX2Ig/images/dynamic-content/inhaltsarten/google-maps/beschreibung.png?fit=max&auto=format&n=NHJ2s69sWhUfX2Ig&q=85&s=48261822c05584c5891d36188f36baeb" alt="Define the description of the Google Maps map" width="1080" height="643" data-path="images/dynamic-content/inhaltsarten/google-maps/beschreibung.png" />
        </Frame>
      </Column>

      <Column>
        <Frame>
          <img src="https://mintcdn.com/dcag/DlKD43HGX8h1zbMf/images/dynamic-content/inhaltsarten/google-maps/speichern.png?fit=max&auto=format&n=DlKD43HGX8h1zbMf&q=85&s=9573916b78f13b972ac69fc53cc87dbf" alt="Save description" width="1080" height="643" data-path="images/dynamic-content/inhaltsarten/google-maps/speichern.png" />
        </Frame>
      </Column>
    </Columns>
  </Step>

  <Step>
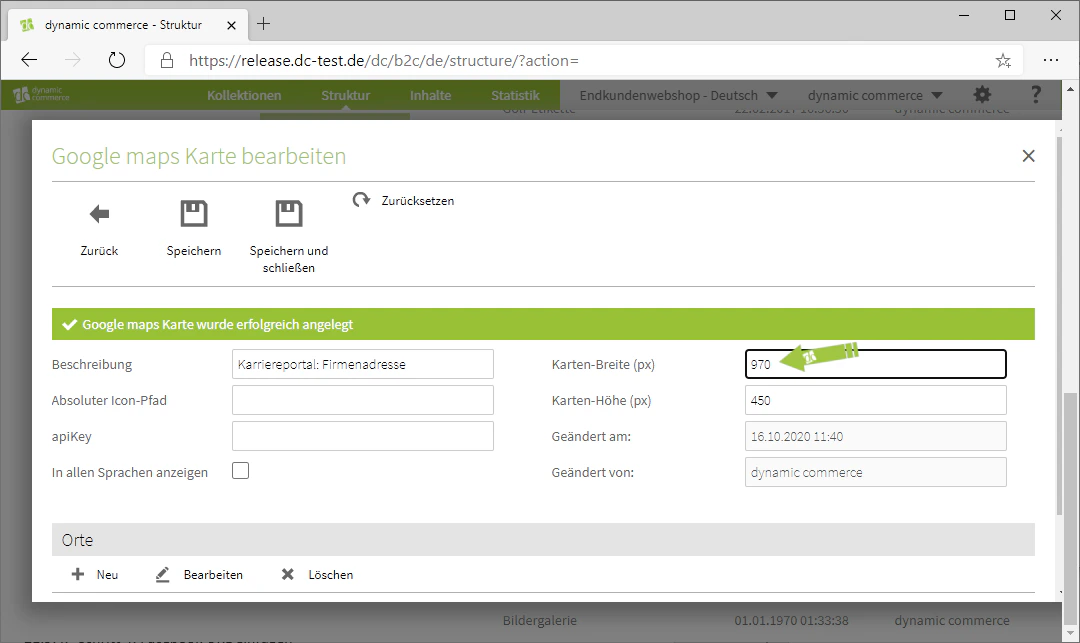
    ## Step 3: Set the Map Size

    Next, set on the right-hand side how large your map should be displayed on the page. To do this, specify both the map width and height in pixels.

    <Columns cols={2}>
      <Column>
        <Frame>
          <img src="https://mintcdn.com/dcag/DlKD43HGX8h1zbMf/images/dynamic-content/inhaltsarten/google-maps/karten-breite.png?fit=max&auto=format&n=DlKD43HGX8h1zbMf&q=85&s=e75fffc6b729930087f3501d7d3c7df4" alt="Set map width" width="1080" height="643" data-path="images/dynamic-content/inhaltsarten/google-maps/karten-breite.png" />
        </Frame>
      </Column>

      <Column>
        <Frame>
          <img src="https://mintcdn.com/dcag/DlKD43HGX8h1zbMf/images/dynamic-content/inhaltsarten/google-maps/karten-hoehe.png?fit=max&auto=format&n=DlKD43HGX8h1zbMf&q=85&s=bebef2277c0dbe35568227b0747c1a04" alt="Set map height" width="1080" height="643" data-path="images/dynamic-content/inhaltsarten/google-maps/karten-hoehe.png" />
        </Frame>
      </Column>
    </Columns>
  </Step>

  <Step>
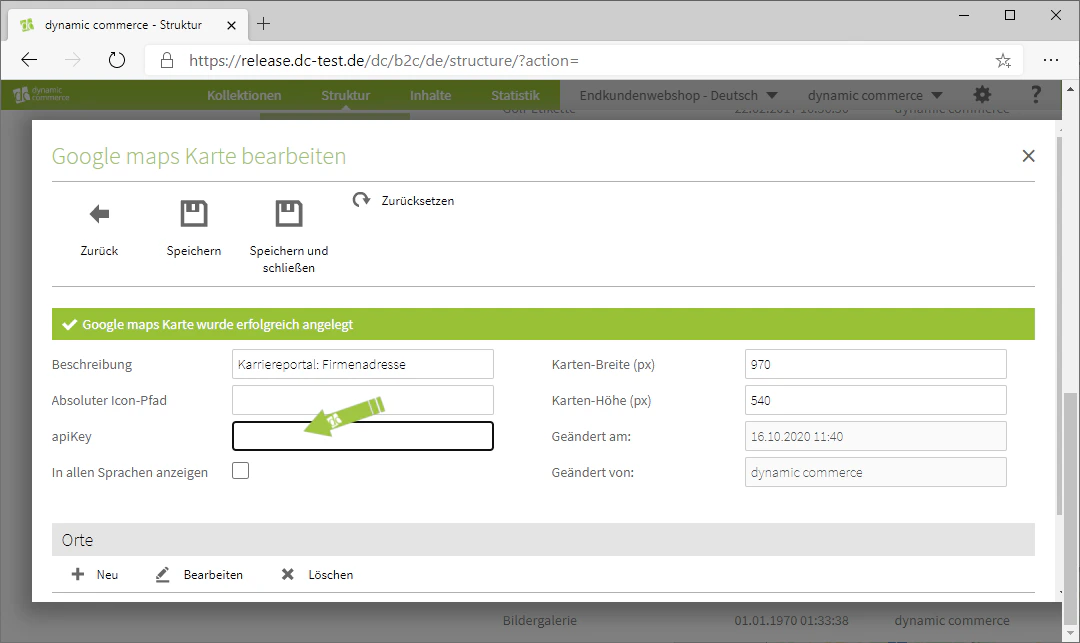
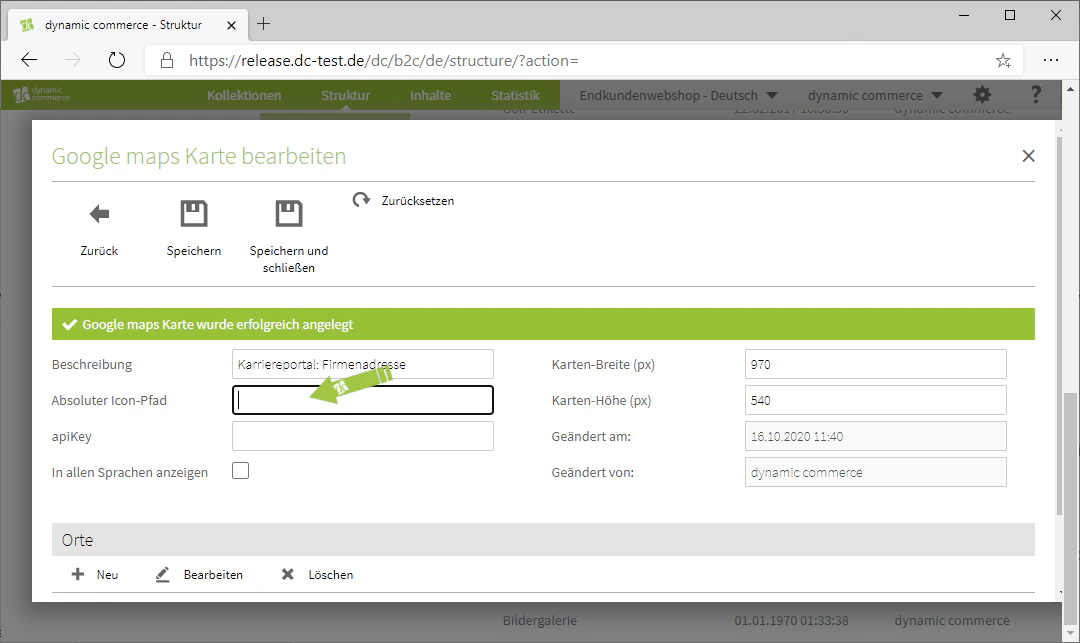
    ## Step 4: Enter API Key and Icon Path

    Next, enter your Google API key in the "apiKey" field. You will need to create or request this API key from Google Maps yourself.

    <Info>
      Optionally, you can customise the displayed marker icon via the absolute icon path. If no path is specified, the default Google Maps marker will be used.
    </Info>

    <Columns cols={2}>
      <Column>
        <Frame>
          <img src="https://mintcdn.com/dcag/NHJ2s69sWhUfX2Ig/images/dynamic-content/inhaltsarten/google-maps/api-key.png?fit=max&auto=format&n=NHJ2s69sWhUfX2Ig&q=85&s=de4a4881f68bc0db6517c756f48d0665" alt="Enter Google API key" width="1080" height="643" data-path="images/dynamic-content/inhaltsarten/google-maps/api-key.png" />
        </Frame>
      </Column>

      <Column>
        <Frame>
          <img src="https://mintcdn.com/dcag/NHJ2s69sWhUfX2Ig/images/dynamic-content/inhaltsarten/google-maps/icon-pfad.png?fit=max&auto=format&n=NHJ2s69sWhUfX2Ig&q=85&s=2a95d16d4514de0b365bba085858a76a" alt="Absolute icon path" width="1080" height="643" data-path="images/dynamic-content/inhaltsarten/google-maps/icon-pfad.png" />
        </Frame>
      </Column>
    </Columns>
  </Step>

  <Step>
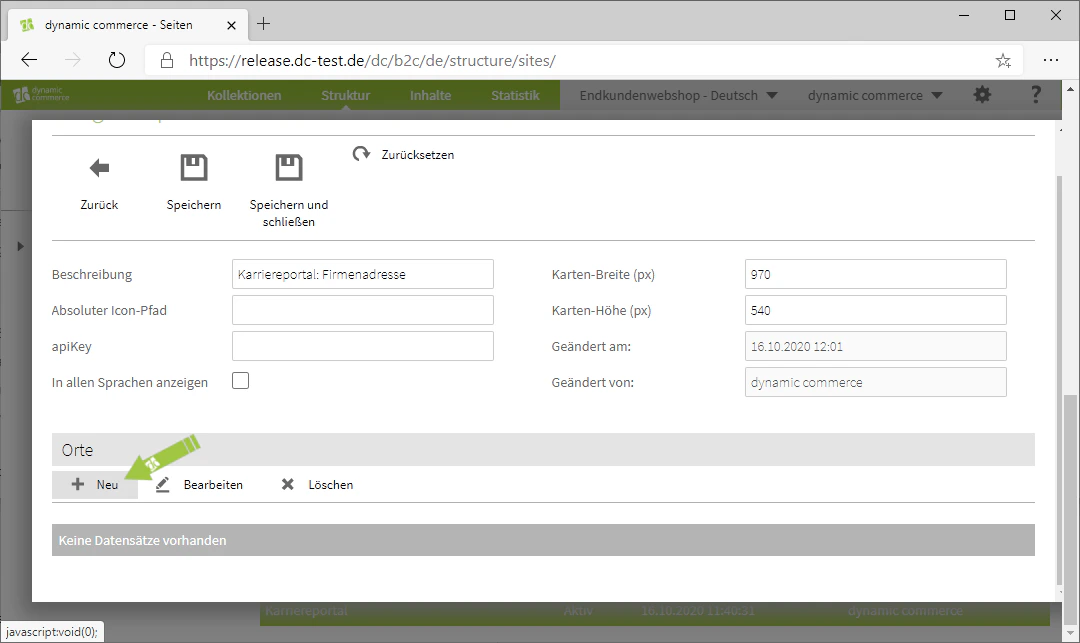
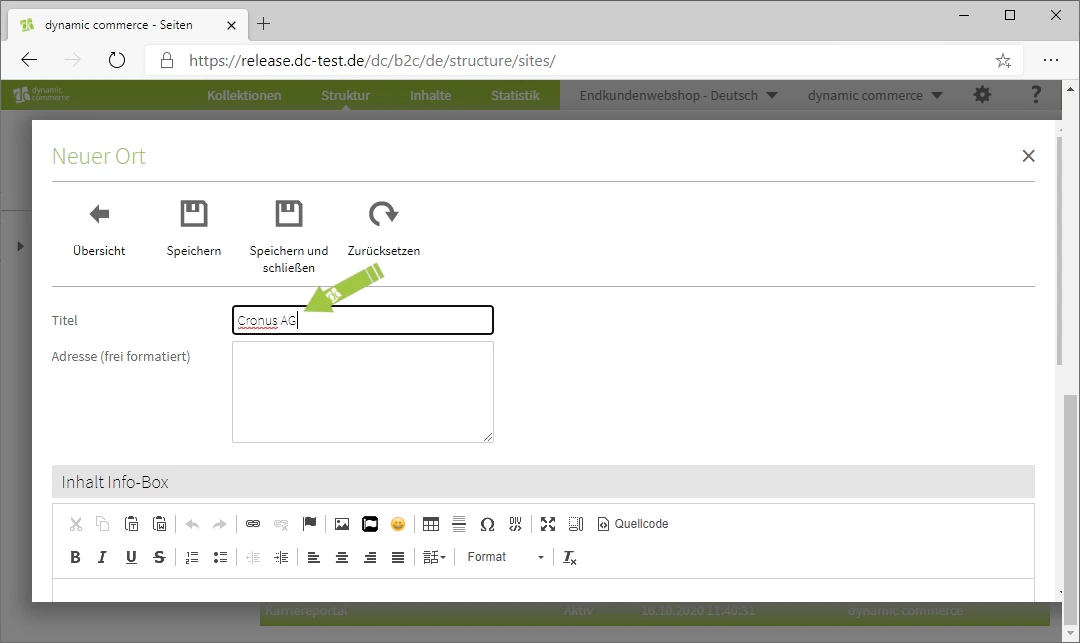
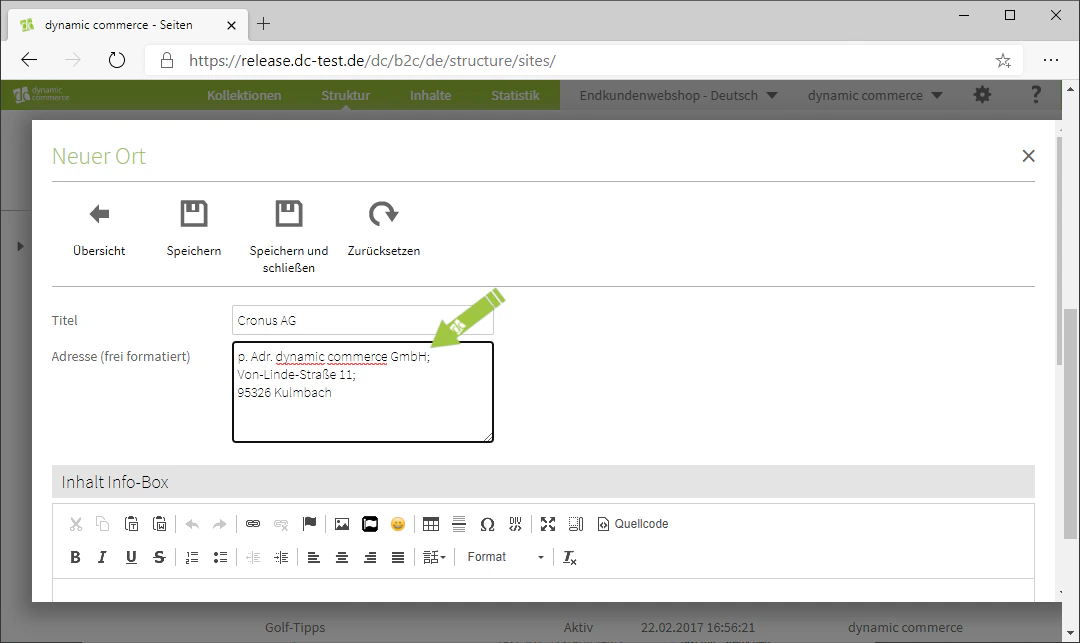
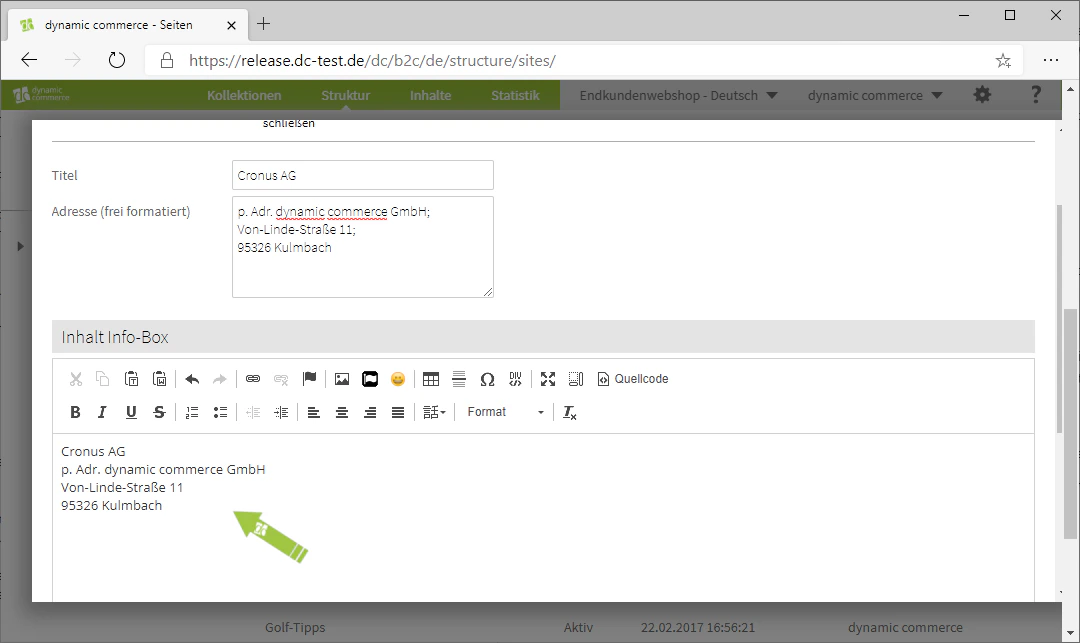
    ## Step 5: Add Locations

    Now that you have configured the settings for the map itself, you can begin adding the displayed location. Enter the name of the location in the "Title" field. Below that, enter the freely formatted address in the "Address" field.

    <Columns cols={3}>
      <Column>
        <Frame>
          <img src="https://mintcdn.com/dcag/DlKD43HGX8h1zbMf/images/dynamic-content/inhaltsarten/google-maps/neuer-ort.png?fit=max&auto=format&n=DlKD43HGX8h1zbMf&q=85&s=5400ababcda40e1426bd446cec5572da" alt="Add a new location" width="1080" height="643" data-path="images/dynamic-content/inhaltsarten/google-maps/neuer-ort.png" />
        </Frame>
      </Column>

      <Column>
        <Frame>
          <img src="https://mintcdn.com/dcag/DlKD43HGX8h1zbMf/images/dynamic-content/inhaltsarten/google-maps/titel.png?fit=max&auto=format&n=DlKD43HGX8h1zbMf&q=85&s=0a1cca1e4233ba51c03f1e9f01c5a611" alt="Enter the title of the location" width="1080" height="643" data-path="images/dynamic-content/inhaltsarten/google-maps/titel.png" />
        </Frame>
      </Column>

      <Column>
        <Frame>
          <img src="https://mintcdn.com/dcag/NHJ2s69sWhUfX2Ig/images/dynamic-content/inhaltsarten/google-maps/adresse.png?fit=max&auto=format&n=NHJ2s69sWhUfX2Ig&q=85&s=b296cd3490bb1707e0438d29df15dc99" alt="Enter the address of the location" width="1080" height="643" data-path="images/dynamic-content/inhaltsarten/google-maps/adresse.png" />
        </Frame>
      </Column>
    </Columns>

    <Columns cols={2}>
      <Column>
        <Frame>
          <img src="https://mintcdn.com/dcag/DlKD43HGX8h1zbMf/images/dynamic-content/inhaltsarten/google-maps/info-box.png?fit=max&auto=format&n=DlKD43HGX8h1zbMf&q=85&s=3209c8be3866ac0a8b66fb063f4328cc" alt="Maintain the content of the info box" width="1080" height="643" data-path="images/dynamic-content/inhaltsarten/google-maps/info-box.png" />
        </Frame>
      </Column>

      <Column>
        <Frame>
          <img src="https://mintcdn.com/dcag/DlKD43HGX8h1zbMf/images/dynamic-content/inhaltsarten/google-maps/speichern-und-schliessen.png?fit=max&auto=format&n=DlKD43HGX8h1zbMf&q=85&s=d8c6df1c67342c437419a750fc7c7a0f" alt="Save and close location" width="1080" height="643" data-path="images/dynamic-content/inhaltsarten/google-maps/speichern-und-schliessen.png" />
        </Frame>
      </Column>
    </Columns>
  </Step>
</Steps>

## Related Topics

<CardGroup cols={2}>
  <Card title="Content Types" icon="shapes" href="/docs/en/dynamic-content/user-guide/inhaltsarten">
    Overview of all available modules.
  </Card>

  <Card title="Create and Edit Content" icon="pen-to-square" href="/docs/en/dynamic-content/user-guide/inhalte-erstellen">
    Create content on pages.
  </Card>

  <Card title="External Content" icon="square-arrow-up-right" href="/docs/en/dynamic-content/user-guide/inhaltsarten/externe-inhalte">
    Embed content from external sources.
  </Card>

  <Card title="Contact Forms" icon="envelope" href="/docs/en/dynamic-content/user-guide/inhaltsarten/kontaktformulare">
    Create forms for contact requests.
  </Card>
</CardGroup>
