> ## Documentation Index
> Fetch the complete documentation index at: https://docs.dc.ag/llms.txt
> Use this file to discover all available pages before exploring further.
# dynamic content - Create and Edit Content
> Create and edit content such as texts, images, scrollbars, or collections on pages.
In the following, we will show you how to create content in our CMS.
This is one of the most important functions. With it, you can manage content such as texts, images, scrollbars, or even collections.
To begin, we will explain how to create or edit content.
We will show you which individual content types you can create and how each of them works under [Content Types](/docs/en/dynamic-content/user-guide/inhaltsarten).
In addition, you must have previously created a page on which you can manage the content. Further information on creating a page can be found under [Create Pages](/docs/en/dynamic-content/user-guide/seiten-erstellen).
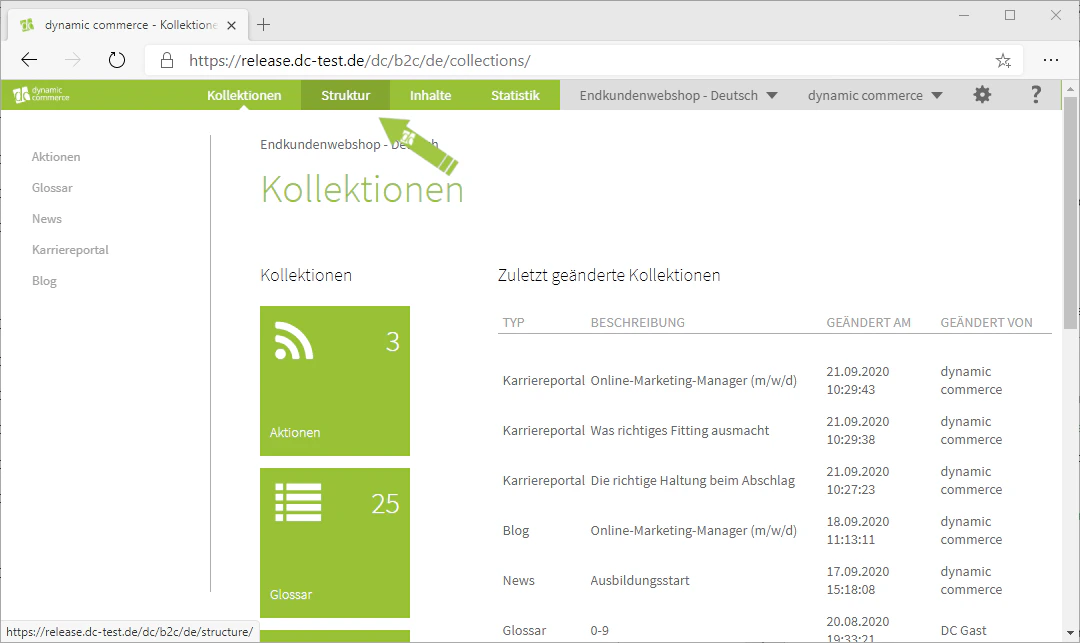
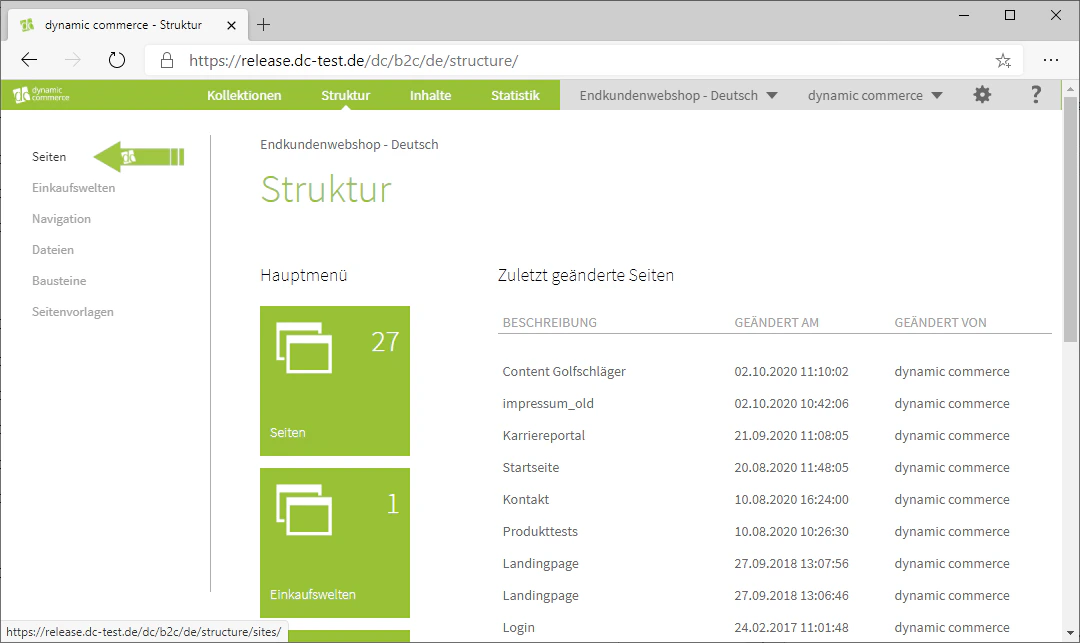
## Step 1: Navigate to the Pages Menu
First, navigate to the Pages menu by clicking on the Structure tab. There, select the item "Pages" from the list on the left side.
You should now have arrived at the Pages menu.
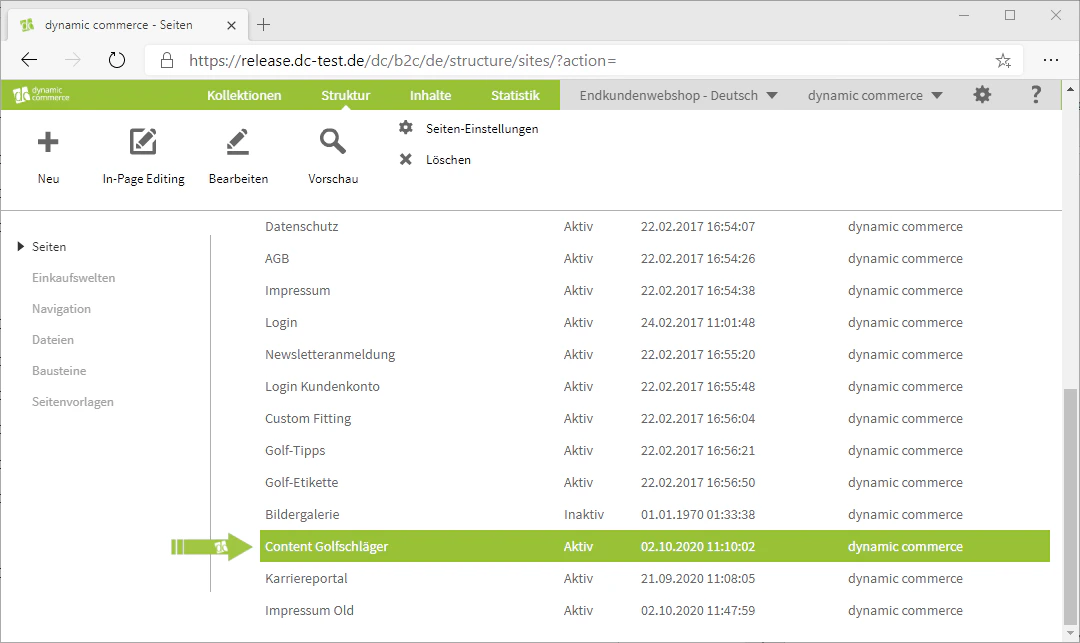
 ## Step 2: Select and Edit a Page
Once in the Pages menu, you have the option to create and edit pages.
We will show you exactly how this works under [Create Pages](/docs/en/dynamic-content/user-guide/seiten-erstellen).
Since we now want to create content, we need to select a page for this purpose.
In our example, we use the already created content page for golf clubs. Double-clicking on it directly opens the window for editing page content.
## Step 2: Select and Edit a Page
Once in the Pages menu, you have the option to create and edit pages.
We will show you exactly how this works under [Create Pages](/docs/en/dynamic-content/user-guide/seiten-erstellen).
Since we now want to create content, we need to select a page for this purpose.
In our example, we use the already created content page for golf clubs. Double-clicking on it directly opens the window for editing page content.
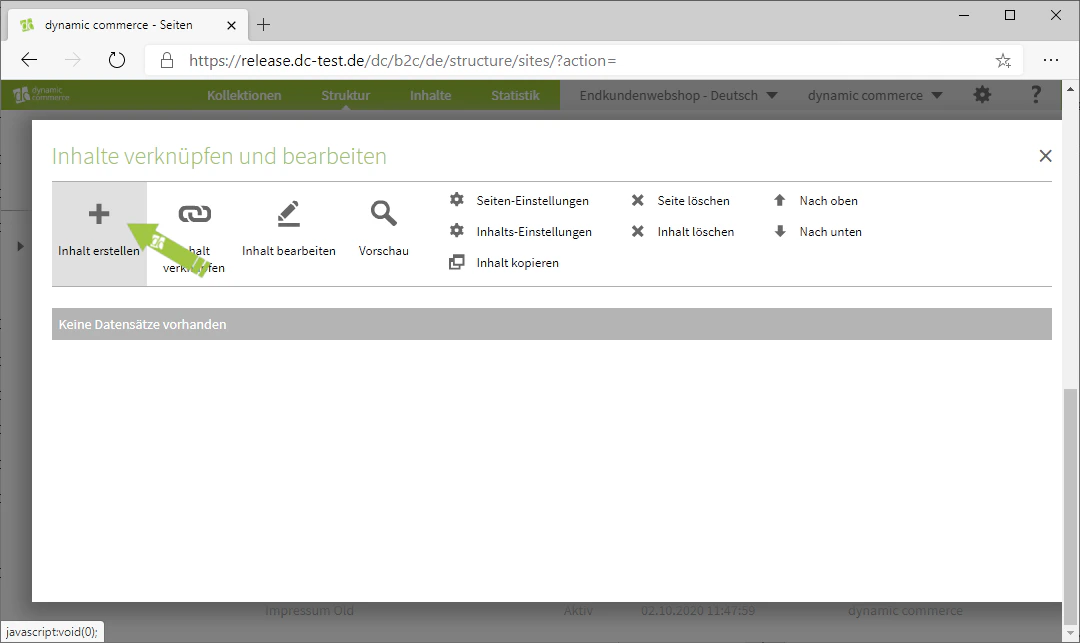
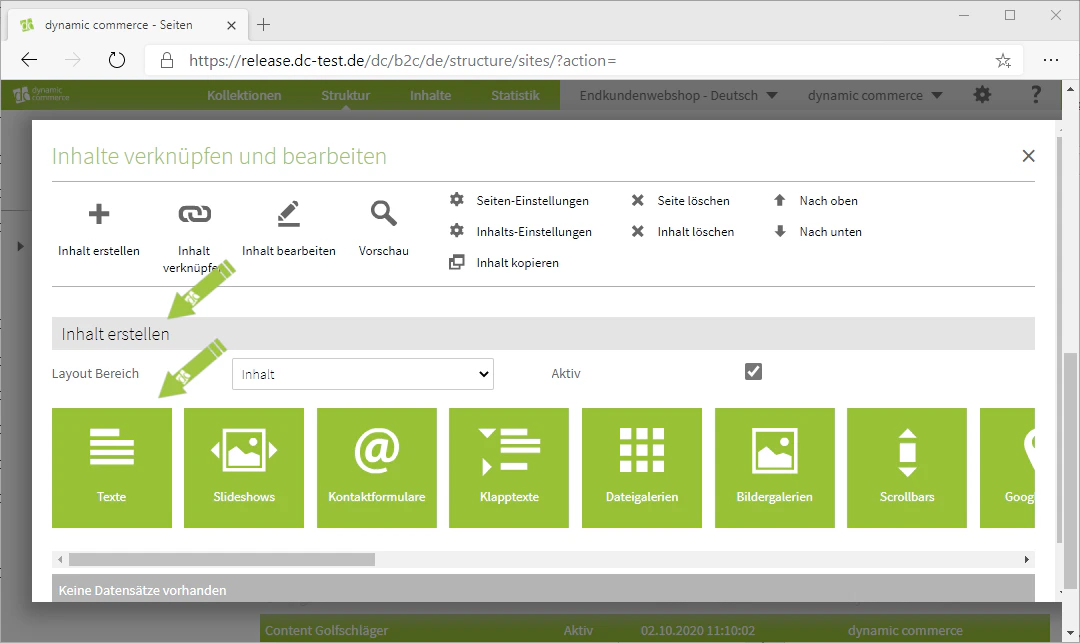
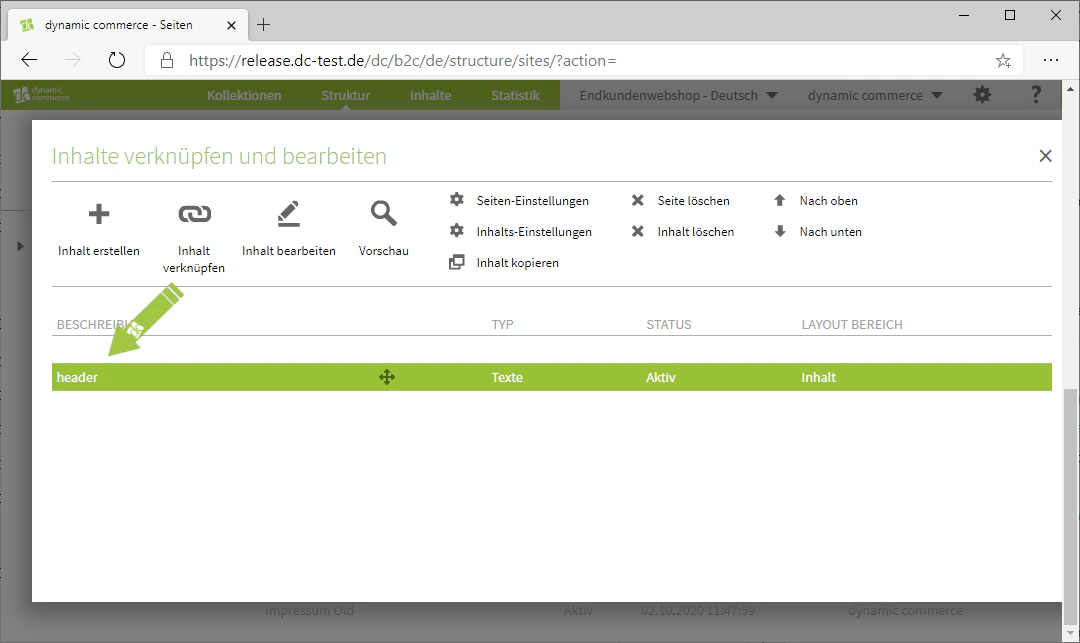
 ## Step 3: Create New Content
If you now want to create new content, click on the "Plus" icon with the label "Create Content" below it.
This opens a list below it containing all content types and modules.
A detailed explanation of each module can be found under [Content Types](/docs/en/dynamic-content/user-guide/inhaltsarten).
Clicking on the respective module opens a window in which you can create it.
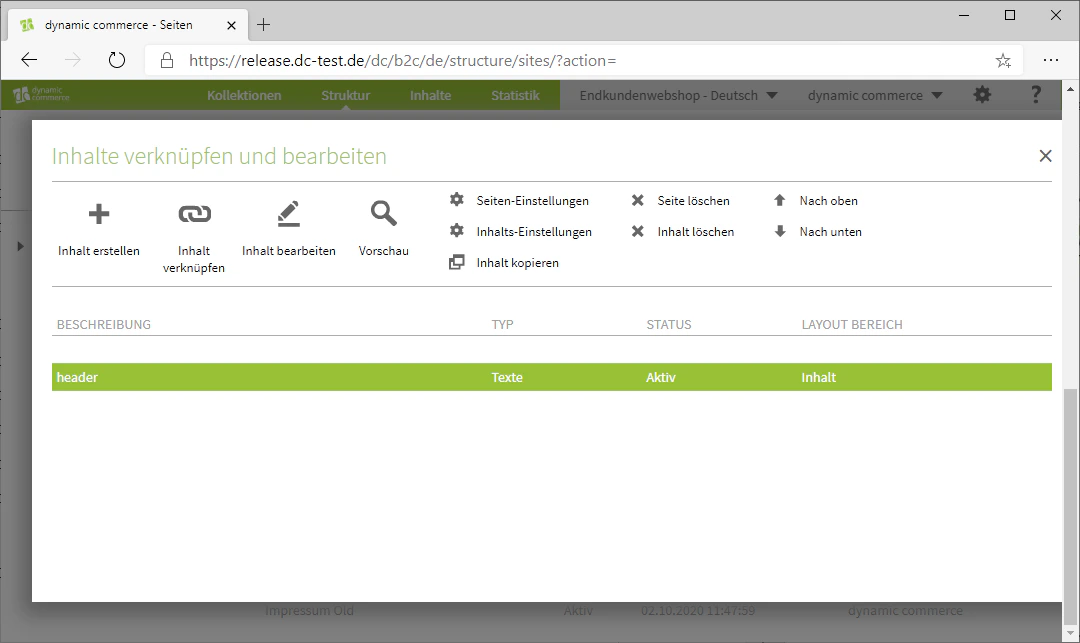
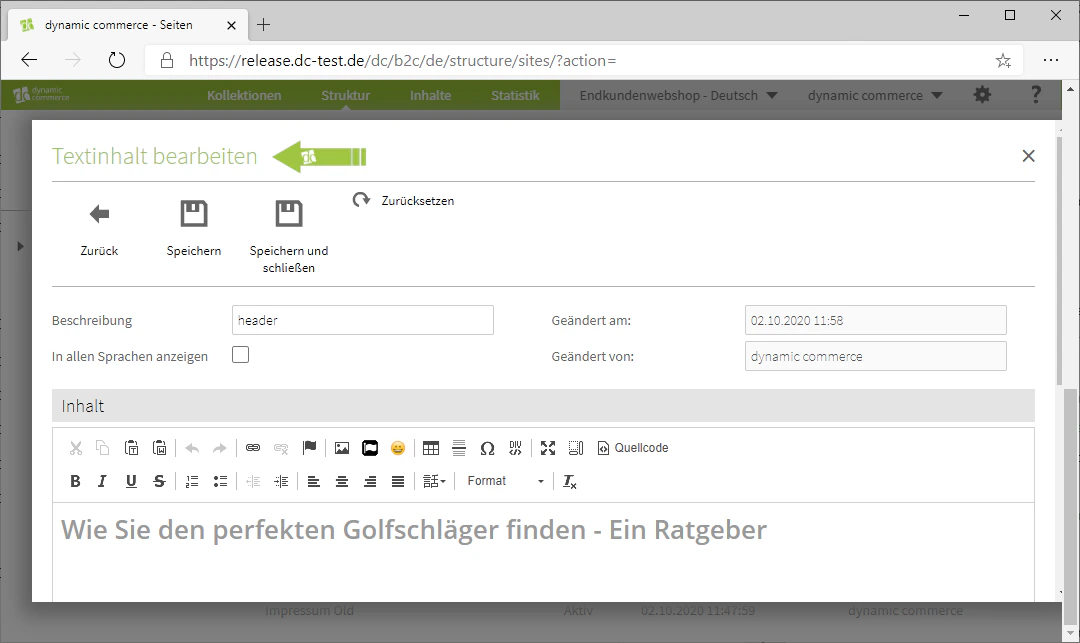
In our example, we create a text content item for simplicity. To do this, we click on the "Texts" module and enter a description and a text there. Since the first content item is intended to be a heading, we describe it as "header" and enter it.
We have now created the heading.
## Step 3: Create New Content
If you now want to create new content, click on the "Plus" icon with the label "Create Content" below it.
This opens a list below it containing all content types and modules.
A detailed explanation of each module can be found under [Content Types](/docs/en/dynamic-content/user-guide/inhaltsarten).
Clicking on the respective module opens a window in which you can create it.
In our example, we create a text content item for simplicity. To do this, we click on the "Texts" module and enter a description and a text there. Since the first content item is intended to be a heading, we describe it as "header" and enter it.
We have now created the heading.
 ## Step 4: Edit Layout
You also have the option to influence the layout of the respective content item.
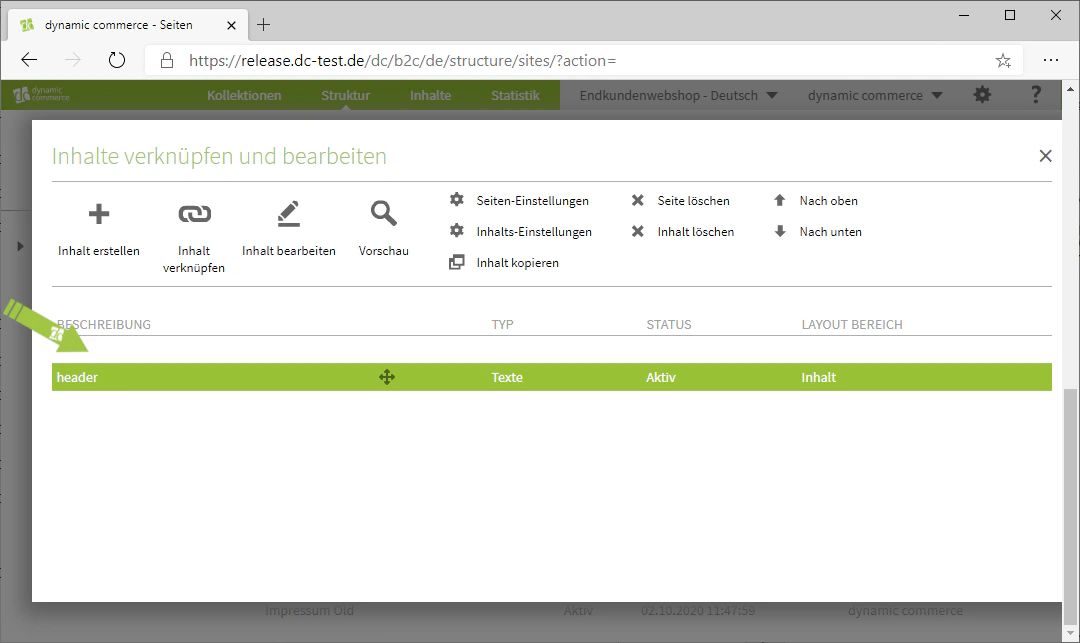
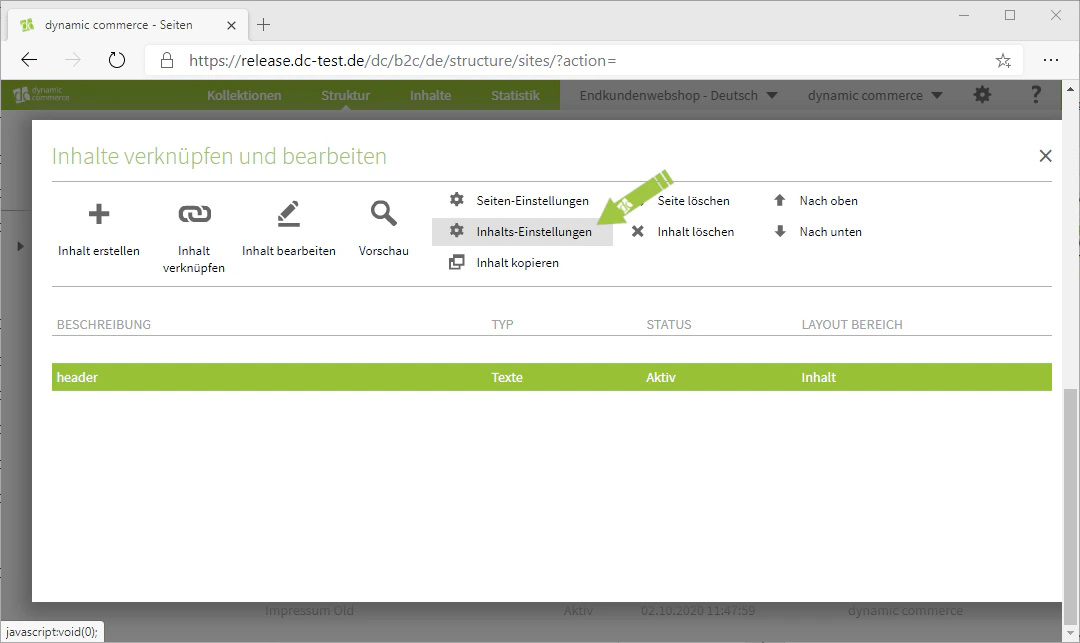
To do so, select the content item whose layout you want to adjust with a single click. Then click on "Content Settings" in the menu at the top of the window.
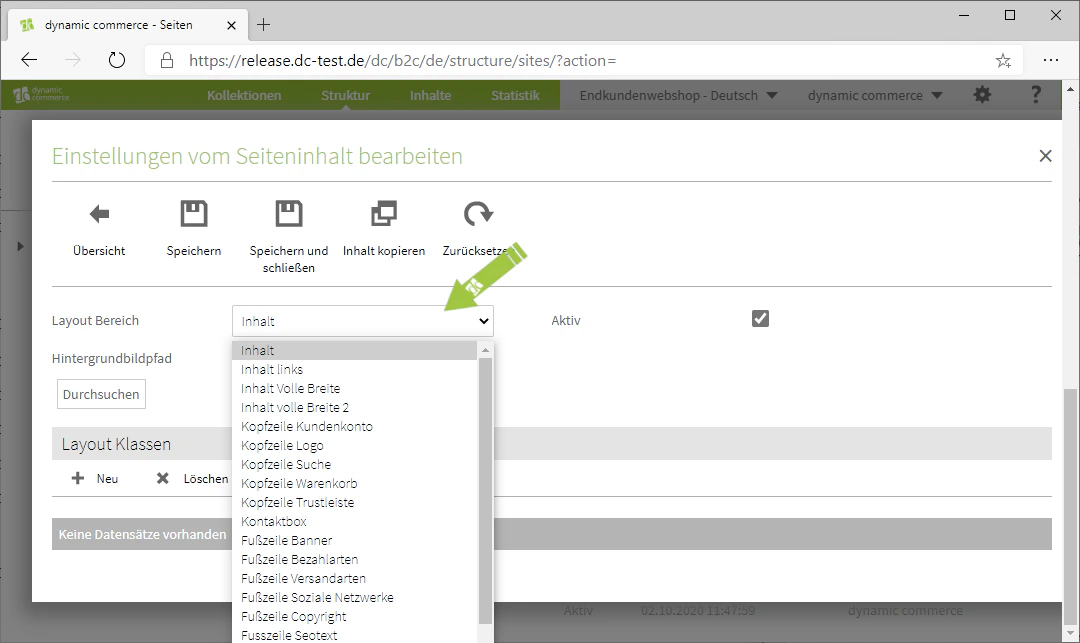
There, you initially have the option to select the layout area from the drop-down of the same name. However, our heading should remain in the preset layout area "Content", which is why we leave it selected.
Using the "Browse" button, you can select the background of the content item.
When you click the button, our file browser opens, which we explain to you under [Upload and Manage Files](/docs/en/dynamic-content/user-guide/dateien-verwalten).
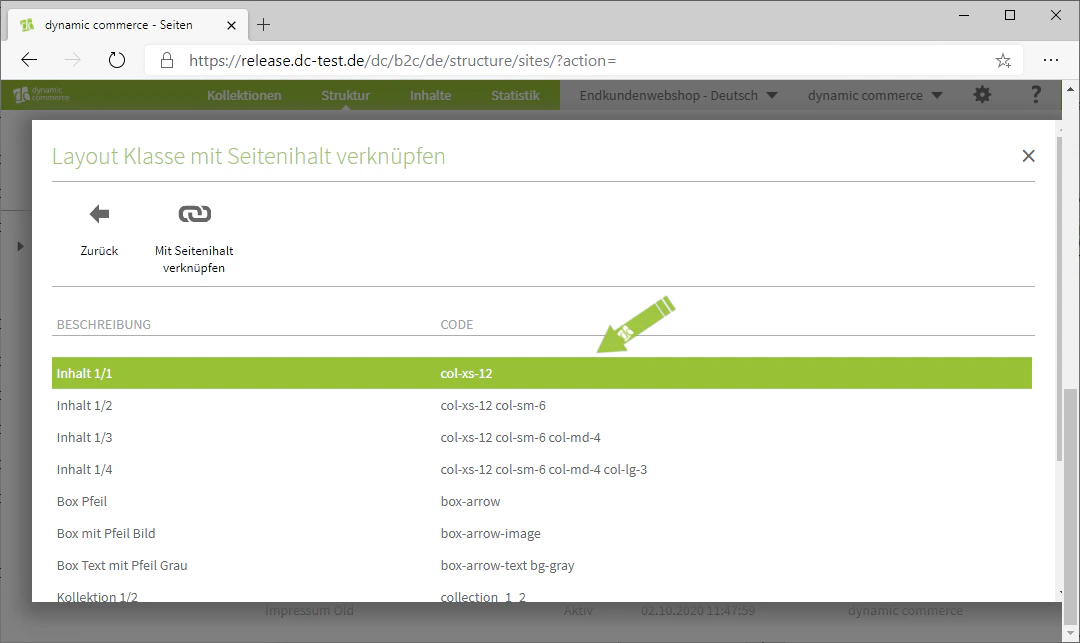
Further down, you also have the option to assign layout classes to the content item. This is done by clicking "New". A window should then open from which you can select the layout class by double-clicking.
For the heading, we select "Content 1/1" for the layout.
Further information on layout classes can be found under [Layouts](/docs/en/dynamic-content/user-guide/layouts). Please note that you may have different layout classes configured on your websites.
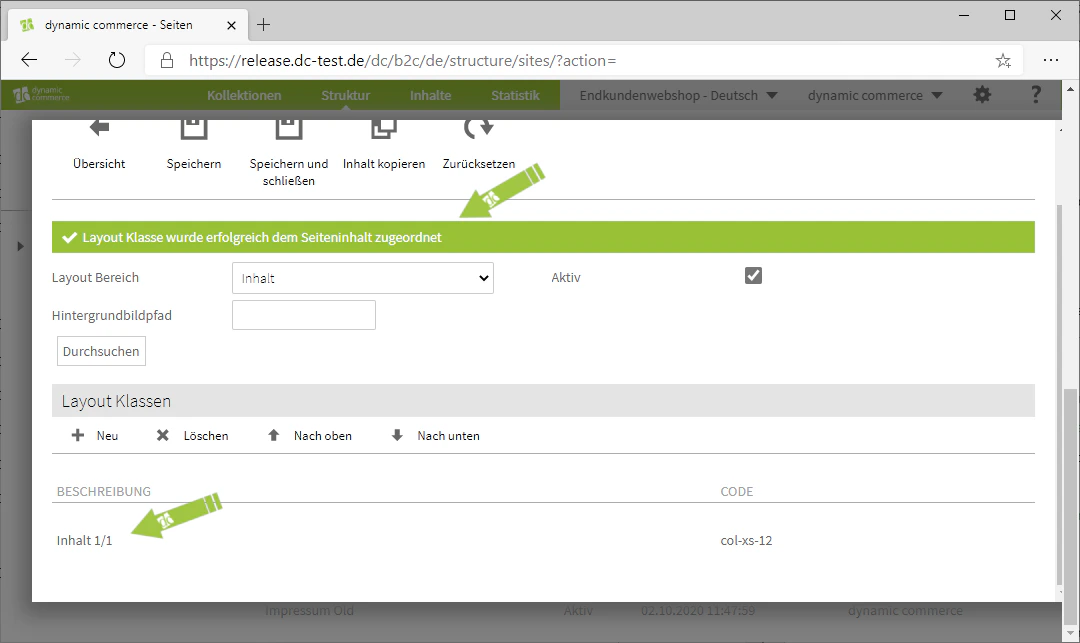
The layout class has now been assigned to the page content. Do not forget to save everything.
A layout has now been assigned to the content. You can delete this layout by selecting it with a click and then clicking "Delete", which is located next to "New".
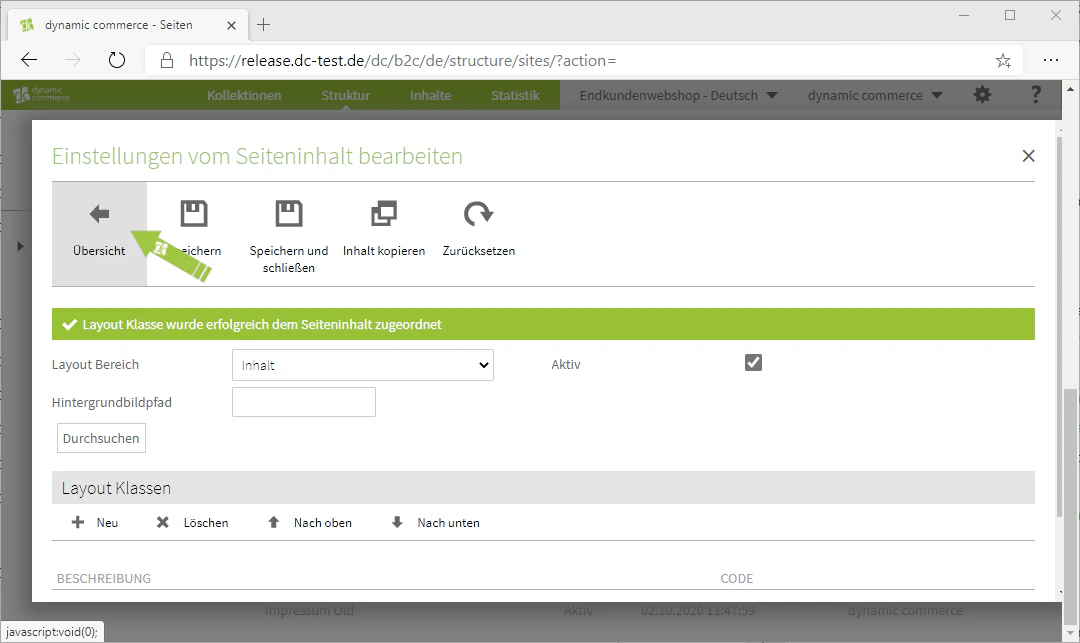
Finally, go back to the overview by clicking the arrow pointing to the left, with the label "Overview" below it.
## Step 4: Edit Layout
You also have the option to influence the layout of the respective content item.
To do so, select the content item whose layout you want to adjust with a single click. Then click on "Content Settings" in the menu at the top of the window.
There, you initially have the option to select the layout area from the drop-down of the same name. However, our heading should remain in the preset layout area "Content", which is why we leave it selected.
Using the "Browse" button, you can select the background of the content item.
When you click the button, our file browser opens, which we explain to you under [Upload and Manage Files](/docs/en/dynamic-content/user-guide/dateien-verwalten).
Further down, you also have the option to assign layout classes to the content item. This is done by clicking "New". A window should then open from which you can select the layout class by double-clicking.
For the heading, we select "Content 1/1" for the layout.
Further information on layout classes can be found under [Layouts](/docs/en/dynamic-content/user-guide/layouts). Please note that you may have different layout classes configured on your websites.
The layout class has now been assigned to the page content. Do not forget to save everything.
A layout has now been assigned to the content. You can delete this layout by selecting it with a click and then clicking "Delete", which is located next to "New".
Finally, go back to the overview by clicking the arrow pointing to the left, with the label "Overview" below it.

 ## Step 5: Edit Existing Content
You can also edit existing content at any time. This is done by double-clicking on the respective content item.
This opens a window for editing the content.
You can read about how to edit the individual content modules in detail and what effect the settings in this window have on the appearance of the page under [Content Types](/docs/en/dynamic-content/user-guide/inhaltsarten).
## Step 5: Edit Existing Content
You can also edit existing content at any time. This is done by double-clicking on the respective content item.
This opens a window for editing the content.
You can read about how to edit the individual content modules in detail and what effect the settings in this window have on the appearance of the page under [Content Types](/docs/en/dynamic-content/user-guide/inhaltsarten).
 ## Related Topics
Overview of all available content modules.
Create new pages before managing content.
Design layout classes for content.
Provide files and images for content.
## Related Topics
Overview of all available content modules.
Create new pages before managing content.
Design layout classes for content.
Provide files and images for content.