> ## Documentation Index
> Fetch the complete documentation index at: https://docs.dc.ag/llms.txt
> Use this file to discover all available pages before exploring further.
# dynamic content - Upload and Manage Files
> Upload files for your website via the file browser and organise them in subdirectories.
In the Files menu, you have the option to manage the files of your website or upload new ones.
You can upload or organise them directly using the file browser available there. For this reason, it is often advisable to upload images or other files in advance using this function, rather than uploading them later within individual content items or similar.
We will show you how the file browser works and where to find it in the following steps.
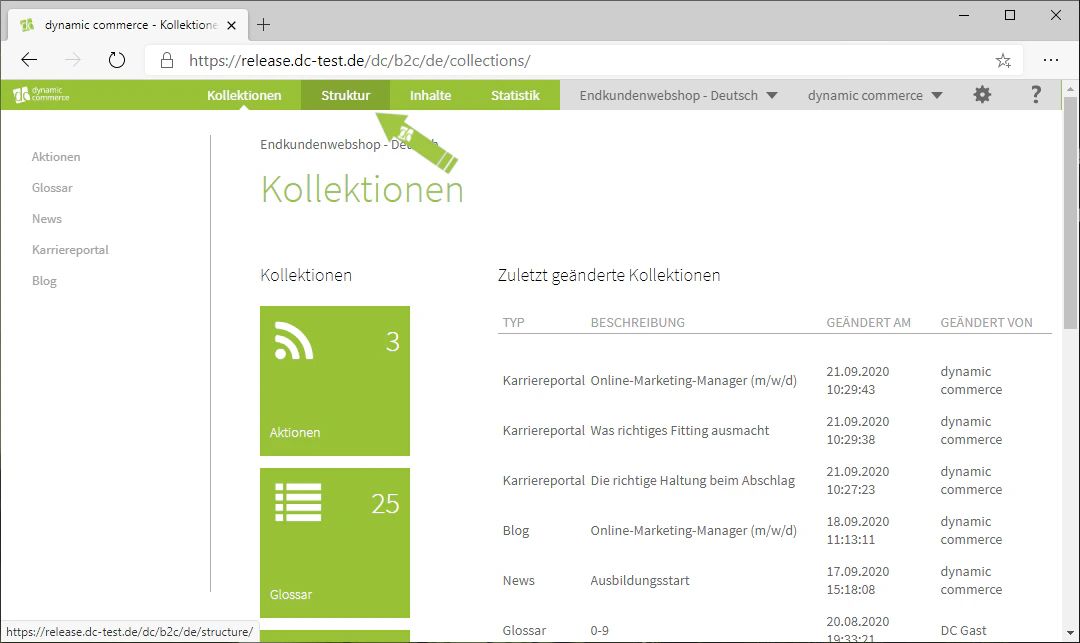
## Step 1: Navigate to the Files Menu
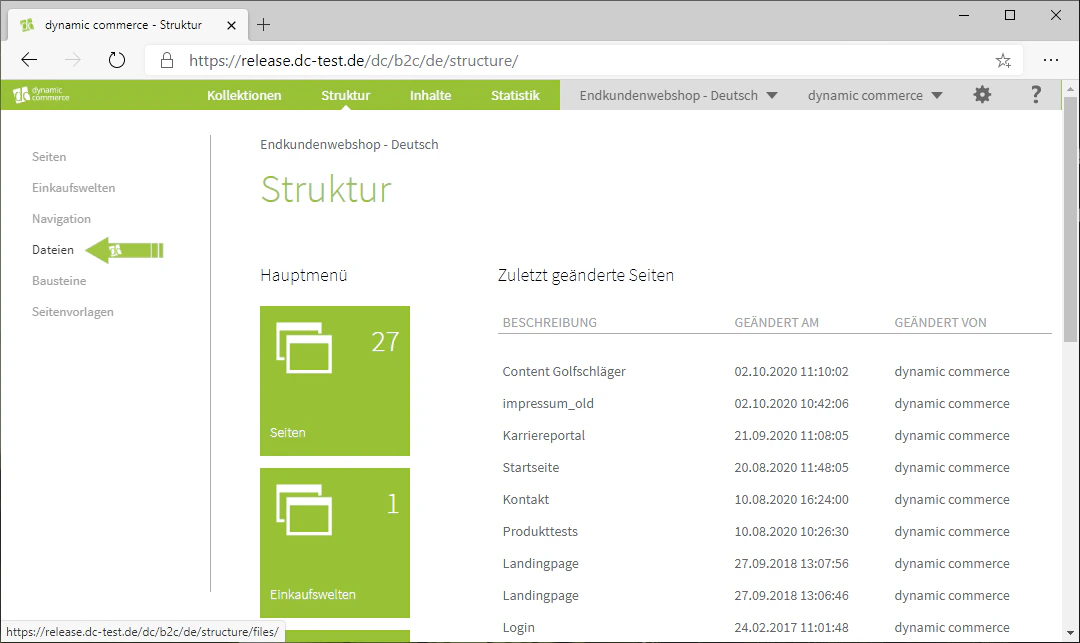
First, navigate to the Files menu by clicking on the Structure tab in the top bar.
From the list on the left-hand side, select the item "Files".
You have now arrived in the menu.
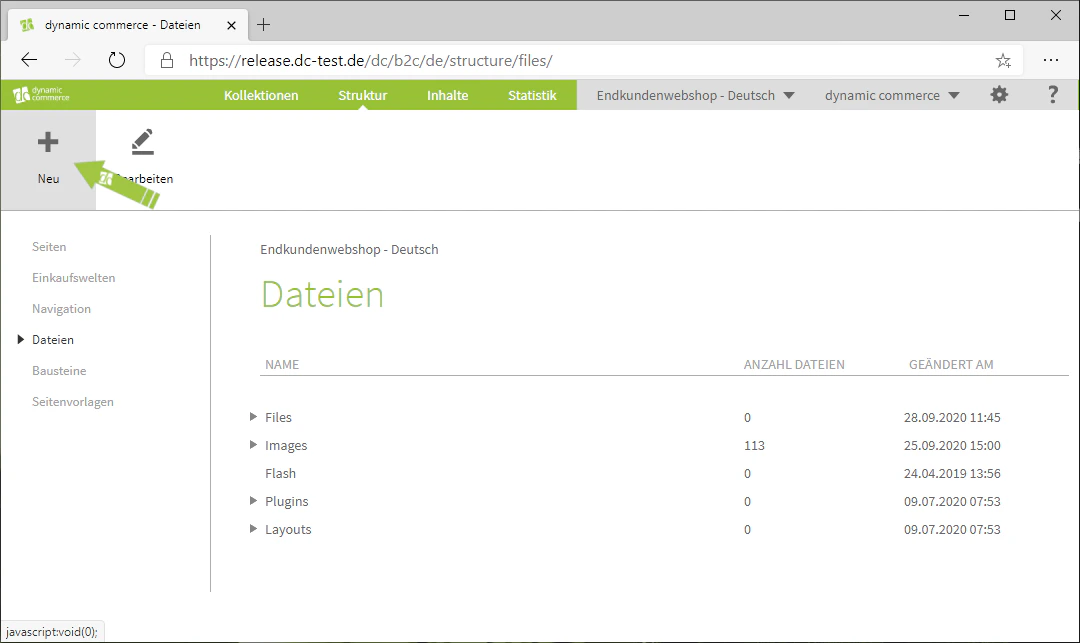
 ## Step 2: Open the File Browser
Next, open the file browser. This is done by clicking on the "Plus" icon with the label "New" below it.
The file browser should now open in a new window.
## Step 2: Open the File Browser
Next, open the file browser. This is done by clicking on the "Plus" icon with the label "New" below it.
The file browser should now open in a new window.
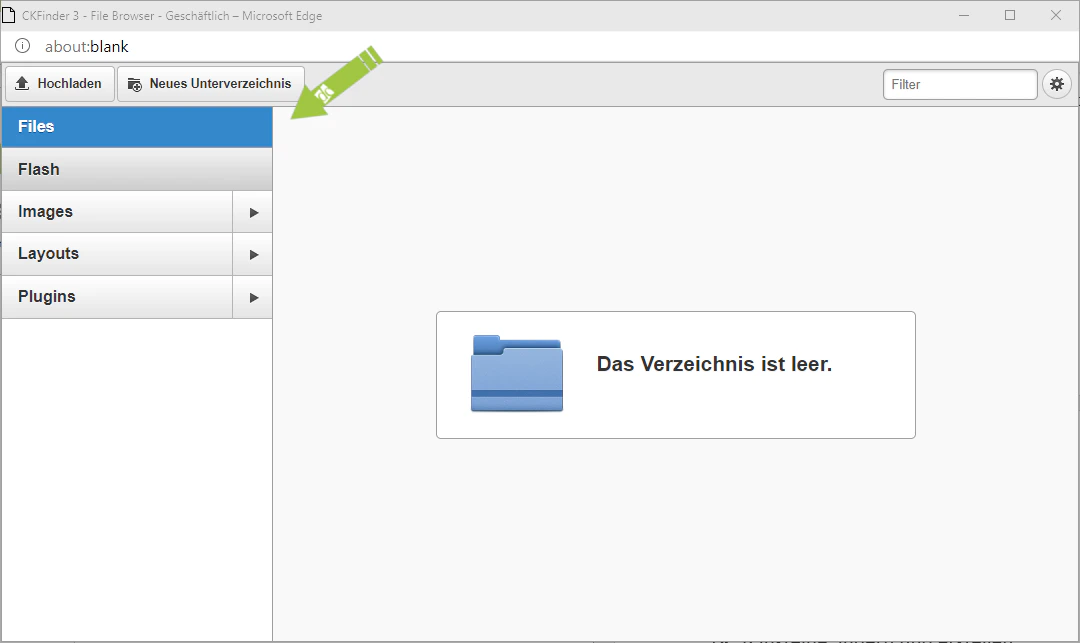
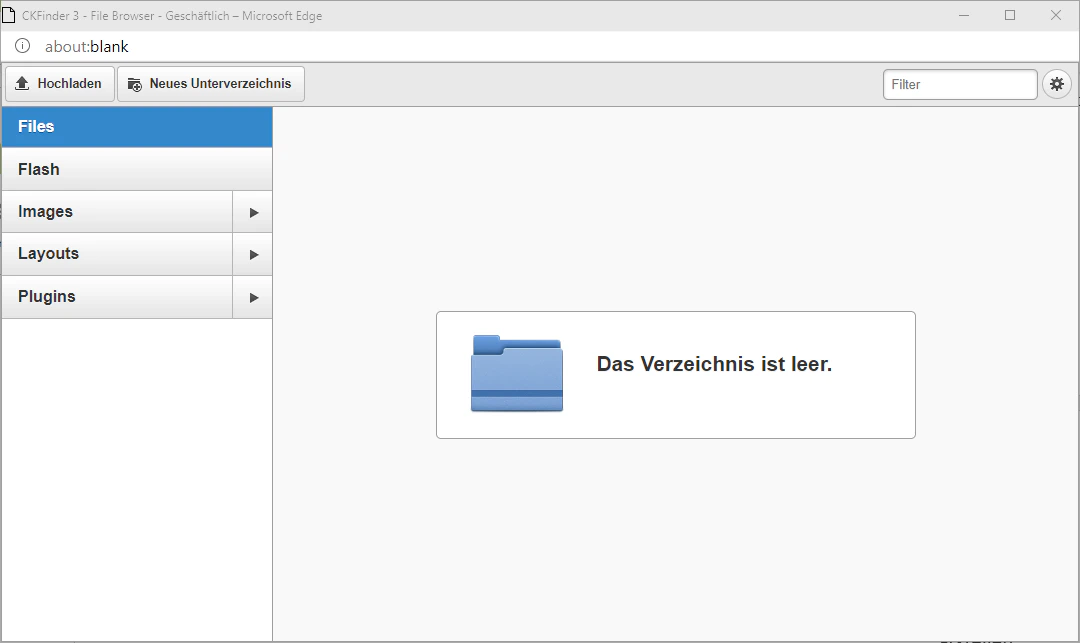 ## Step 3: Manage Files
In the file browser, you will find a list of your subdirectories on the left. These are essentially folders for your files.
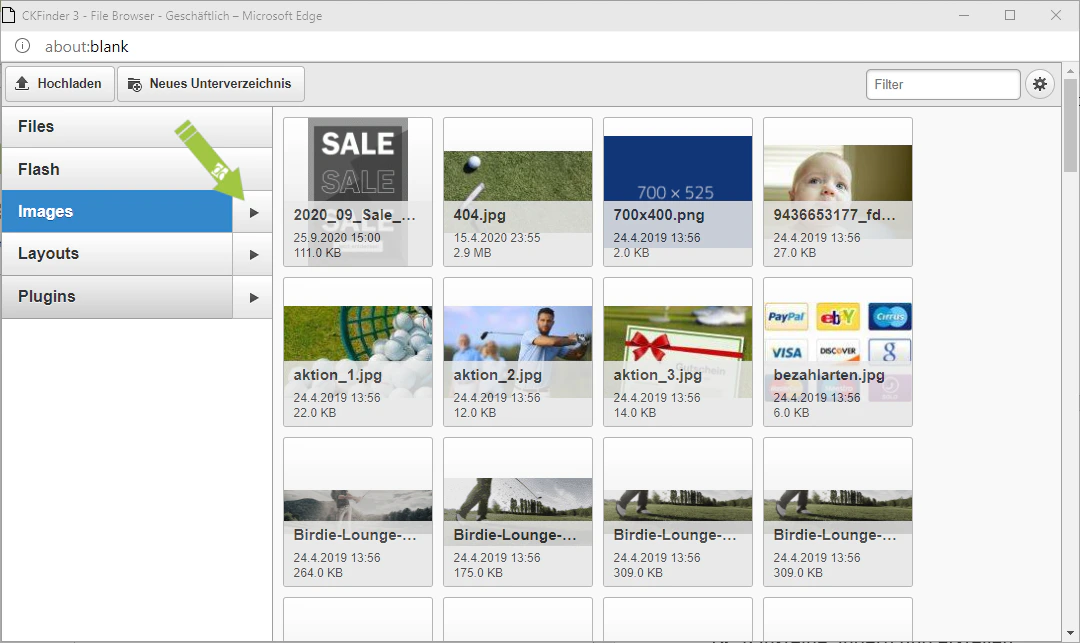
When you click on one of these subdirectories, all files located directly within that directory as well as in all further subdirectories below it will be displayed on the right-hand side.
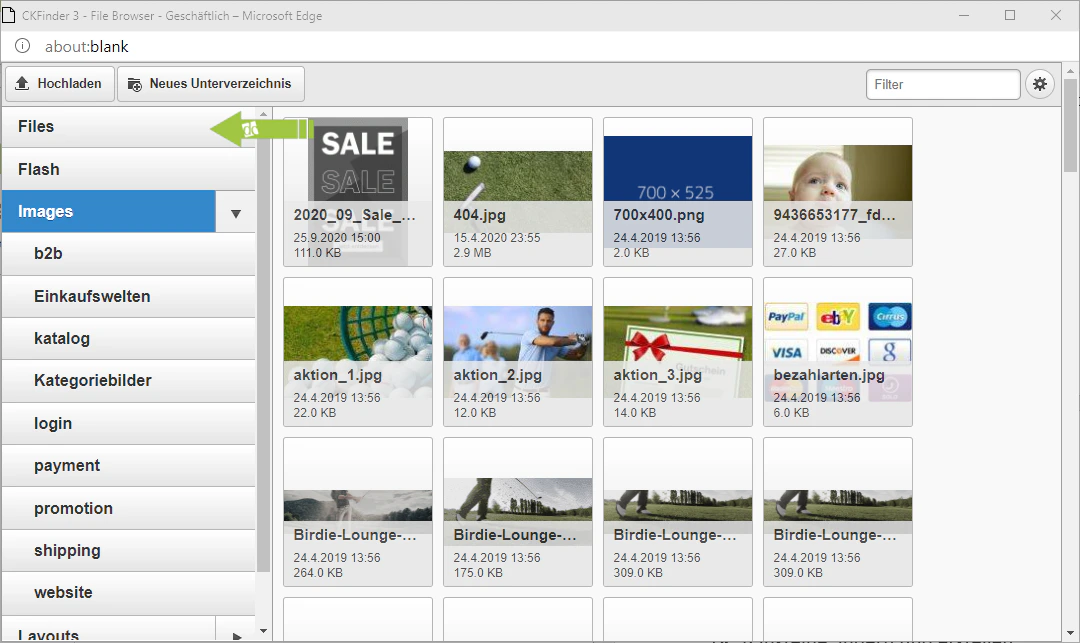
By clicking on the arrow next to the respective directories, you can expand them to view any subdirectories that have been created within them.
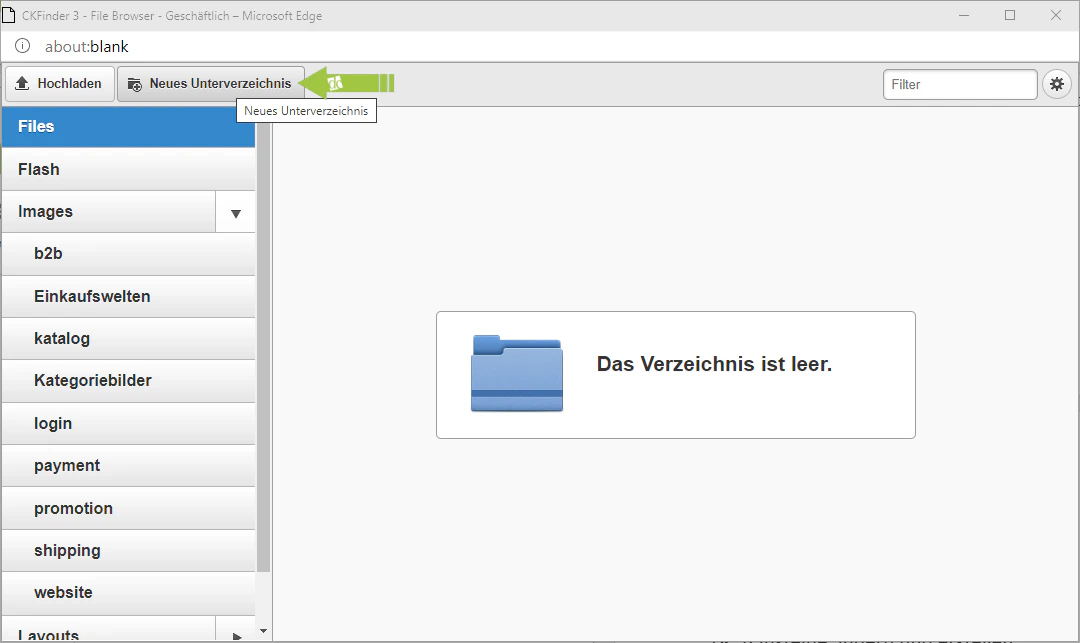
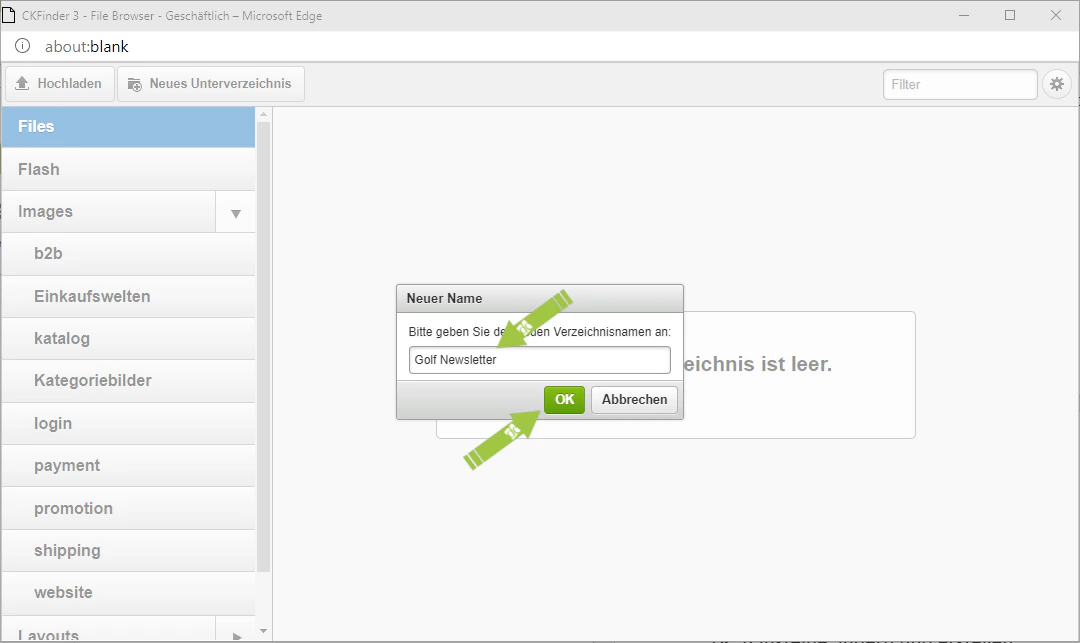
To create a new subdirectory, click "New Subdirectory" at the top. This opens a window in which you enter the new directory name and confirm it with "OK". A new subdirectory will then be created.
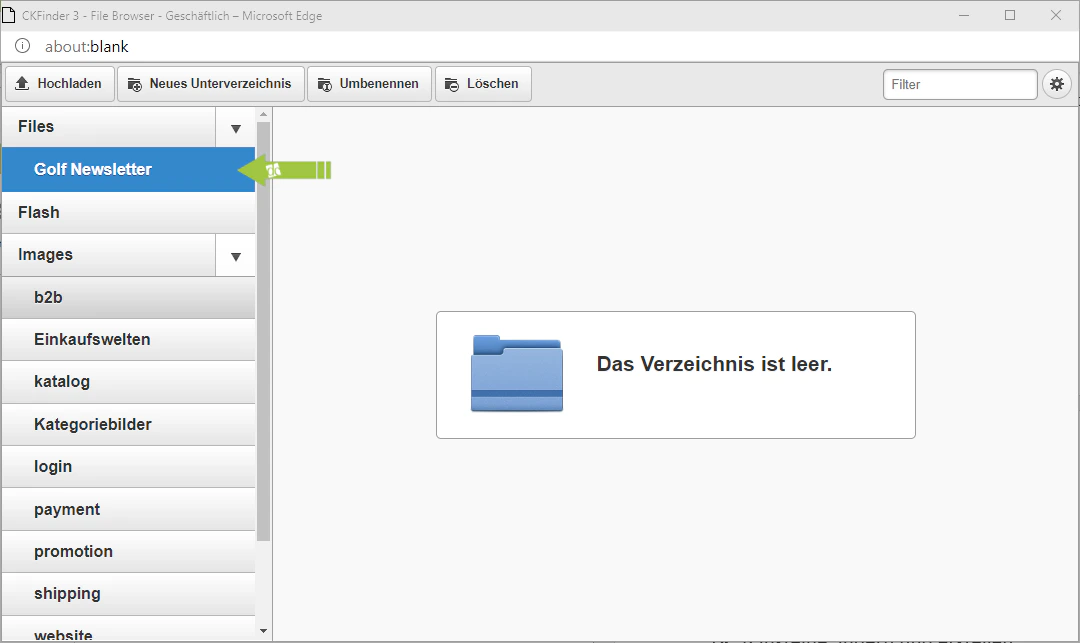
In our example, we are creating a new directory for golf newsletters. Since PDF files are to be uploaded there, we create it within the File directory.
If you now click on the newly created directory, you will also have the options to rename and delete the directory in the top bar.
Using these subdirectories, you can manage and sort your files so that you can find them more quickly when you need them.
## Step 3: Manage Files
In the file browser, you will find a list of your subdirectories on the left. These are essentially folders for your files.
When you click on one of these subdirectories, all files located directly within that directory as well as in all further subdirectories below it will be displayed on the right-hand side.
By clicking on the arrow next to the respective directories, you can expand them to view any subdirectories that have been created within them.
To create a new subdirectory, click "New Subdirectory" at the top. This opens a window in which you enter the new directory name and confirm it with "OK". A new subdirectory will then be created.
In our example, we are creating a new directory for golf newsletters. Since PDF files are to be uploaded there, we create it within the File directory.
If you now click on the newly created directory, you will also have the options to rename and delete the directory in the top bar.
Using these subdirectories, you can manage and sort your files so that you can find them more quickly when you need them.
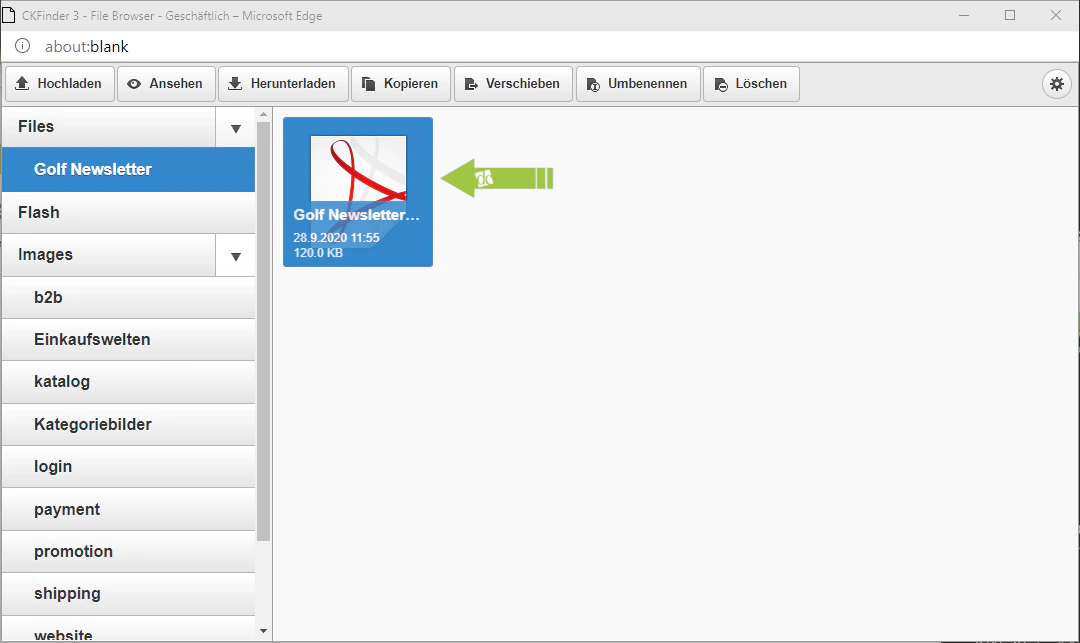
 ## Step 4: Upload a New File
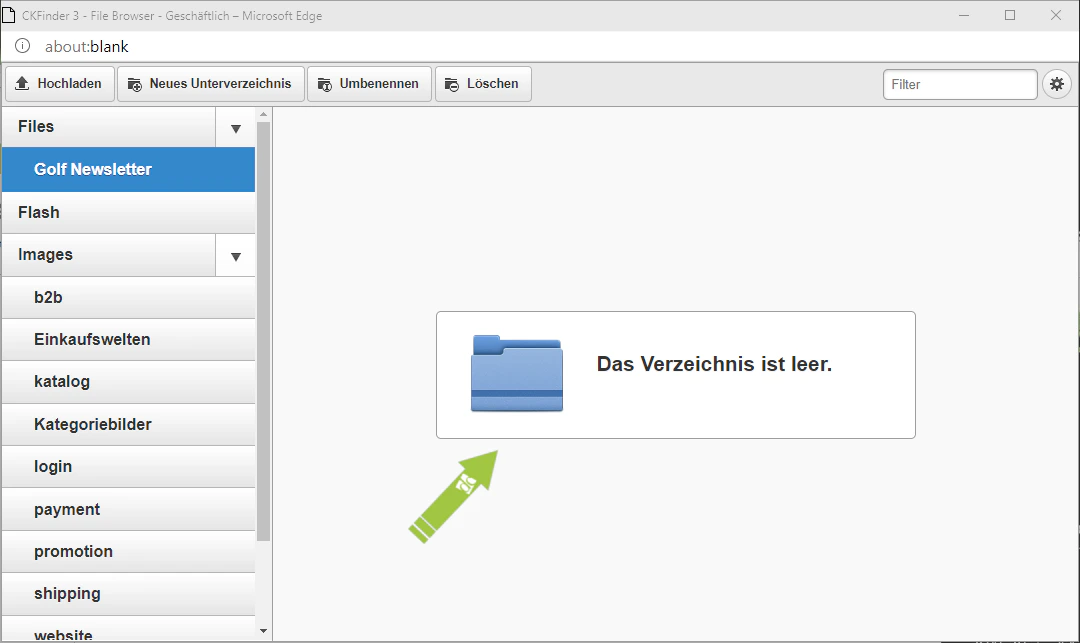
You can now upload one or more files to your newly created directory.
To do so, make sure you have selected the correct subdirectory on the left-hand side.
Then simply drag and drop the files you wish to upload from your PC onto the right-hand side of the file browser. Your file or files should then be uploaded.
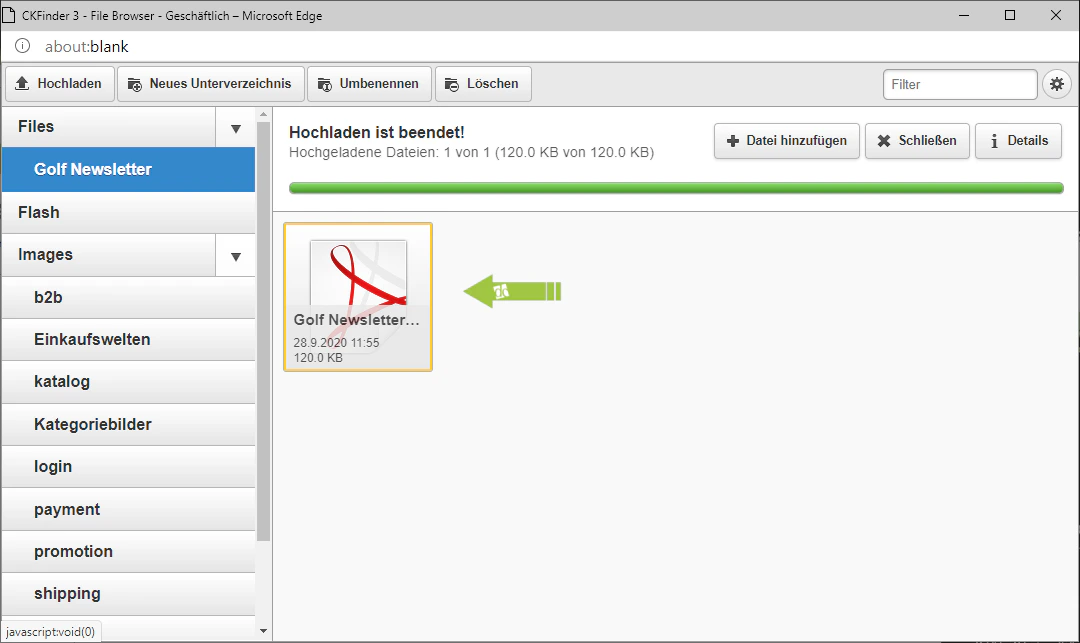
If you now click on this file, you will have additional options in the top bar to view, copy, move, rename, and delete it.
Our newsletter has now been uploaded and correctly sorted, so that it can later be used, for example, as part of a file gallery.
## Step 4: Upload a New File
You can now upload one or more files to your newly created directory.
To do so, make sure you have selected the correct subdirectory on the left-hand side.
Then simply drag and drop the files you wish to upload from your PC onto the right-hand side of the file browser. Your file or files should then be uploaded.
If you now click on this file, you will have additional options in the top bar to view, copy, move, rename, and delete it.
Our newsletter has now been uploaded and correctly sorted, so that it can later be used, for example, as part of a file gallery.
 ## Related Topics
Create new pages and fill them with content.
Embed uploaded files in content items and galleries.
## Related Topics
Create new pages and fill them with content.
Embed uploaded files in content items and galleries.