> ## Documentation Index
> Fetch the complete documentation index at: https://docs.dc.ag/llms.txt
> Use this file to discover all available pages before exploring further.
# dynamic commerce - Set Up Item Permissions
> Control the visibility of items in the web shop per customer.
Here we show you how to create permissions for web shop items.
Web shop items can be assigned to a specific customer or a group of customers. These items will then only be visible and orderable in the web shop for their respective customer or customer group.
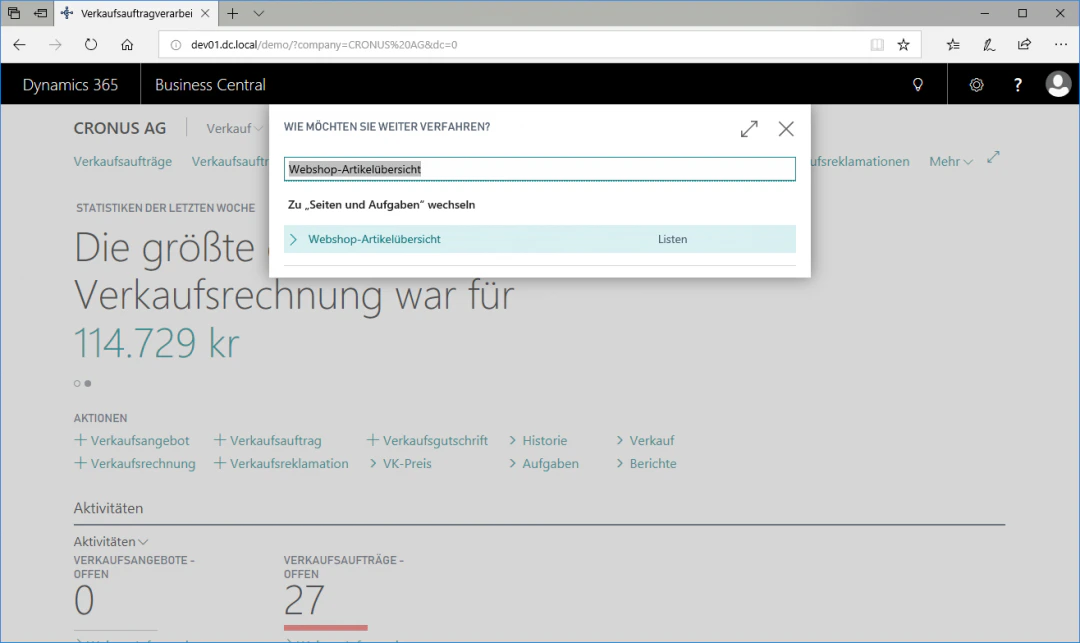
## Step 1: Open the Web Shop Item Overview
Navigate to the Web Shop Item Overview by entering "Web Shop Item Overview" in the search.
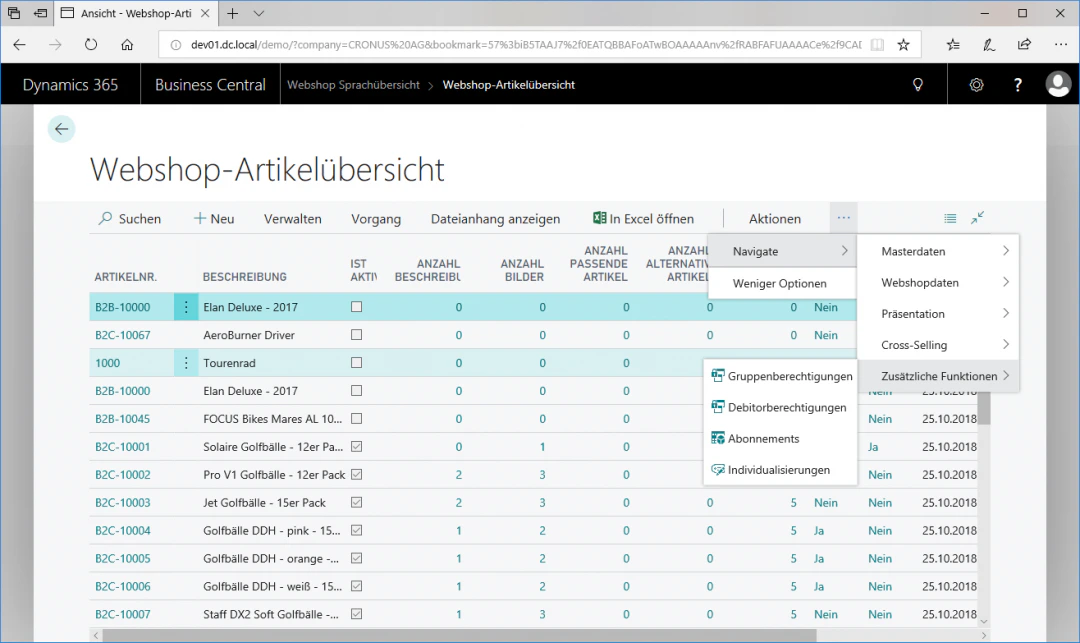
 ## Step 2: Open the Customer Permissions View
Select the row with the desired item for which you want to create or modify permissions — in this example, the Touring Bicycle 1000.
In the "Navigate" ribbon, go to the FastTab "Additional Functions" and click the FastTab "Customer Permissions" to open the Customer Permissions view.
## Step 2: Open the Customer Permissions View
Select the row with the desired item for which you want to create or modify permissions — in this example, the Touring Bicycle 1000.
In the "Navigate" ribbon, go to the FastTab "Additional Functions" and click the FastTab "Customer Permissions" to open the Customer Permissions view.
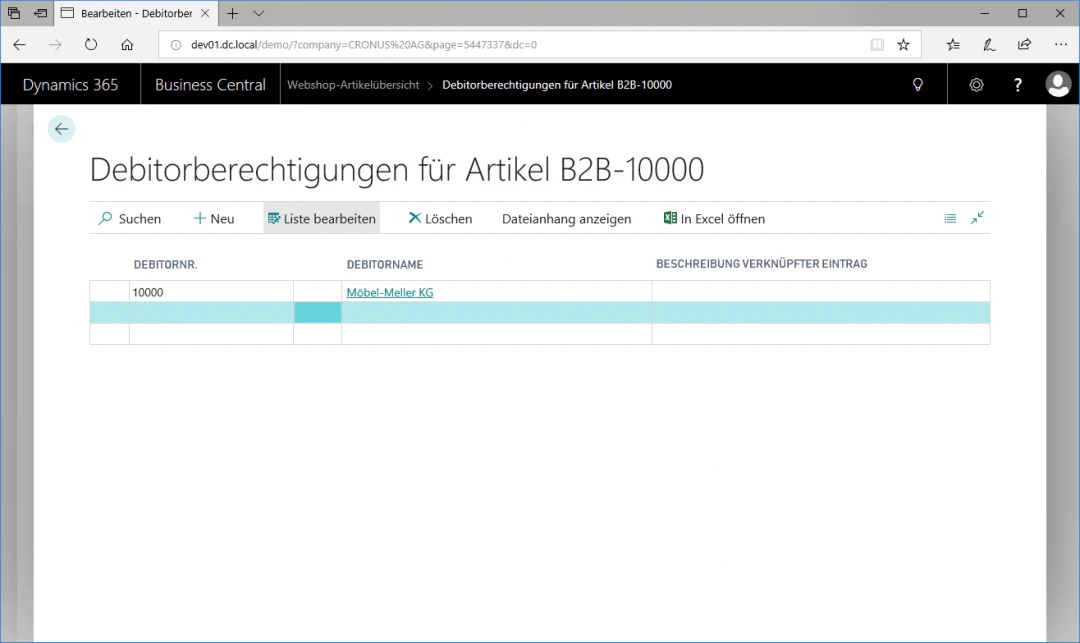
 ## Step 3: Define the Customer
To assign the item to a specific customer, click in the "Customer No." column on the first empty row and select your desired customer.
In our example, this is Möbel-Meller KG with customer number 10000.
## Step 3: Define the Customer
To assign the item to a specific customer, click in the "Customer No." column on the first empty row and select your desired customer.
In our example, this is Möbel-Meller KG with customer number 10000.
 ## Related Topics
Activate customers for login and purchasing.
Maintain items for the web shop.
## Related Topics
Activate customers for login and purchasing.
Maintain items for the web shop.