> ## Documentation Index
> Fetch the complete documentation index at: https://docs.dc.ag/llms.txt
> Use this file to discover all available pages before exploring further.
# Shipping Costs - Shipping Classes
> Create shipping classes to filter shipping options by item classifications
With our extension, you have the option to create shipping classes. Shipping classes allow you to additionally filter shipping options by item classifications.
You can then assign these shipping classes to an item at a later stage. This ensures that in future, only the shipping options that also match the item's shipping class will be taken into consideration.
In the following, we will show you how to create a shipping class.
We show you how to assign a shipping class to an item under [Items](/docs/en/bc-shipping-costs/user-guide/artikel).
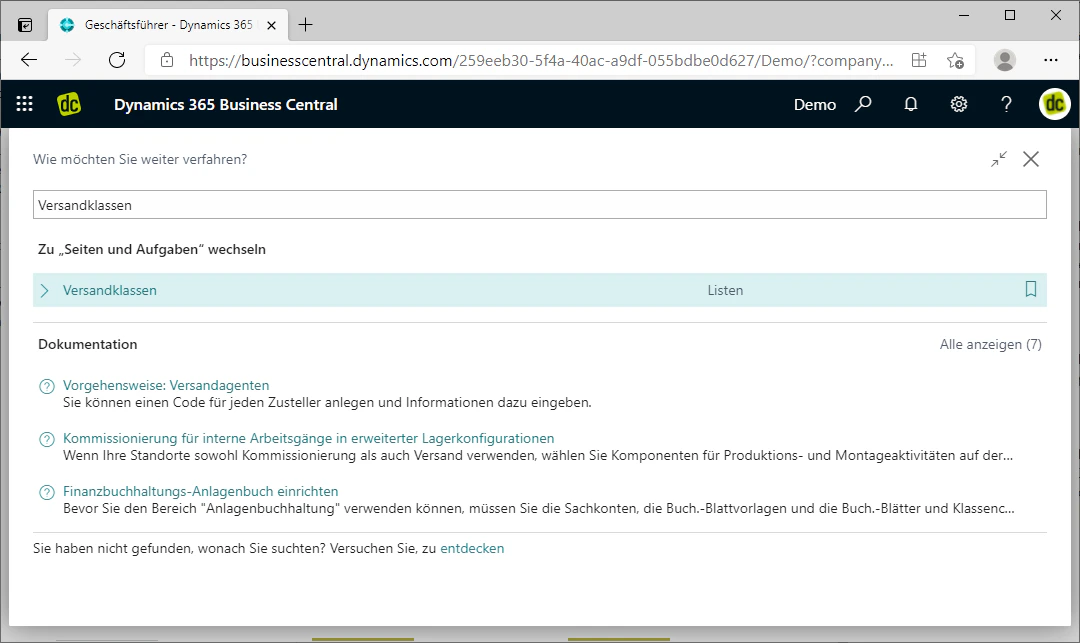
## Step 1: Navigate to Shipping Classes
You can also navigate to the shipping classes via the search. To do so, enter "Shipping Classes" in the search bar and click on the list of the same name.
This should open a window with the heading "Shipping Classes". There you will also be shown an overview of all created shipping classes.
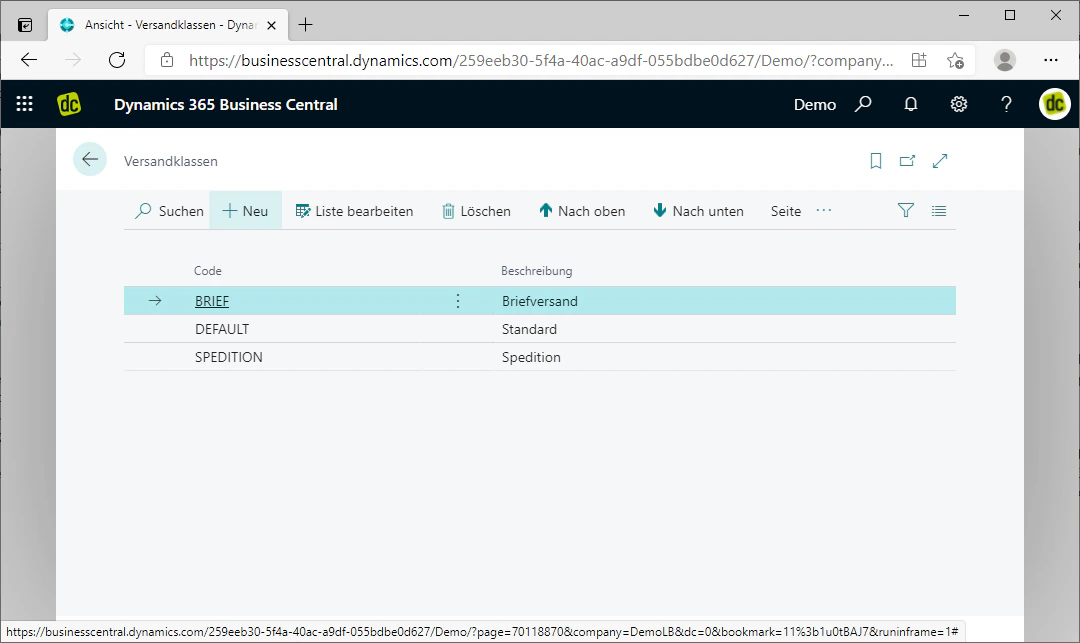
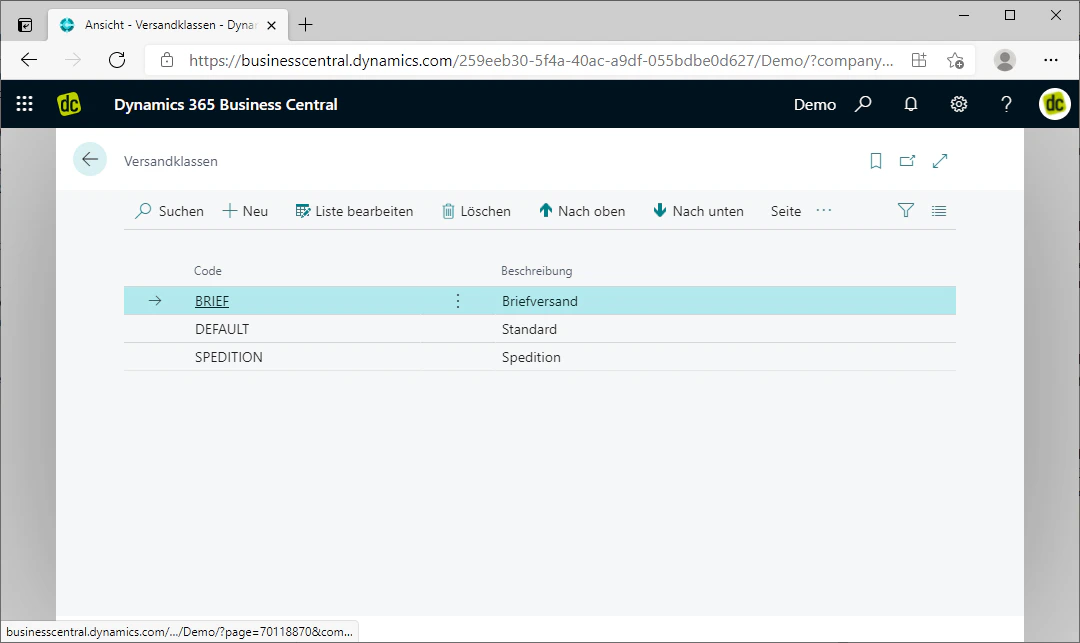 ## Step 2: Create a New Shipping Class
By clicking on the "New" FastTab in the menu bar at the top, you insert a new row below in the table.
The row is always inserted above the selected row.
## Step 2: Create a New Shipping Class
By clicking on the "New" FastTab in the menu bar at the top, you insert a new row below in the table.
The row is always inserted above the selected row.
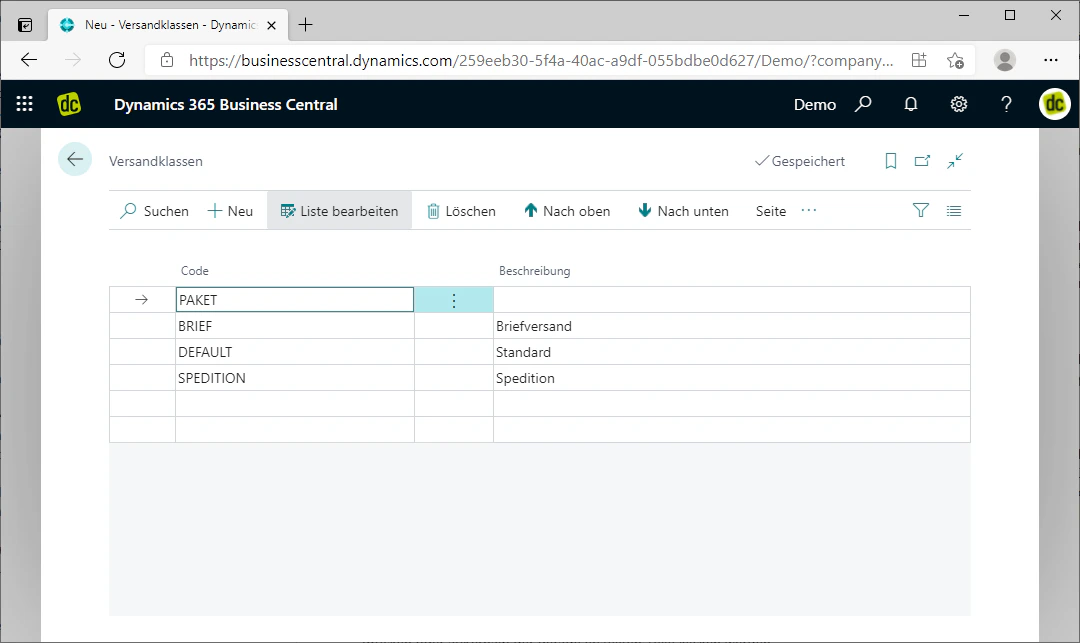
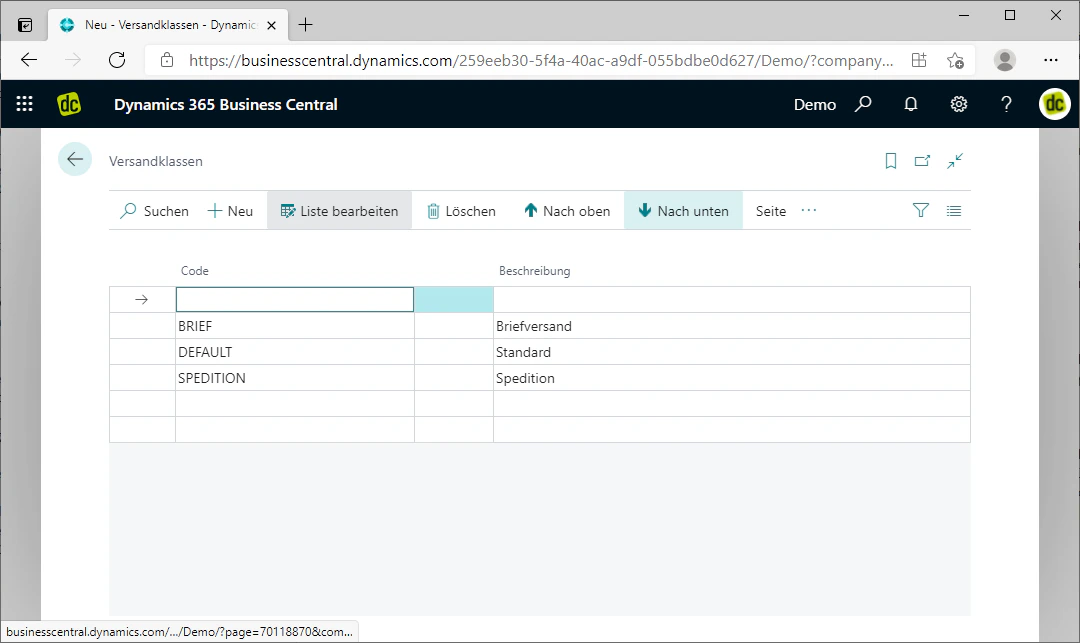 ## Step 3: Choose a Code
In the newly created row, a code should be selected first.
The code should be written in capital letters and must not contain any spaces. However, numbers and certain special characters may be used.
In addition, the code can be used later to assign shipping classes to shipping options.
In our example, we choose "Paket" as the code, as we want to create a shipping class for standard parcels.
## Step 3: Choose a Code
In the newly created row, a code should be selected first.
The code should be written in capital letters and must not contain any spaces. However, numbers and certain special characters may be used.
In addition, the code can be used later to assign shipping classes to shipping options.
In our example, we choose "Paket" as the code, as we want to create a shipping class for standard parcels.
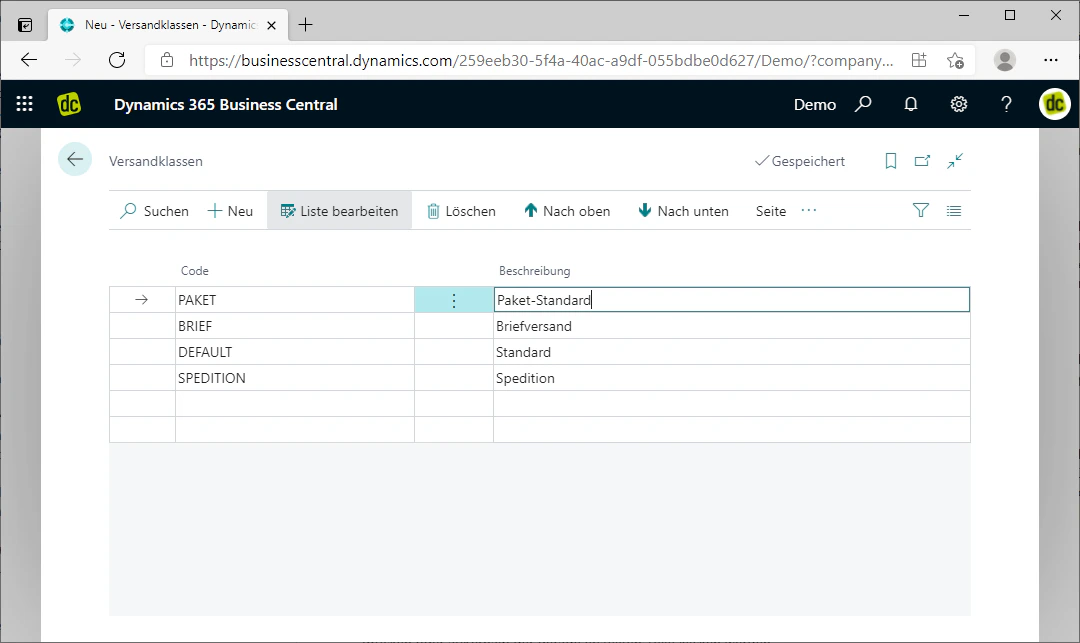
 ## Step 4: Choose a Description
Next, a description is to be chosen by entering the desired description text into the corresponding field. You may choose this freely.
In our example, we choose "Paket - Standard" as the description.
The shipping class is now created. As soon as you press Enter or click outside the row you have just created, the changes to the list are saved automatically.
## Step 4: Choose a Description
Next, a description is to be chosen by entering the desired description text into the corresponding field. You may choose this freely.
In our example, we choose "Paket - Standard" as the description.
The shipping class is now created. As soon as you press Enter or click outside the row you have just created, the changes to the list are saved automatically.
 ## Related Topics
Assign the shipping class created here to an item.
Link shipping options with shipping classes to define filter rules.
## Related Topics
Assign the shipping class created here to an item.
Link shipping options with shipping classes to define filter rules.