> ## Documentation Index
> Fetch the complete documentation index at: https://docs.dc.ag/llms.txt
> Use this file to discover all available pages before exploring further.
# Shipping Costs - Shipping Groups
> Create shipping groups and assign shipping options
Our extension provides you with the option to conveniently group the various shipping options. This gives you the ability to assign a shipping group with multiple shipping options to a customer without significant effort.
In the following, we will show you how to create a shipping group and then assign individual shipping options to it.
How to assign a shipping group to a customer is explained under [Customer-Specific Shipping Options](/docs/en/bc-shipping-costs/user-guide/kundenspezifische-versandoptionen).
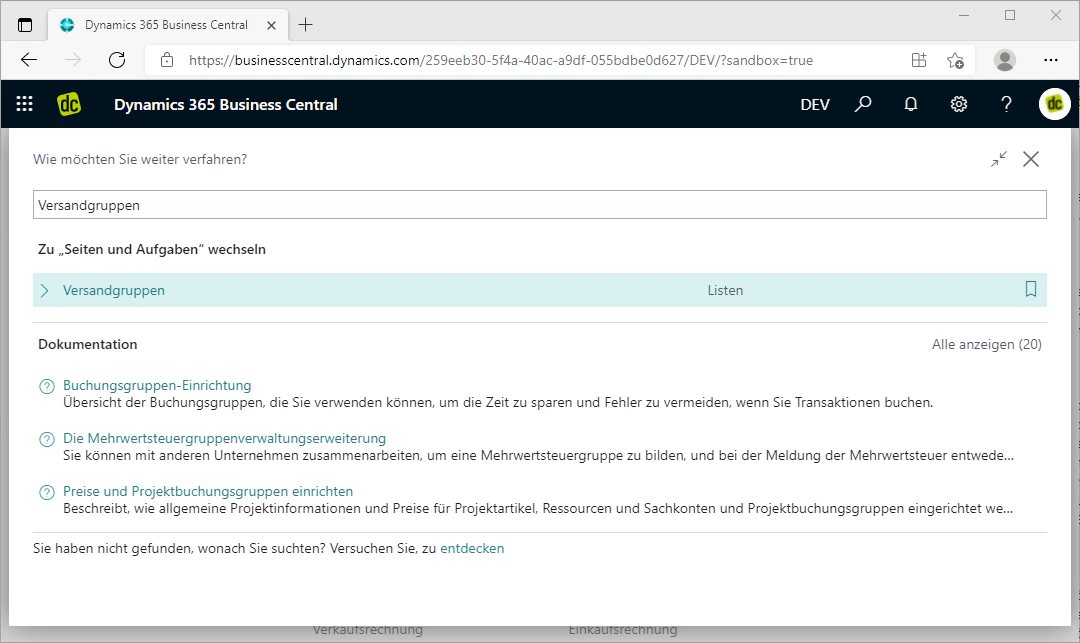
## Step 1: Navigate to Shipping Groups
You can easily access the shipping groups via the search bar. Search for "Shipping Groups" and the list of the same name will be displayed.
When you click on this search result, the list opens in a new tab. In this overview, you can also view and edit all previously created shipping groups, as well as assign additional shipping options to them.
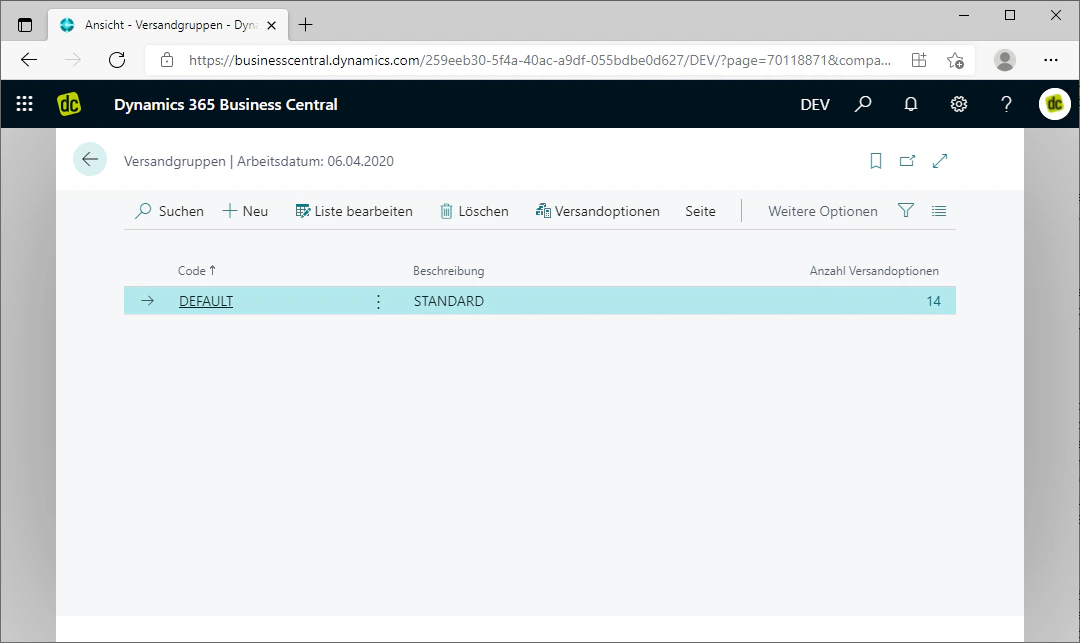 ## Step 2: Create a Shipping Group
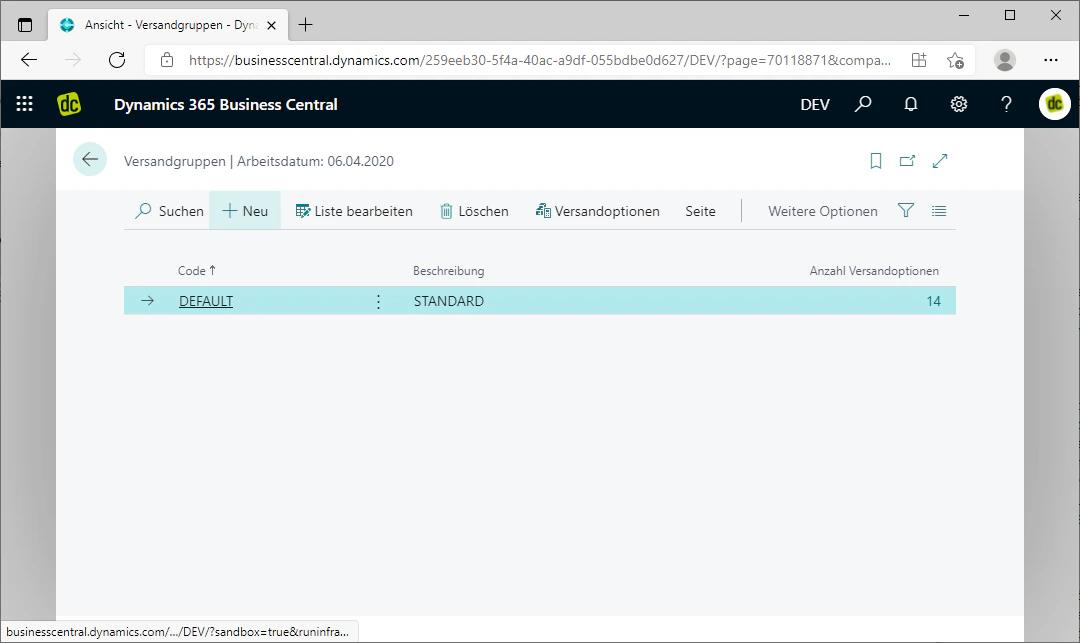
To create a shipping group there, click on the "New" fasttab in the menu bar at the top.
This creates a new row in the list above the currently selected entry, in which you can maintain the shipping group.
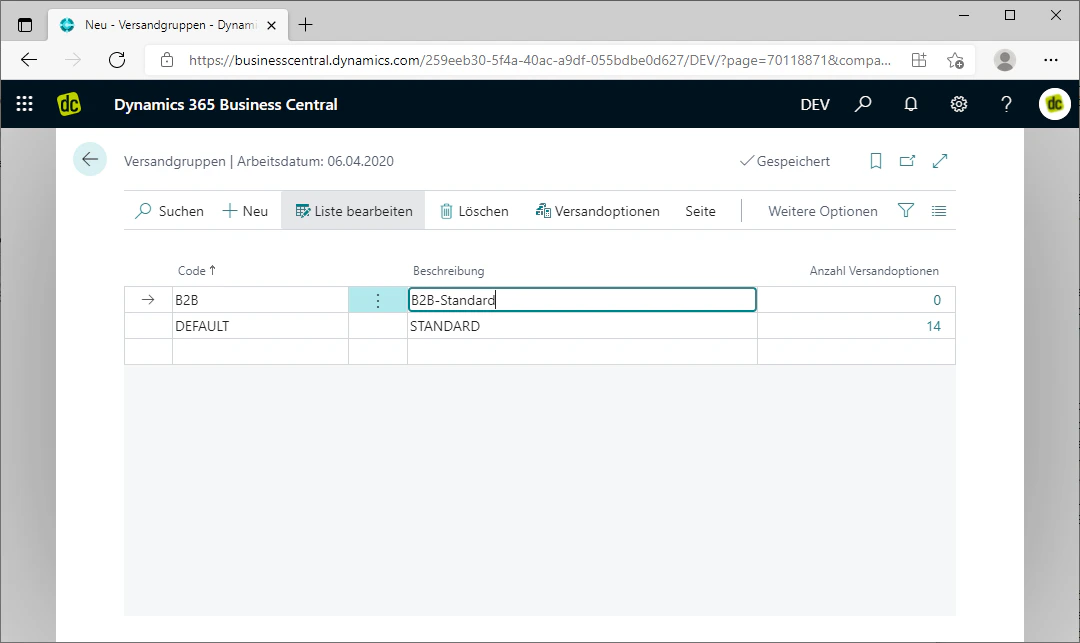
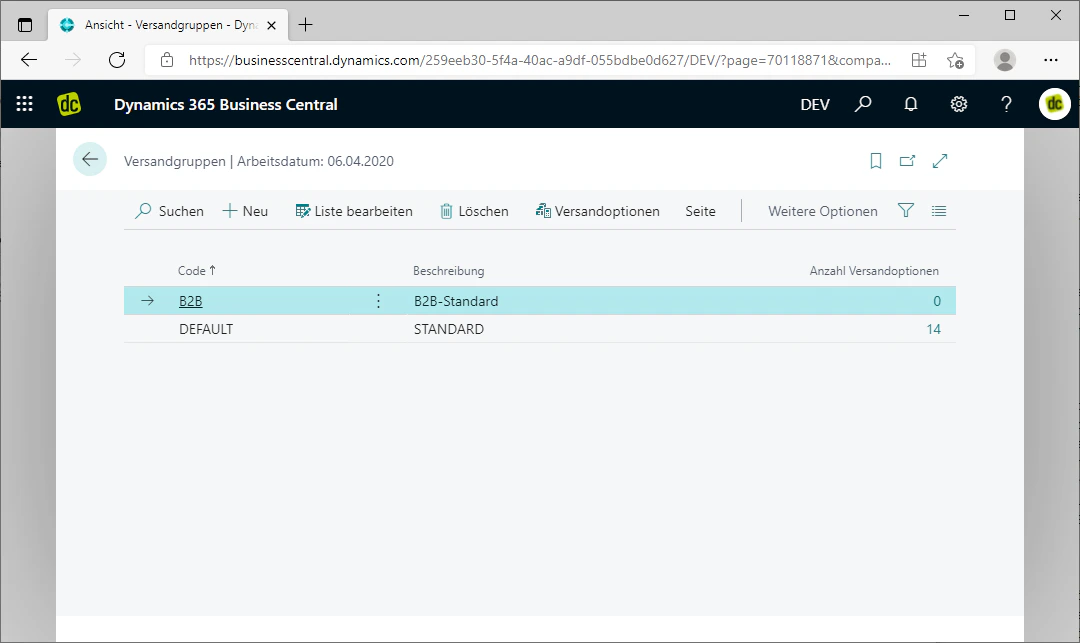
In this row, only a code and a description for the shipping group need to be defined. Enter these in the respective fields. The shipping group is then created.
In our example, we are creating a standard shipping group for B2B customers. We select "B2B-Standard" as the description and "B2B" as the code.
As soon as you press Enter or click outside the row, the changes are saved in the list. You can recognise this by a checkmark appearing in the upper right corner with the text "Saved" next to it.
## Step 2: Create a Shipping Group
To create a shipping group there, click on the "New" fasttab in the menu bar at the top.
This creates a new row in the list above the currently selected entry, in which you can maintain the shipping group.
In this row, only a code and a description for the shipping group need to be defined. Enter these in the respective fields. The shipping group is then created.
In our example, we are creating a standard shipping group for B2B customers. We select "B2B-Standard" as the description and "B2B" as the code.
As soon as you press Enter or click outside the row, the changes are saved in the list. You can recognise this by a checkmark appearing in the upper right corner with the text "Saved" next to it.
 ## Step 3: Assign Shipping Options
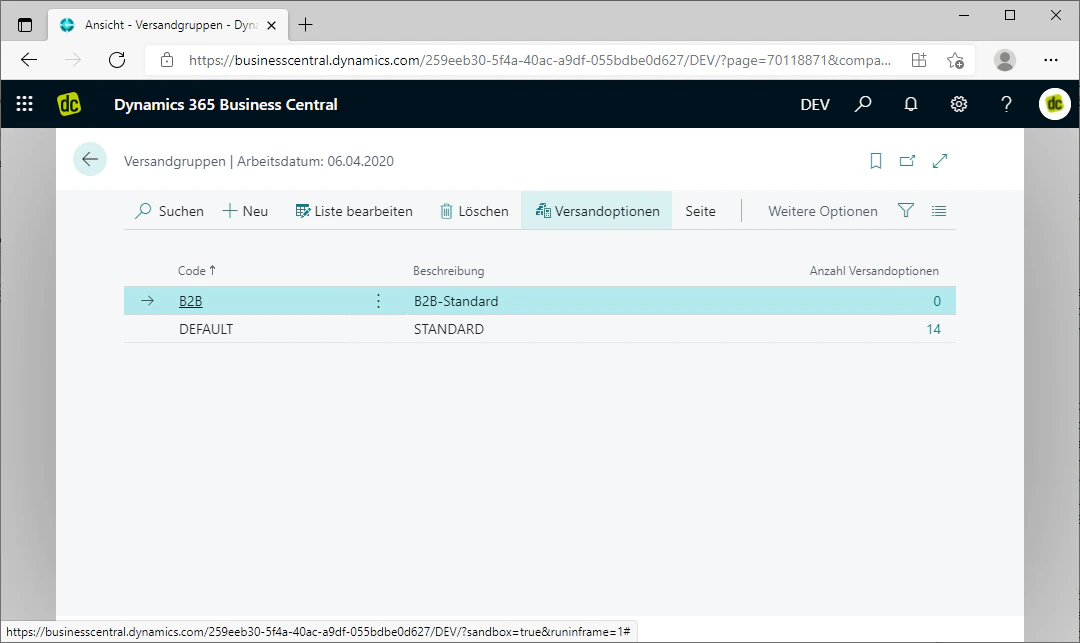
Via the "Shipping Options" fasttab located in the menu bar at the top, you can assign shipping options to the currently selected shipping group.
When you click on the fasttab, a list of your maintained shipping options opens. Since we have just newly created this shipping group, no shipping options are maintained within this list, which is why the text "Nothing can be displayed in this view" appears there.
How to create shipping options is shown under [Shipping Options](/docs/en/bc-shipping-costs/user-guide/versandoptionen).
## Step 3: Assign Shipping Options
Via the "Shipping Options" fasttab located in the menu bar at the top, you can assign shipping options to the currently selected shipping group.
When you click on the fasttab, a list of your maintained shipping options opens. Since we have just newly created this shipping group, no shipping options are maintained within this list, which is why the text "Nothing can be displayed in this view" appears there.
How to create shipping options is shown under [Shipping Options](/docs/en/bc-shipping-costs/user-guide/versandoptionen).
 ## Related Topics
Create specific shipping options and assign them to the shipping group.
Assign a shipping group to an individual customer.
## Related Topics
Create specific shipping options and assign them to the shipping group.
Assign a shipping group to an individual customer.